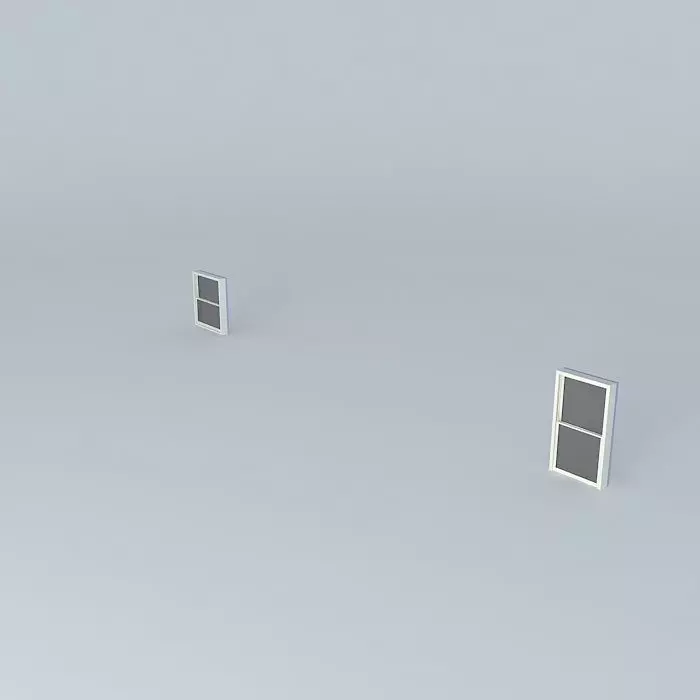
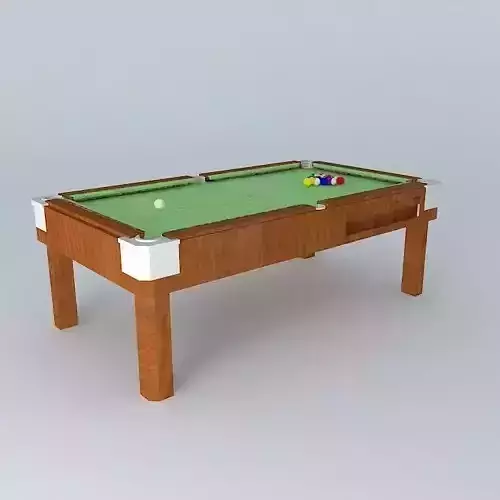
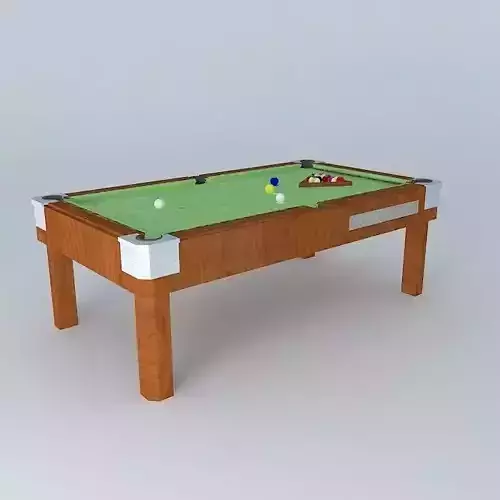
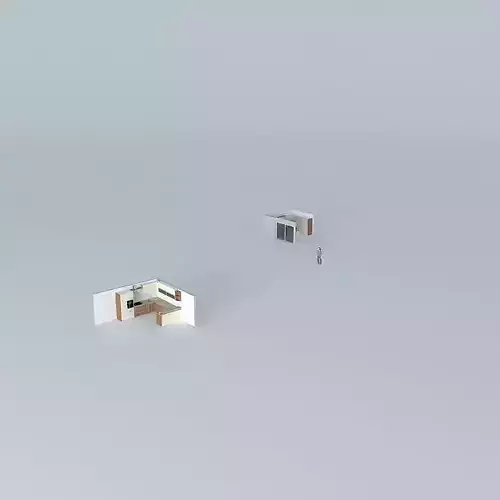
This 3D model was originally created with Sketchup 13 and then converted to all other 3D formats. Native format is .skp 3dsmax scene is 3ds Max 2016 version, rendered with Vray 3.00 This example shows a double-pane window (from Google's sample components) being resized. The height is being decreased by 1'., and the width is being increased by 1'. In response to the request posted @ Here is what you need to do:
- Edit the component.
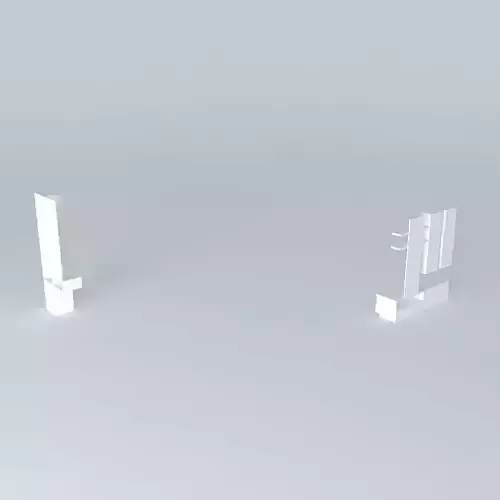
- Cut the component with a plane at a point where stretching or constricting is appropriate. In this case the center is the part that needs to be stretched.
- Select one half of the component with the select tool.
- Use the move tool to push or pull the half in the direction necessary.
- You can type in the distance desired for the move.
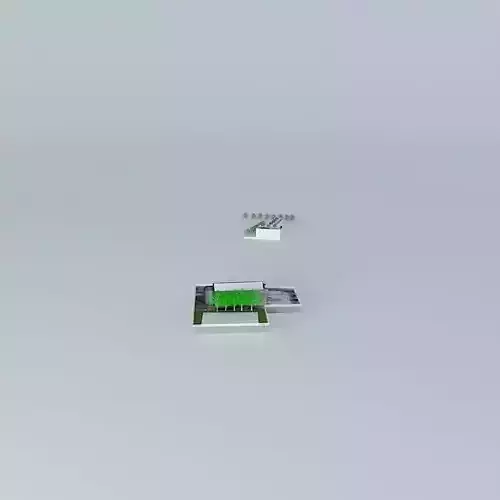
In this model I used two planes instead of one, this is just a bad habit of mine. Only one plane is necessary. Also, note that there are 3 components involved here, the upper sash, the lower sash, and the frame. That is why you see 6 planes instead of two. All three elements are sharing the vertical split pane, otherwise there would be even more.