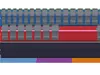
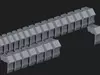
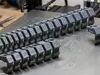
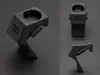
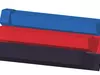
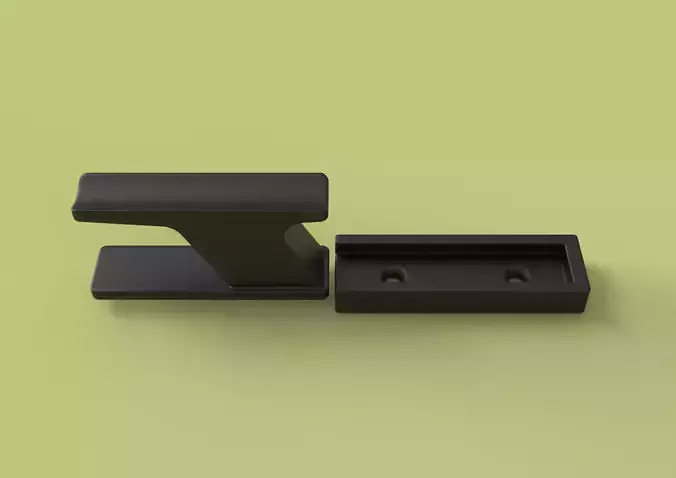
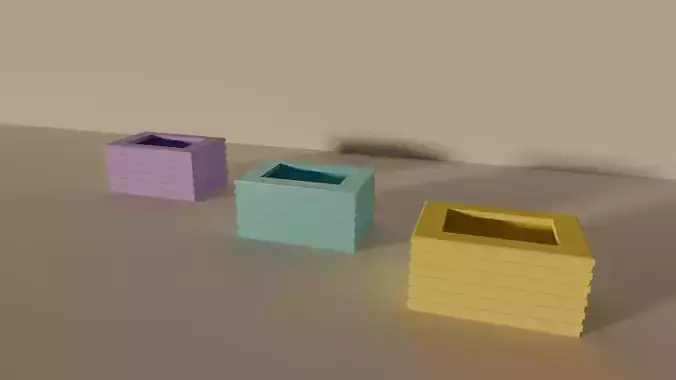
Package Contents 114 itemsRear mounting plateModular organizer railsNumbered socket holdersAssembly guide (PDF)STL filesSTEP files3MF files
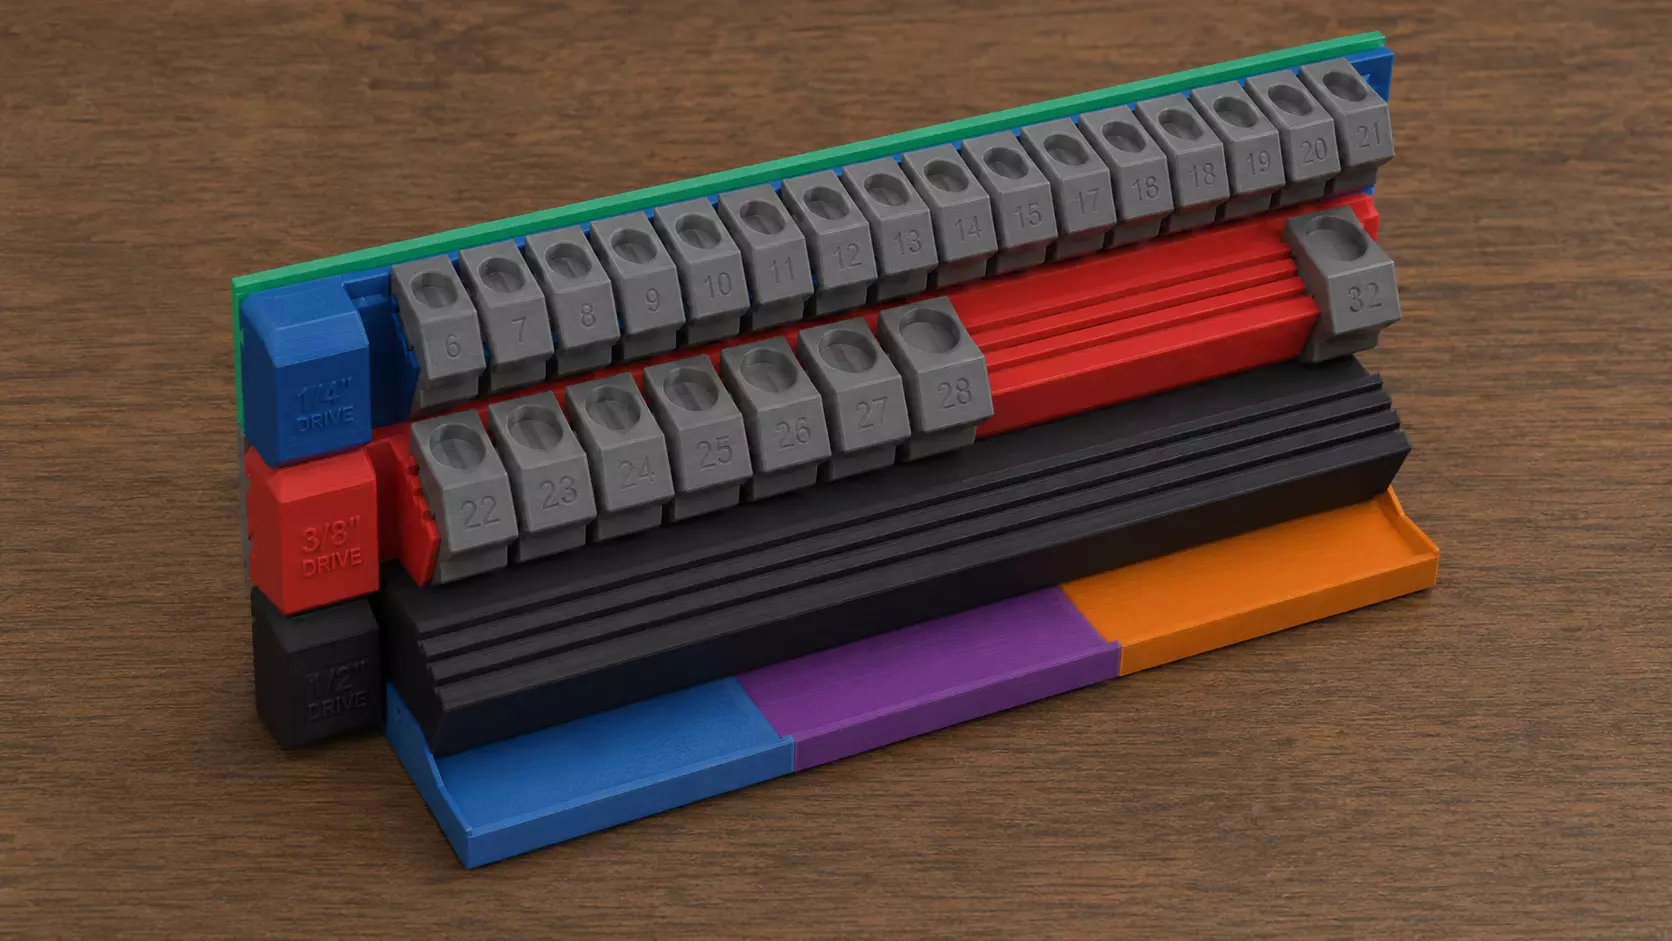
A premium modular wall-mounted metric socket organizer designed for professional workshops and makers. The Quantum Facet System features stepped rails, modular expansion, large embossed size markings, and dedicated organizers for 1/4, 3/8, and 1/2" drive metric sockets.
Optimized for support-free FDM printing while providing a clean industrial appearance and quick one-handed access to every socket.
Perfect ForProfessional mechanicsHome garagesCNC workshopsAutomotive repairTool organizationMakerspacesIndustrial workstations
CompatibilityDesigned for standard metric socket sets.Drive versions available:1/4Drive3/8 Drive1/2" Drive
FeaturesModular expandable designCompatible with 1/4, 3/8, and 1/2" drive systemsLarge embossed metric numbersStepped ergonomic layoutOne-handed socket accessHidden wall mountingIndustrial geometric stylingSupport-free printingOptimized for FDM printersStrong reinforced structureChamfered pocket entrancesDrainage holes for debris and oilProfessional workshop appearance3D printing settings
Manufacturing MethodFDM 3D PrintingRecommended materials:PLAPETGABSASA
Mounting MethodHidden wall mounting through rear mounting plate.
Expansion SystemSliding tongue-and-groove modular connection allowing multiple organizer sections to be joined together.
Recommended Print SettingsLayer Height0.20 mmNozzle Diameter0.40 mmPerimeters4Top Layers5Bottom Layers5Infill20–30%SupportsNot requiredBrimOptional (recommended for ABS/ASA)Print OrientationPrint each component flat on the build plate as supplied.
Assembly InstructionsStep 1Print all required parts.
Step 2Remove any printing artifacts or stringing.No sanding is normally required.
Step 3Slide the organizer rails into the rear mounting plate using the integrated tongue-and-groove guides.The rails should move smoothly without excessive force.Do not force the parts together.
Step 4
Install the assembled organizer on a wall using two suitable screws through the rear mounting holes.Recommended screw sizes:M5#8 Wood ScrewUse wall plugs when mounting to masonry or drywall.
Step 5Insert the socket holder modules into the corresponding rail.Each holder slides into position and is retained by the integrated guide system.Arrange the holders according to the engraved metric size numbers.
Step 6Place each socket into its matching holder.The socket rests inside the circular pocket while remaining easy to remove with one hand.
MaintenanceClean with compressed air or a soft brush.Remove oil using isopropyl alcohol or mild soap.Do not expose PLA versions to temperatures above approximately 55°C.PETG or ASA is recommended for hot workshop environments.
Compatibility1/4Drive Metric Sockets3/8 Drive Metric Sockets1/2" Drive Metric Sockets
Supported Socket Sizes1/4Drive: 6–14 mm3/8 Drive: 6–24 mm1/2" Drive: 10–32 mm
NotesDesigned for standard metric sockets.Minor dimensional variations may exist between socket manufacturers.Test fit one socket before printing multiple copies.This product is intended for workshop organization only.Tools shown in renders are for demonstration purposes and are not included.