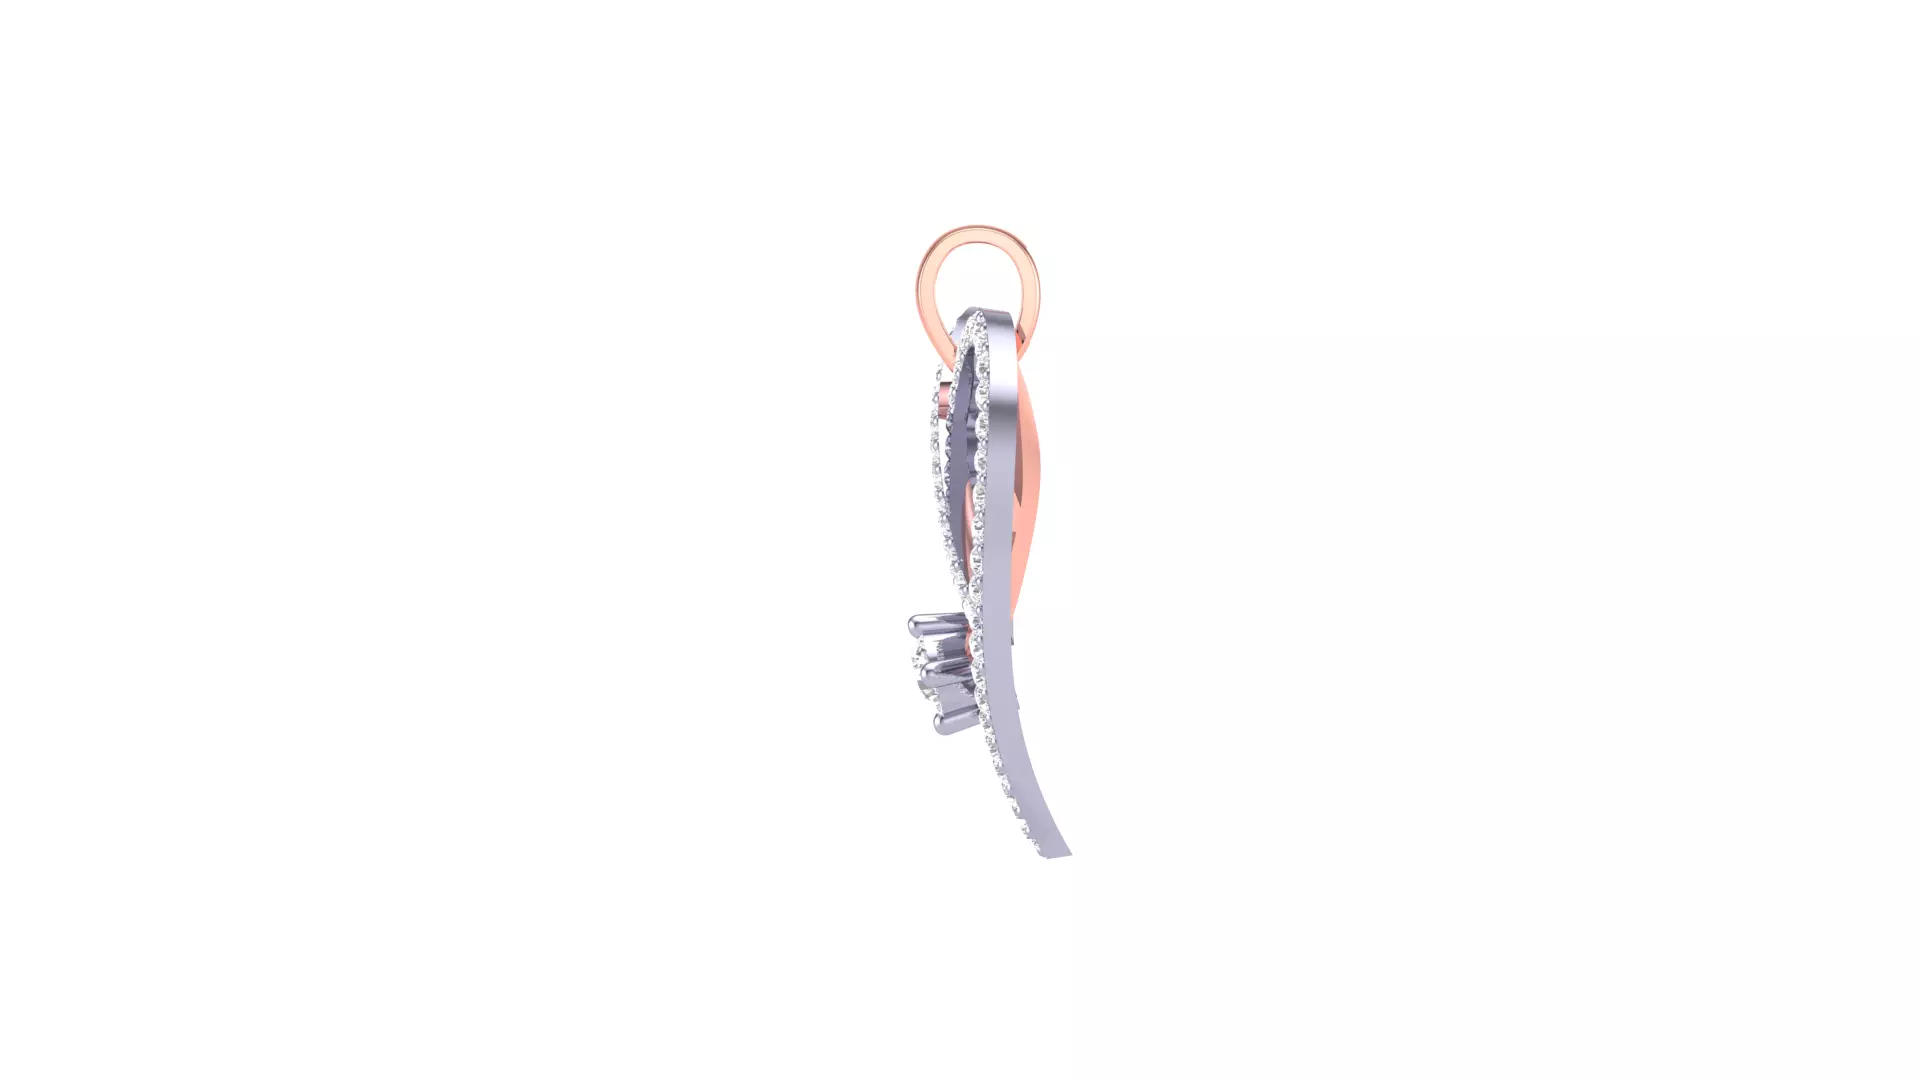
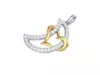
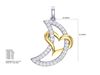
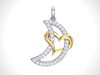
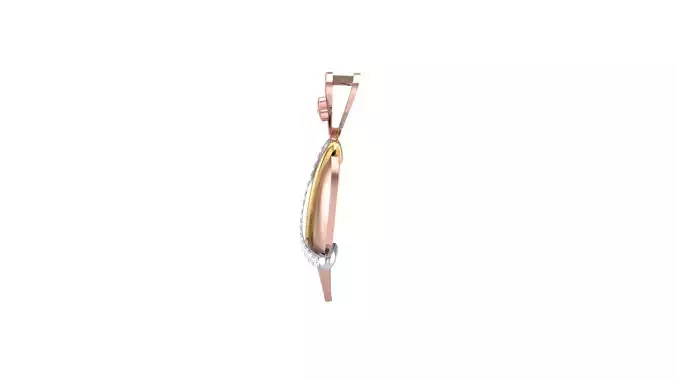
a 3D-printable model for an X heart diamond pendant involves a unique design that combines the shape of an X with a heart motif. Here's a generalized description of the steps you might take to create such a pendant:
- Conceptualization:
Define the design concept, combining an X shape with a heart motif. Consider the proportions, angles, and symmetry to create an aesthetically pleasing pendant.
- Sketching or Digital Design:
Sketch out the initial design on paper or use digital design tools like CAD (Computer-Aided Design) software. Outline the heart shape and incorporate the X element into the design.
- Diamond Placement:
Decide on the placement of the diamond within the design. You may choose to embed the diamond within the heart or at a focal point where the X intersects.
- Pendant Structure:
Design the overall structure of the pendant, considering the interplay between the X and the heart shape. Ensure that the design allows for a secure and visually appealing placement of the diamond.
- 3D Modeling:
Utilize 3D modeling software to create a detailed digital model of the pendant. Pay attention to intricate details and smooth transitions between the X and heart elements. Ensure the model is suitable for 3D printing.
- STL File Creation:
Convert the 3D model into an STL (Stereolithography) file, the standard file format for 3D printing. This file contains the information needed for the 3D printer to produce the physical object layer by layer.
- Print Orientation Optimization:
Optimize the orientation of the pendant within the 3D printer to ensure stability during printing and to minimize the need for supports.
- Printing:
Utilize a 3D printer compatible with the chosen material, commonly metals like silver, gold, or platinum for jewelry. Monitor the printing process and address any issues that may arise.
- Post-Processing:
After printing, conduct any necessary post-processing steps such as polishing, smoothing, or adding additional details to enhance the overall finish.
- Diamond Setting:
Once the 3D-printed pendant is ready, carefully set the diamond into the designated placement within the design.
- Final Finishing:
Perform final finishing touches, such as a final polish to achieve the desired shine and appearance.Consulting with a professional jeweler or a 3D printing expert is recommended to ensure that the design meets the necessary specifications for both aesthetics and structural integrity. Additionally, consider the quality and characteristics of the diamond to enhance the overall appeal of the pendant.