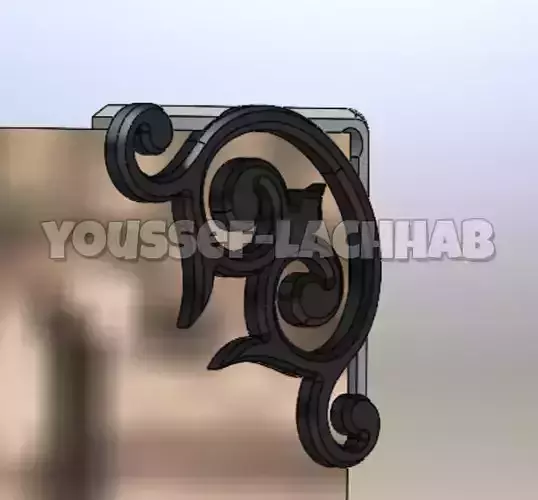
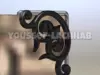
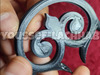
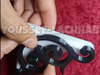
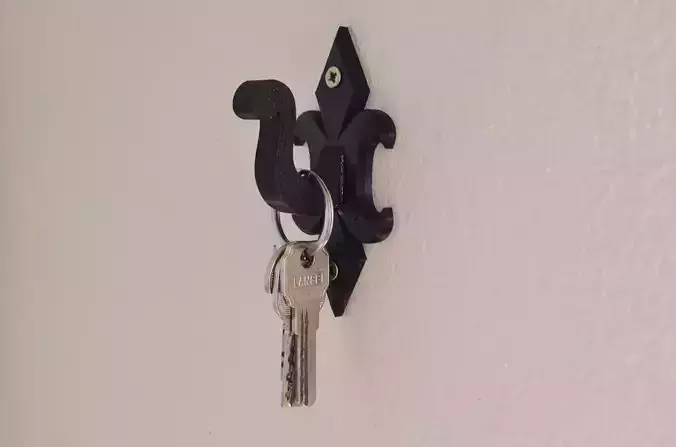
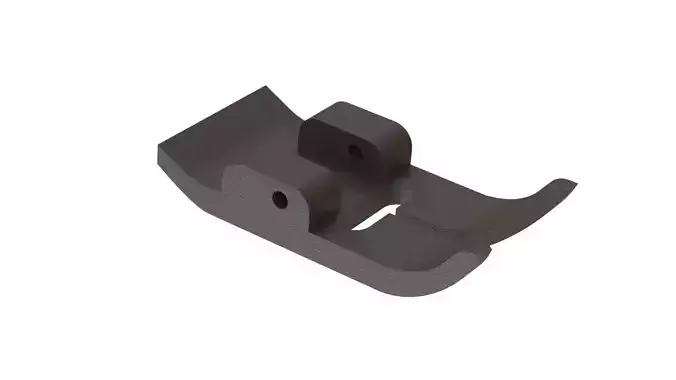
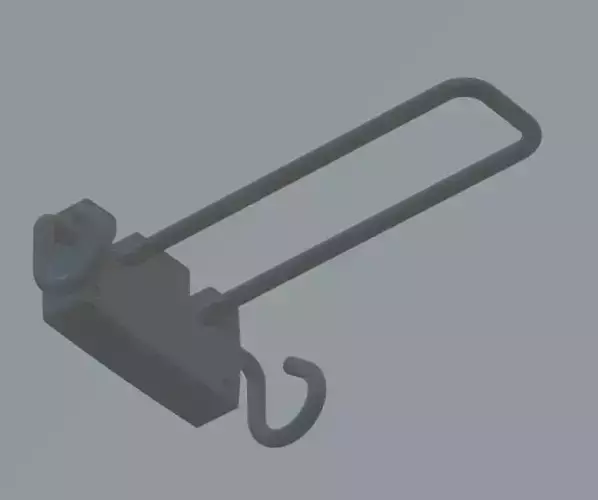
Elevate your space with European-inspired elegance These 3D-printed mirror brackets blend functionality and artistry – a seamless fusion of snow-white practicality and black wrought-iron charm. Each set of 4 pieces is your mirror's invisible guardian, offering secure wall-mounting while whispering luxury into every corner. Important Note: These brackets are designed for mirrors with a thickness of 4mm or less. Perfect for modern interiors craving a hint of vintage soul!
Revised Installation Steps (Detailed):1. Installing the Lower Brackets First:
-
Purpose: The installation framework starts from the bottom to ensure mirror stability.
-
Steps:
- Mark the drilling points on the wall according to the mirror’s dimensions.
- Drill holes into the wall and insert 6mm plastic wall plugs (Shoufi) into each hole.
- Secure the lower brackets to the wall using screws (visat), ensuring they are leveled with a spirit level.
2. Mounting the Mirror onto the Lower Brackets:-
Steps:
- Carefully lift the mirror and slot its lower edge into the pre-installed lower brackets.
- Ensure the mirror sits flush against the wall with no forward or backward tilting.
3. Installing the Upper Brackets:-
Steps:
- Attach the upper brackets to the top edges of the mirror.
- Align these brackets with the pre-drilled holes in the wall (containing the wall plugs).
- Insert screws (visat) into the upper brackets, then push the brackets downward toward the mirror’s center until they lock firmly into place.
4. Final Tightening and Alignment:-
Final Step:
- Gently press the mirror’s edges to ensure full contact with the wall.
- The mirror will now be seamlessly and securely mounted with no visible gaps.
Tools Required:
- 6mm plastic wall plugs (Shoufi).
- Screws (visat) – 2.5-3 cm in length.
- Screwdriver or drill 6mm.
- Spirit level for precision alignment.
Let me know if you need further adjustments or clarifications!