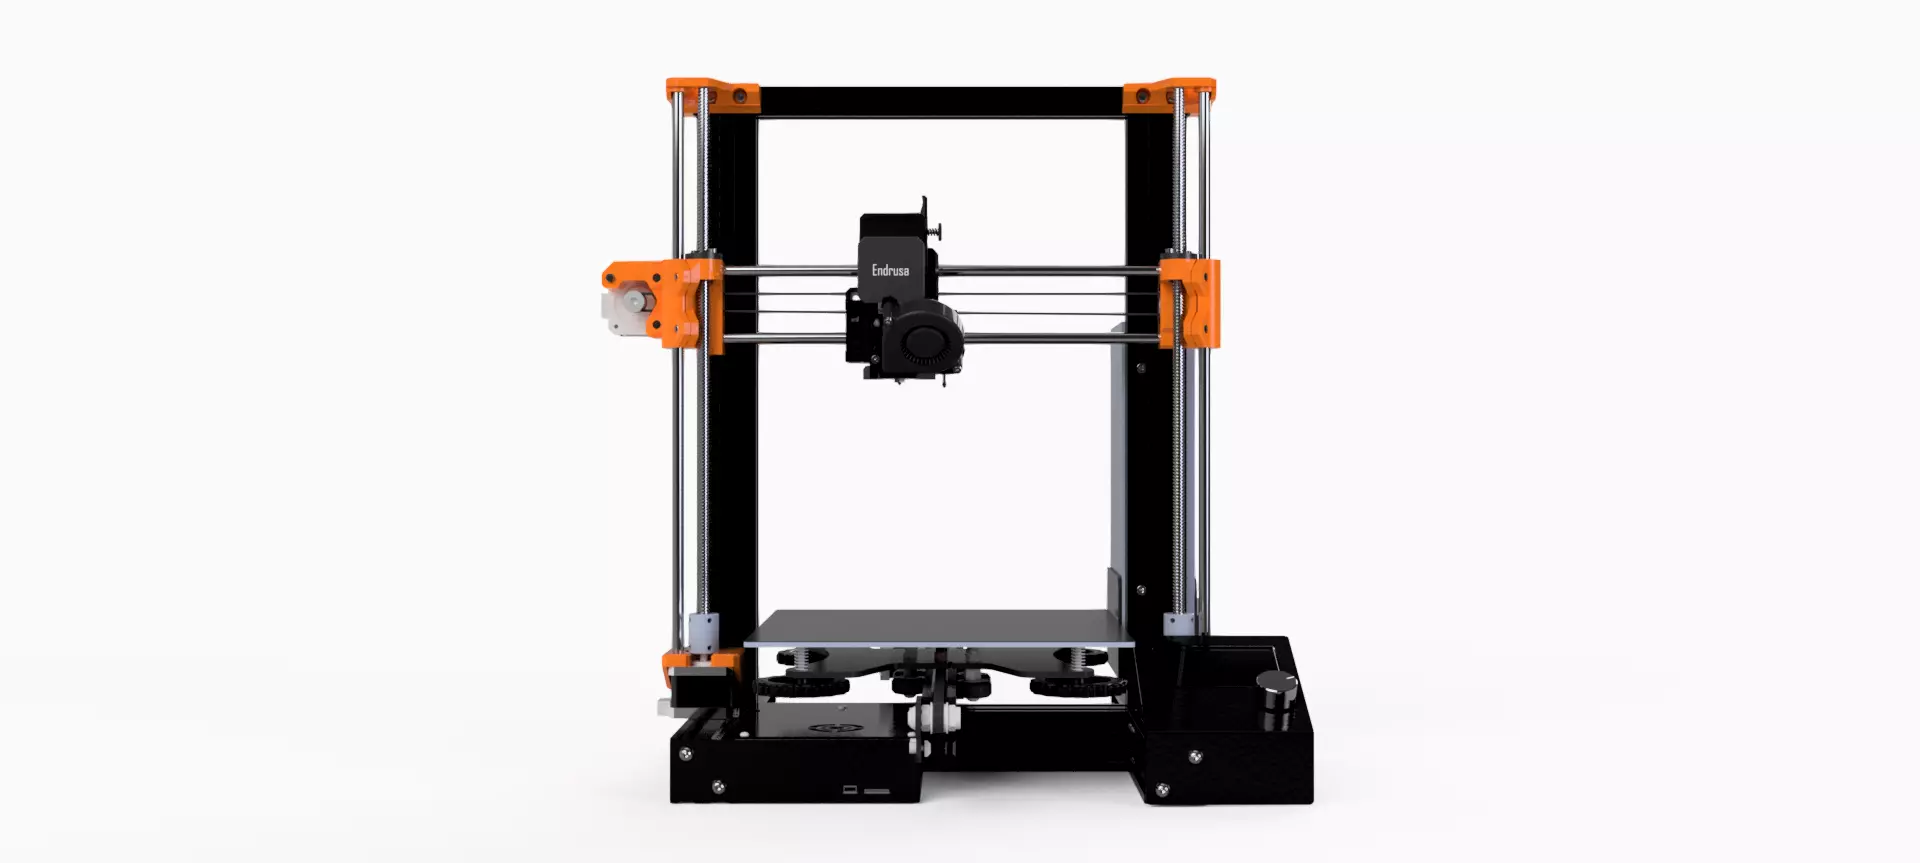
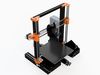
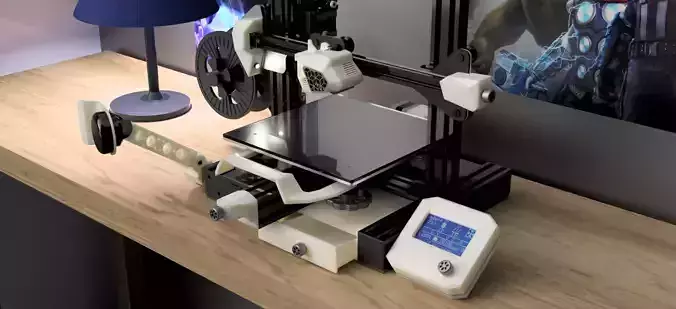
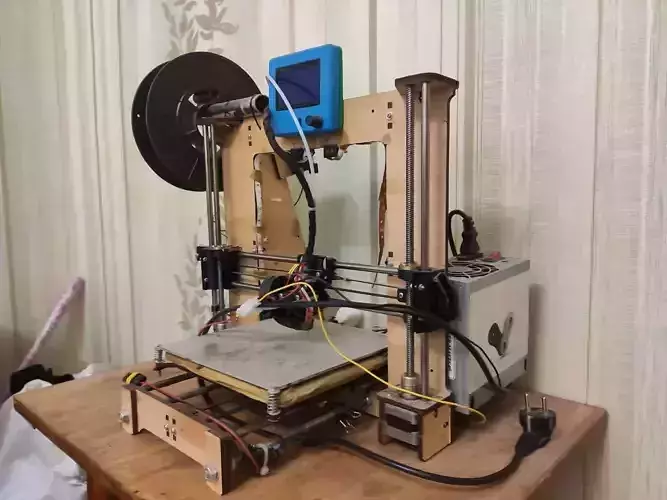
The Endrusa, also known as the Ender 3 Prusa I3 mod, is a popular modification for the Creality Ender 3 3D printer. It combines the features of the Ender 3 with elements inspired by the Prusa i3 design, resulting in an enhanced printing experience and improved overall performance.
The Ender 3 printer itself is known for its affordability and reliability, making it a preferred choice for many hobbyists and enthusiasts. However, some users felt the need to incorporate certain upgrades and modifications to further enhance its capabilities. This led to the development of the Endrusa mod, which aimed to incorporate the best of both worlds—taking advantage of the Ender 3's base while borrowing certain design aspects from the Prusa i3.
The Prusa i3 is a widely acclaimed and highly regarded 3D printer model known for its precision, reliability, and user-friendly design. By incorporating elements from the Prusa i3, the Endrusa mod aims to improve print quality, stability, and ease of use for Ender 3 users.
Some common modifications included in the Endrusa mod are:
Frame Upgrades: The original Ender 3 frame is replaced or reinforced with a sturdier frame, reducing vibrations and improving print accuracy.
Z-Axis Upgrades: The Z-axis assembly, responsible for the vertical movement of the print bed, may be improved to provide smoother and more precise motion.
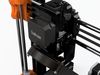
Extruder and Hotend Upgrades: Upgrading the extruder and hotend assembly can enhance filament feeding and temperature control, resulting in improved print quality and reliability.
Print Bed Upgrades: Many Endrusa modifications include upgrading the print bed to achieve better heat distribution, adhesion, and stability.
Electronics Upgrades: Some modifications focus on upgrading the control board and adding features like silent stepper drivers or improved firmware compatibility.
The Endrusa mod has gained popularity within the 3D printing community due to its ability to leverage the strengths of both the Ender 3 and the Prusa i3. It offers users the opportunity to customize and enhance their Ender 3 printer based on their specific needs and preferences.
It's important to note that the Endrusa mod is a community-driven initiative, and there may be variations and customizations available based on individual users' requirements. As with any modification, it's recommended to thoroughly research and understand the process before attempting any changes to your printer.
Overall, the Endrusa mod provides Ender 3 users with an avenue to improve their printer's performance, print quality, and user experience by incorporating design elements and upgrades inspired by the Prusa i3.
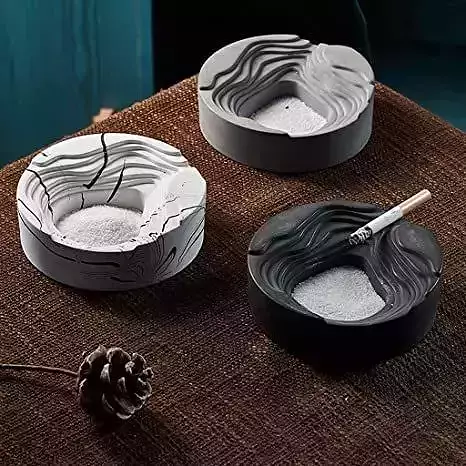
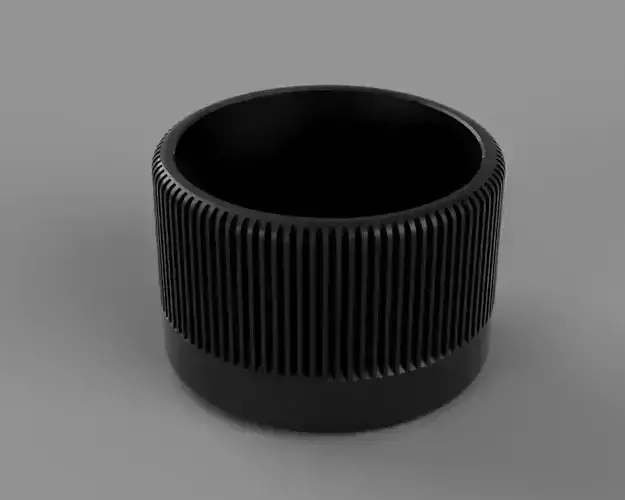
3D PRINTING SETTINGSWhen printing PETG components on an Endrusa printer, it's important to optimize your print settings to achieve the best results. Here are some recommended settings to consider:
Printing Temperature: PETG generally requires a higher printing temperature compared to PLA. Start with a nozzle temperature range of 230-250°C. Adjust the temperature within this range based on your specific PETG filament's manufacturer recommendations and the desired print quality.
Print Bed Temperature: PETG benefits from a heated print bed. Set the bed temperature to around 70-80°C to ensure good adhesion. Some users also find success with a higher bed temperature, up to 90°C, but this can vary depending on the specific PETG filament.
Build Surface: PETG tends to adhere well to a variety of surfaces, including BuildTak, PEI, and glass with a coat of hairspray or glue stick. Experiment with different surfaces to find the one that provides optimal adhesion for your printer.
Print Speed: PETG is best printed at a moderate speed to balance print quality and strength. A recommended starting point is a print speed of 30-50 mm/s. Slower speeds help in achieving better layer adhesion and reducing stringing.
Layer Height: For PETG, a layer height of 0.2-0.3 mm is typically suitable. This allows for a good balance between print time and quality. Adjust the layer height depending on the level of detail and strength required for your specific components.
Cooling: PETG is less prone to warping compared to other materials, so minimal or no cooling fan may be needed during printing. However, if you encounter any issues with overheating or excessive stringing, you can experiment with enabling a cooling fan at a low speed or part cooling after a few layers.
Retraction: PETG generally requires less retraction compared to PLA. Start with a retraction distance of around 1-2 mm and a retraction speed of 25-40 mm/s. Adjust these settings as needed to minimize stringing without causing filament grinding or extruder skipping.
Wall Thickness and Infill: PETG is known for its strength, so printing with thicker wall thickness and higher infill percentages can provide more robust components. A wall thickness of 0.8-1.2 mm and an infill density of 20-50% are common starting points. Adjust these settings based on the specific requirements of your components.
Remember to calibrate your printer and perform test prints to fine-tune these settings for your specific PETG filament and printer configuration. It's always a good idea to consult the manufacturer's recommendations for your filament and make adjustments accordingly.