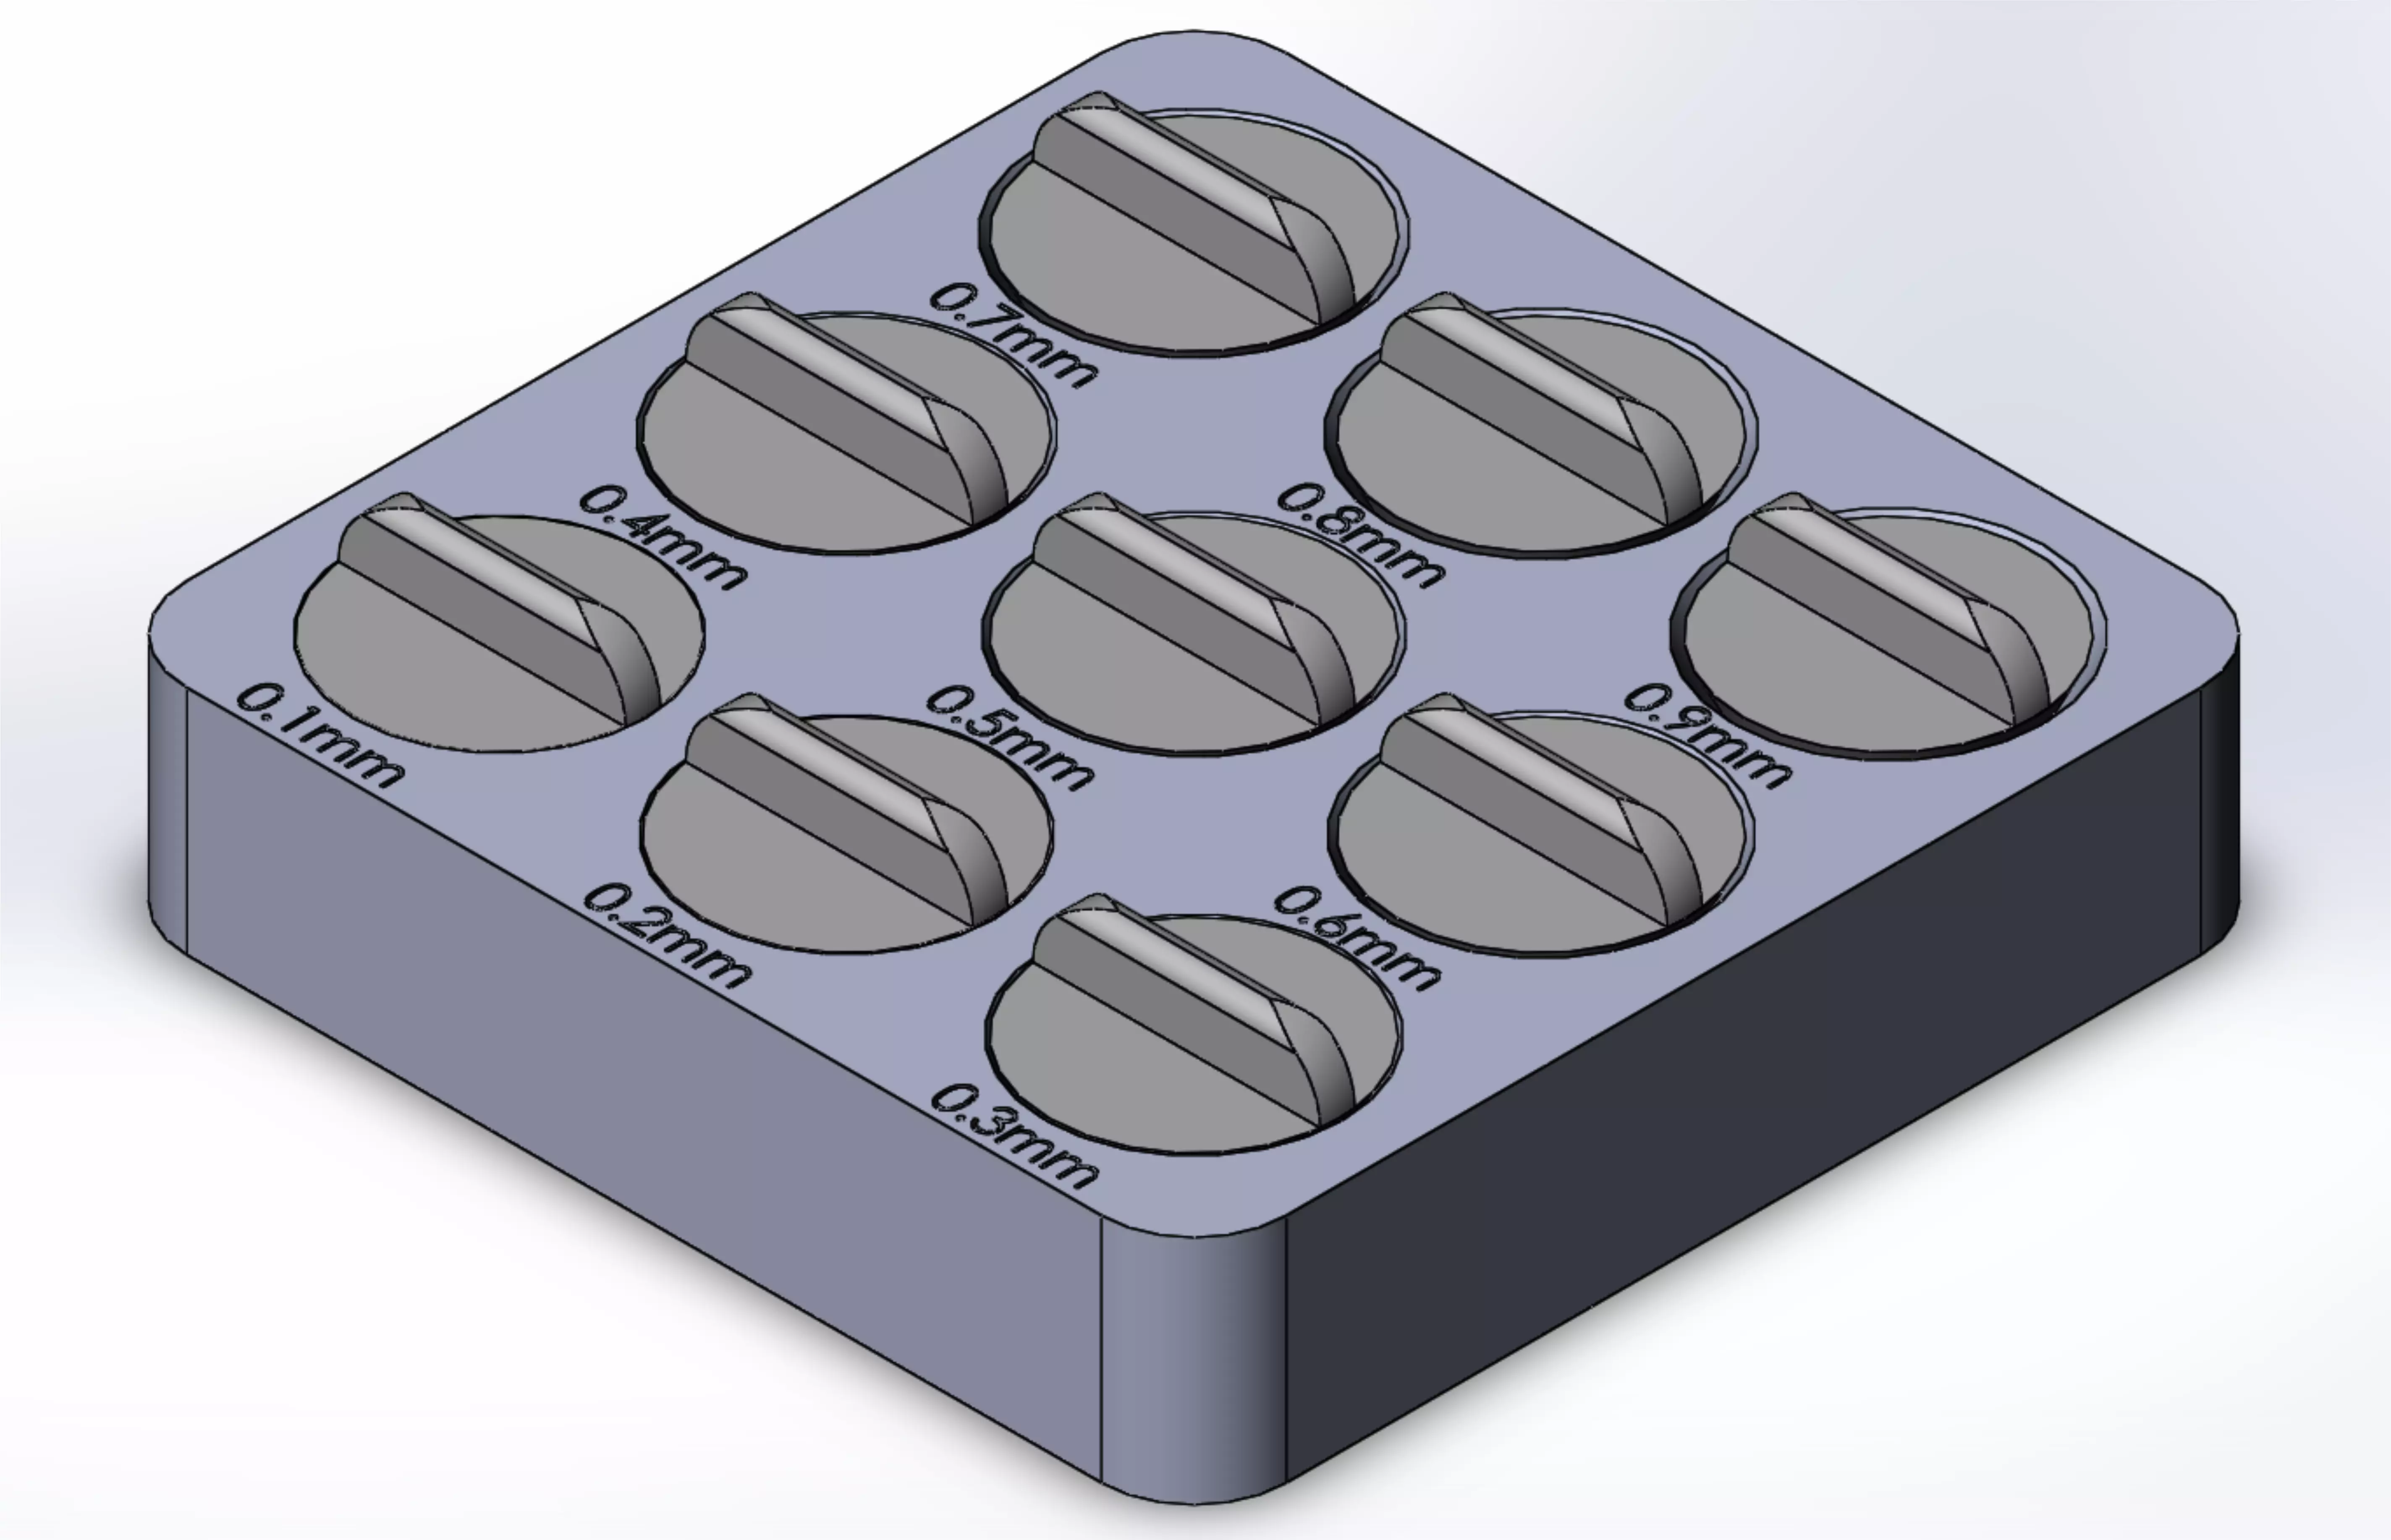
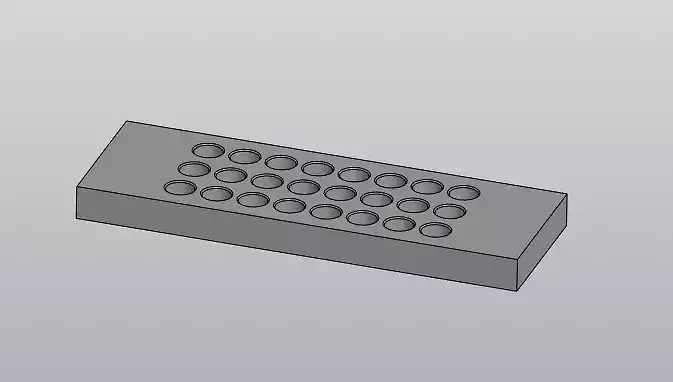
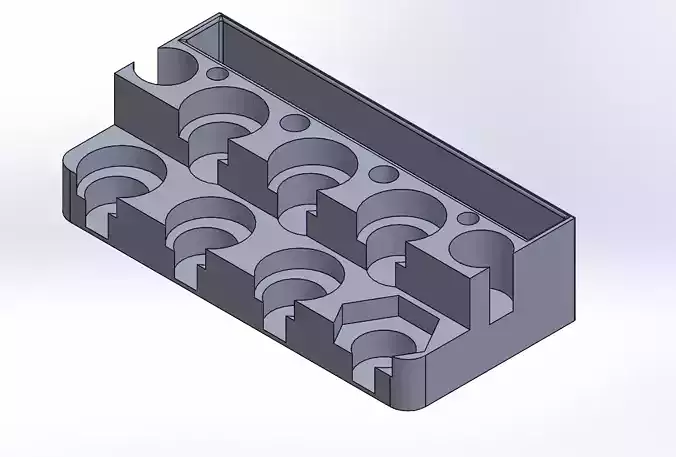
FDM Printer Tolerance tests, from .1mm to .9mm
Best to print at 100% infill as infill usually shows on walls, as such can make tolerances less efficient and wont turn on settings your printer might be able to print.If your printer is dialed in and you want to see what you can print on the settings you have, print with settings as you would any other part.2 different sizes and 2 different thicknesses for slower / faster tests.
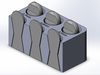
Bigger Test :
- 95mm Width
- 95mm Length
- 20mm Height / Thickness (Body, Normal Test)
- 26mm Height / Thickness (Total, Normal Test)
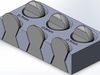
- 20mm Height / Thickness (Body, Thin Test)
- 26mm Height / Thickness (Total, Thin Test)
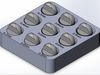
Smaller Test :
- 45mm Width
- 45mm Length
- 20mm Height / Thickness (Body, Normal Test)
- 26mm Height / Thickness (Total, Normal Test)
- 10mm Height / Thickness (Body, Thin Test)
- 15mm Height / Thickness (Total, Thin Test)