ABOUT THE PROJECT
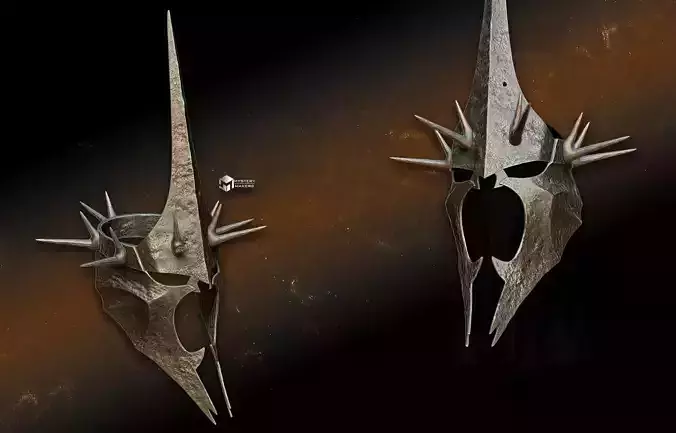
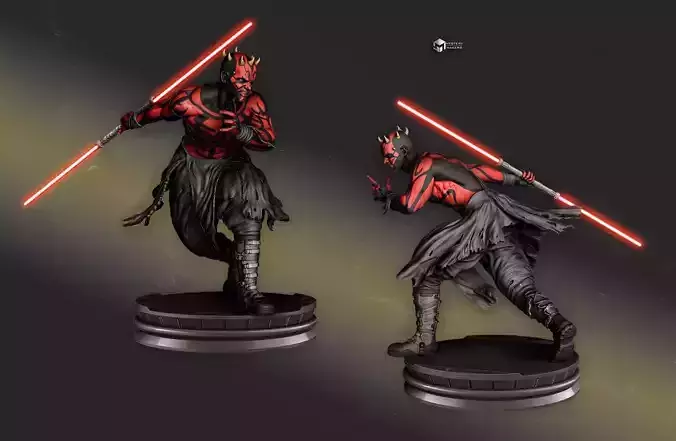
1- there are now 6 helmet options, and 3 pair of wings options to choose from:
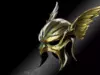
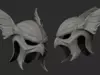
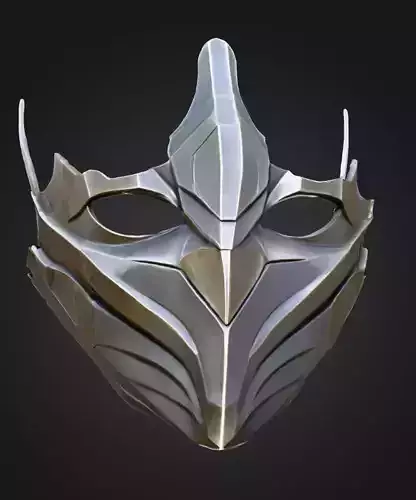
clean helmet without wings as a standalone helmet
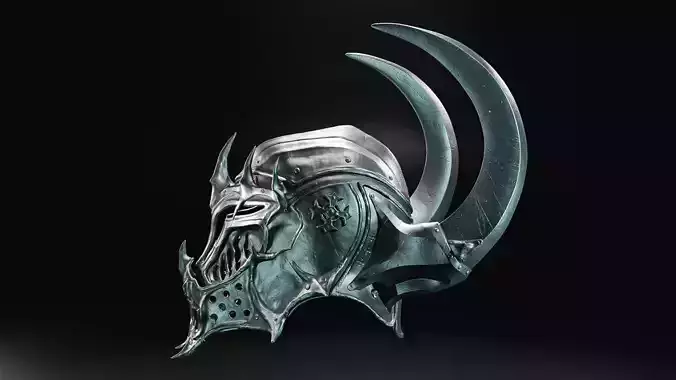
damaged/textured helmet without wings as a standalone helmet
clean helmet with 3x M3 screw cutouts on each side
damaged/textured helmet with 3x M3 screw cutouts on each side
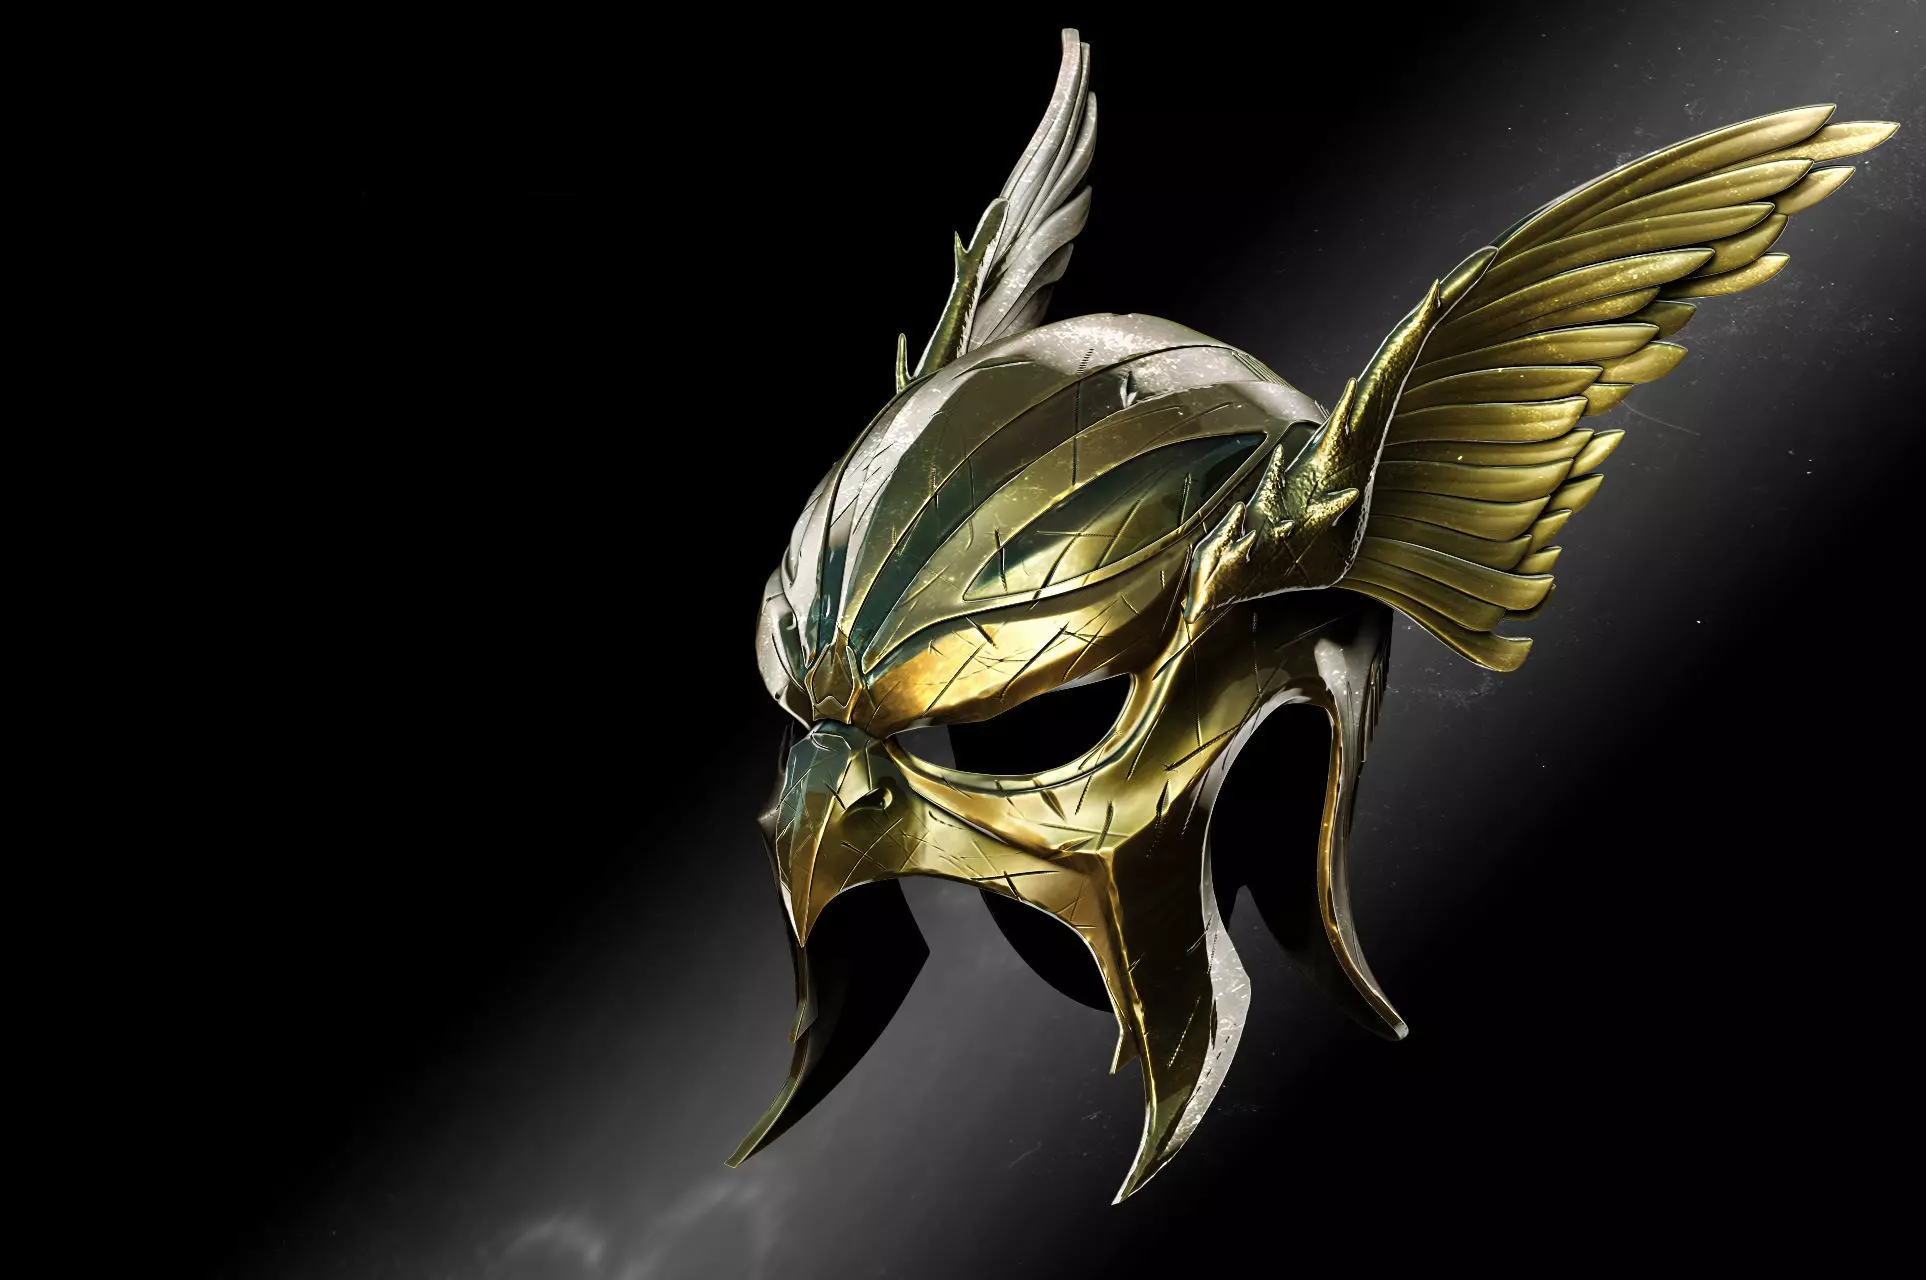
fully combined clean helmet with wings
damaged/textured combined helmet with wings
I thought the Helmet looked cool without the Wings as well, so now you can use that option only if you like.
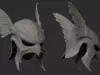
2 - the wings were a bit tricky so i provided a suggestion on how to print the wings in form
of a little pdf book. If you look at that, you'll notice that you can cut the wings so most of it can be printed without supports if you don't have a large volume printer.
The wings can be attached with glue, m3 screws directly into the plastic or Heat inserts so you can have the wings removable and easier for transport (link is in the folder as well)
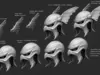
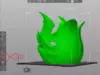
3 - I also included a little print suggestion on the helmet - now please not the shape of the helmet is quite unique, there is no logical way to split it, so i also provided tutorial on plane cuts that you can use if you with to print it in smaller printers.
If you flip the helmet upside down, and split at the top of the dome , you will be able to print it without lots of supports as well. (use supports on the eyes only, and decide if you want to put them on the nose part as well).
4 - heat inserts and m3 bolt specification are included in the project folder
Join our community and find out more at:https://www.facebook.com/groups/3282336185171090
or follow me on instagram:https://www.instagram.com/mysterymakers_3d/