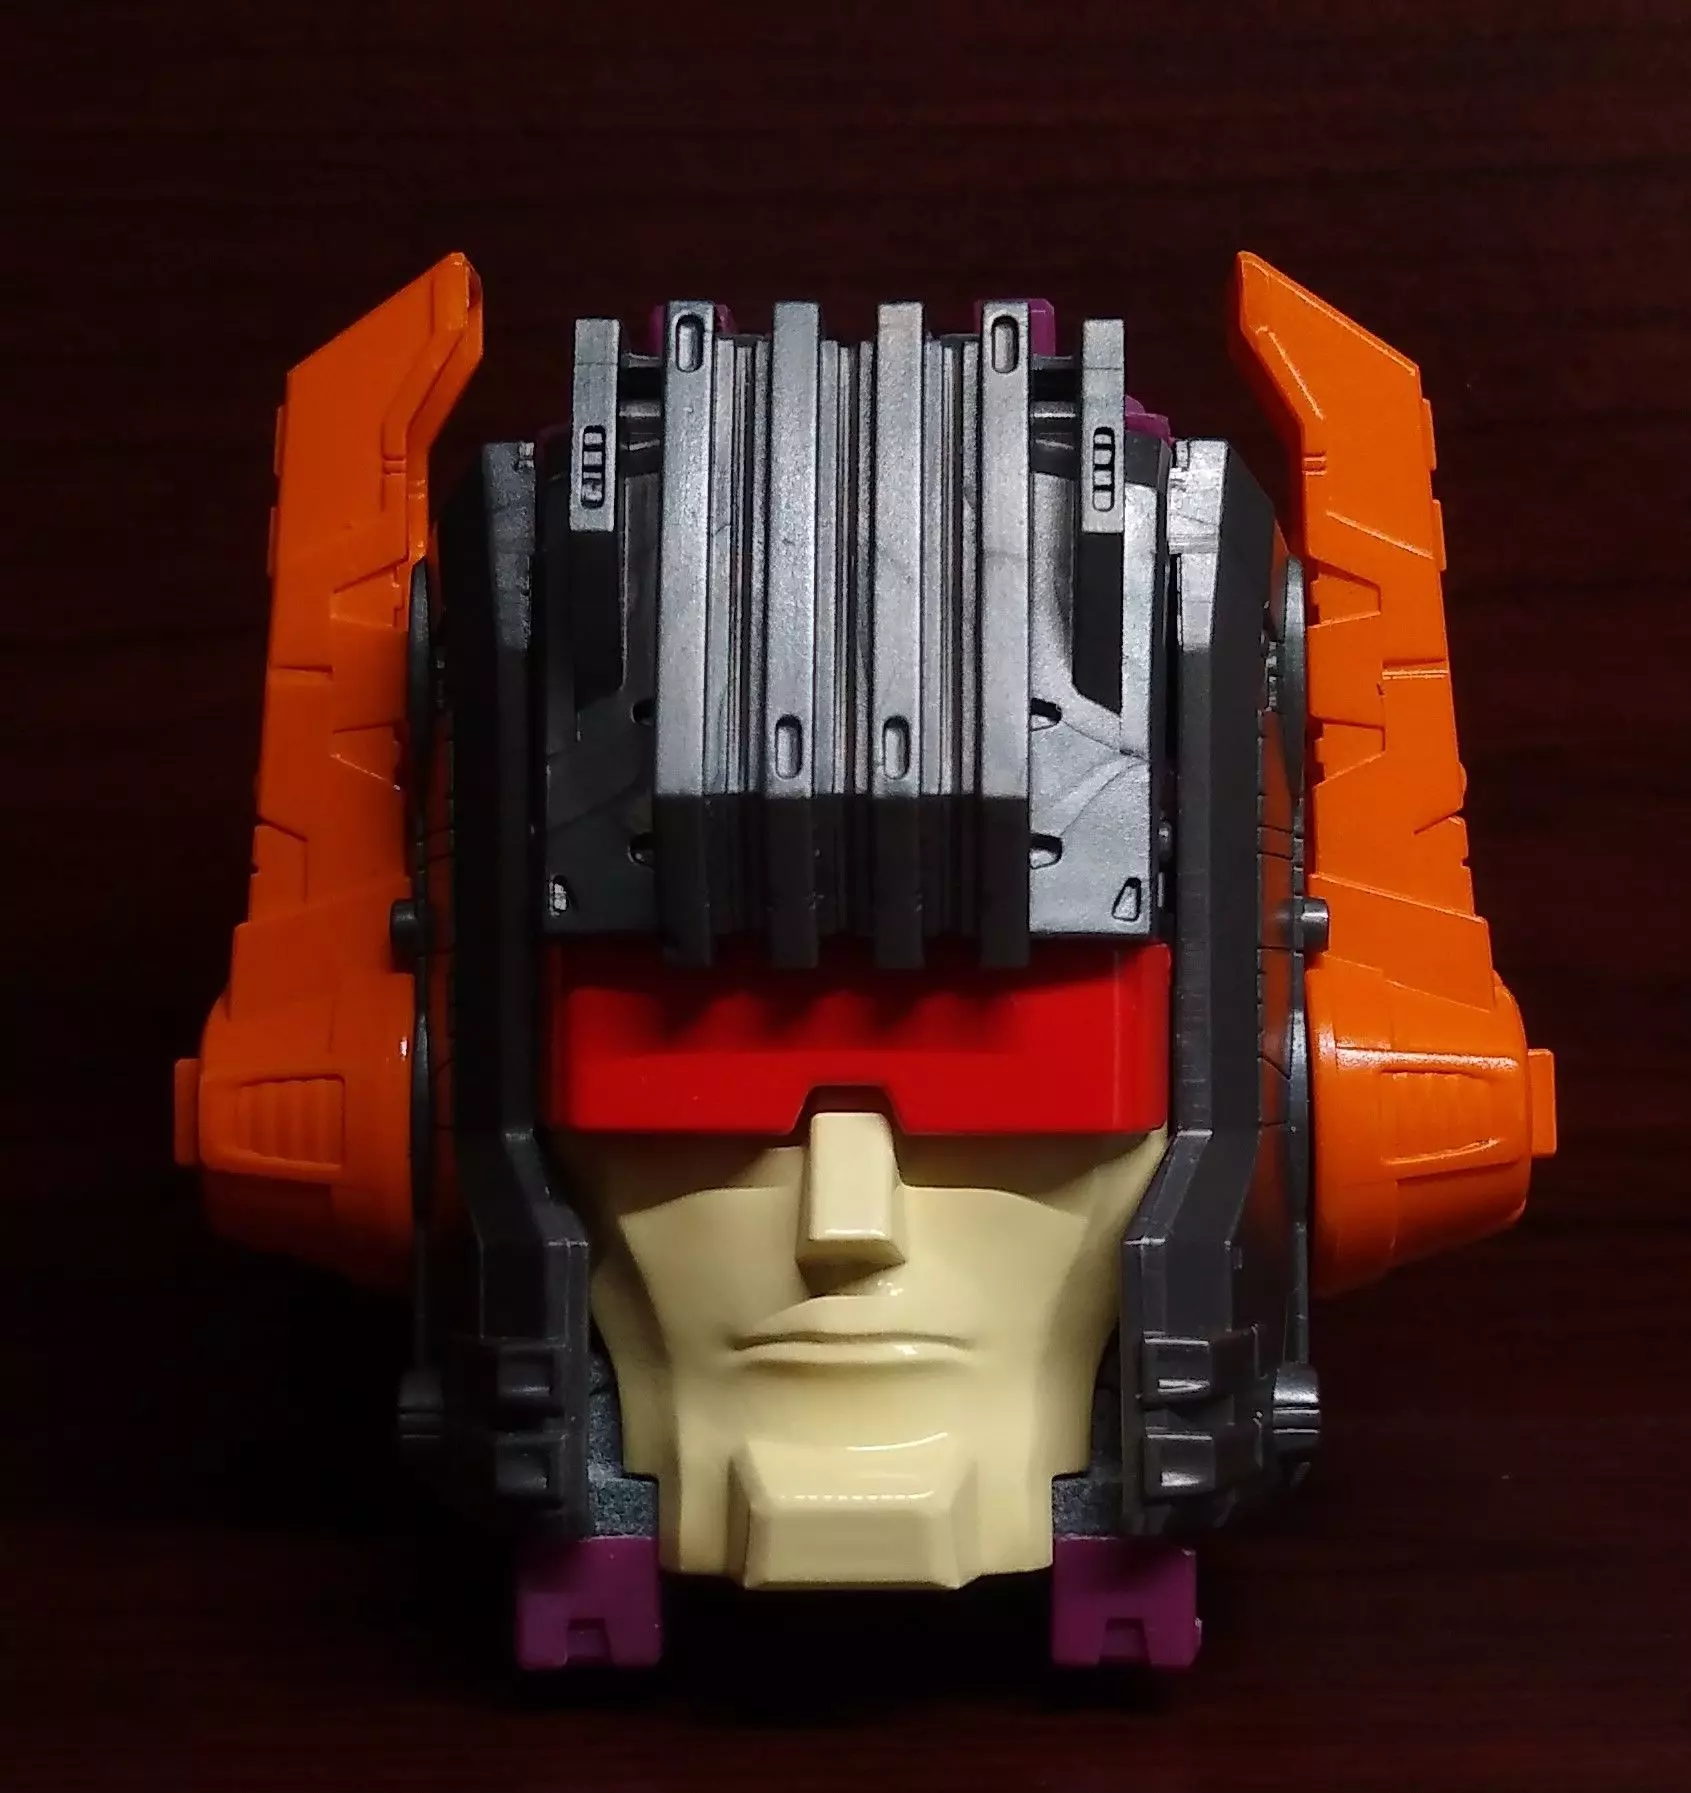
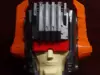
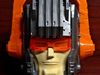
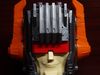
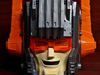
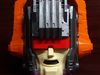
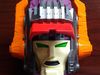
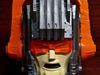
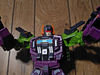
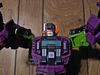
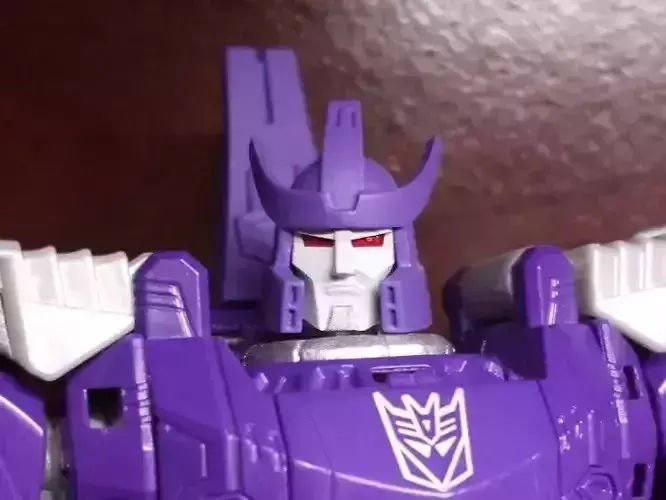
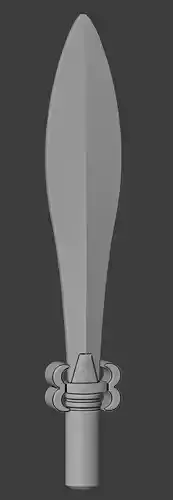
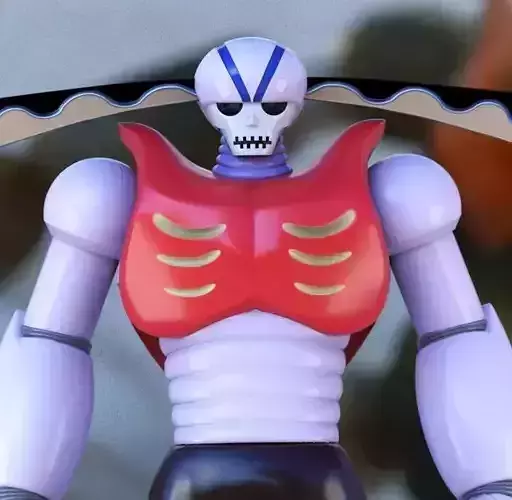
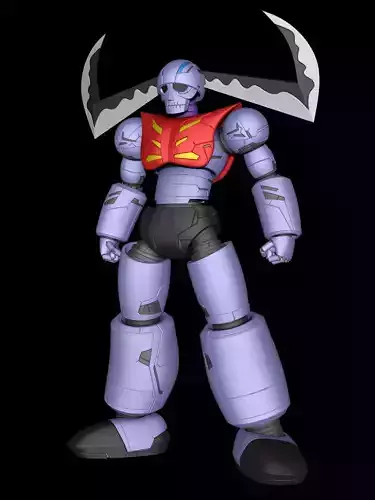
A multi-face kit for Titan Class Scorponok to make him look more lively. Installation requires removing the pin running through the original face's brow and reinstalling it into this, so if you're not comfortable with pin removal I recommend skipping this upgrade entirely.
Installation: Start by removing the two screws behind the top of Zarak's chestplate. They are partially blocked by the chestplate's hinge but still accessible, so be careful not to damage the plastic when twisting the screwdriver. Alternatively you can remove the long pin from the chestplate before removing the screws, but I wasn't able to do so on my copy. If you do make a mistake with the screwdriver, the damage should only be cosmetic and invisible in either mode.
Next, remove the pin running through the brow of the original face. I did this with a pin punch and pliers. Of course this can damage the original part, I am not responsible for damages, yadda yadda yadda...you know the rest. The Scorponok forehead/visor assembly can pop off the purple liftarm connecting it to the face and this makes access to the pin MUCH easier. Afterwards the torso will come apart. Set the chestplate/legs half of the figure aside. Don't lose the purple liftarm piece the forehead/visor assembly was on, it's now loose.
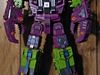
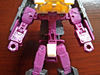
Next you need to swap the arms and collar over. The underside of Zarak's collar wraps over the shoulders' transformation joints, front and back, so you'll have to wiggle the shoulders forward to remove all three pieces at once. Reinstallation works the same way in reverse.
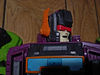
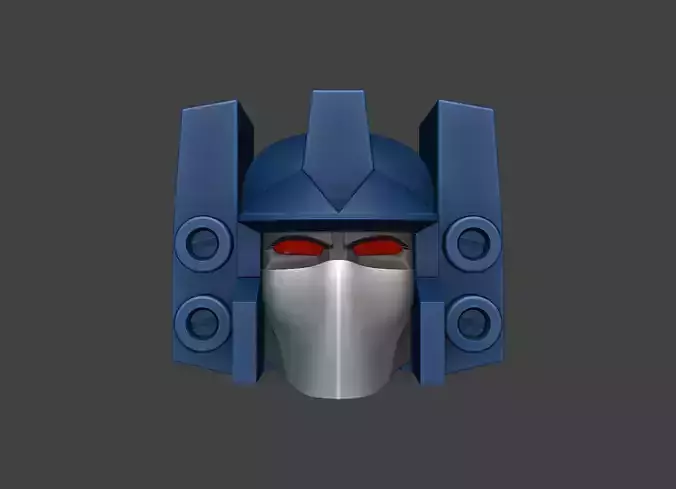
*-TEST FIT THE FACES BEFORE REASSEMBLY- * The plug on the back of the faces is accessible from the back of the face mount only before putting everything back together. If it's too tight of a fit for your liking, you can safely push the plug back out from behind before sanding or shaving things down.
When reinstalling the pin, remember that it passes through three parts: The face(or this piece), the purple forehead hinge, and the two purple loops on Zarak's torso column. If you skip one you'll have to back the pin back out and try again.
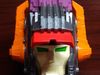
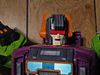
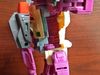
Swapping faces:After half-transforming Zarak from head mode to gain access, there are two ways to swap: The first is to pry the face off gently with your fingernails, wiggling the piece side to side. This can cause minor paint chipping to the custom parts, but it shouldn't be visible in head mode and this is by far the quickest and easiest way.
Alternatively I've left a small gap behind the brow of each faceplate, where the tally marks for matching the faces with the eyes are. A small flathead screwdriver can slip into this notch and pry the face off, but this involves popping the forehead/visor assembly off each time. Still, it's the safest way to preserve your paintwork.
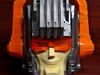
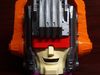
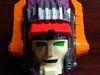
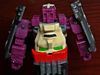
Paint:I recommend installing the eyes before painting the faces. This keeps excess paint out of the eye sockets so everything still fits together nicely later. Afterwards the eyes can be removed to strip the paint and prep them for your intended eye color. I also suggest not spraying the backside of the faces. The plug has been tested to fit without paint, and adding paint to that connection may make it fit much tighter than you'd like.
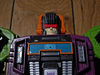
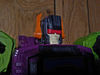
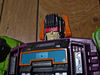
On my copy I painted the faces with a mixture of Mr. Color lacquers. This mix was primarily GX-1 Cool White with C-39 Dark Yellow and C-58 Orange Yellow for coloring, with some C151 White Pearl added last for looks( because I ran out of white paint...) The eyes were initially C-175 Fluorescent Green, as seen in most of the photos, but I brushed C-172 Fluorescent Yellow over them after I installed the transparent DNA Designs visor because the green by itself appeared black behind the transparent red. Any flat black will work on the mouth backing of the face mount.