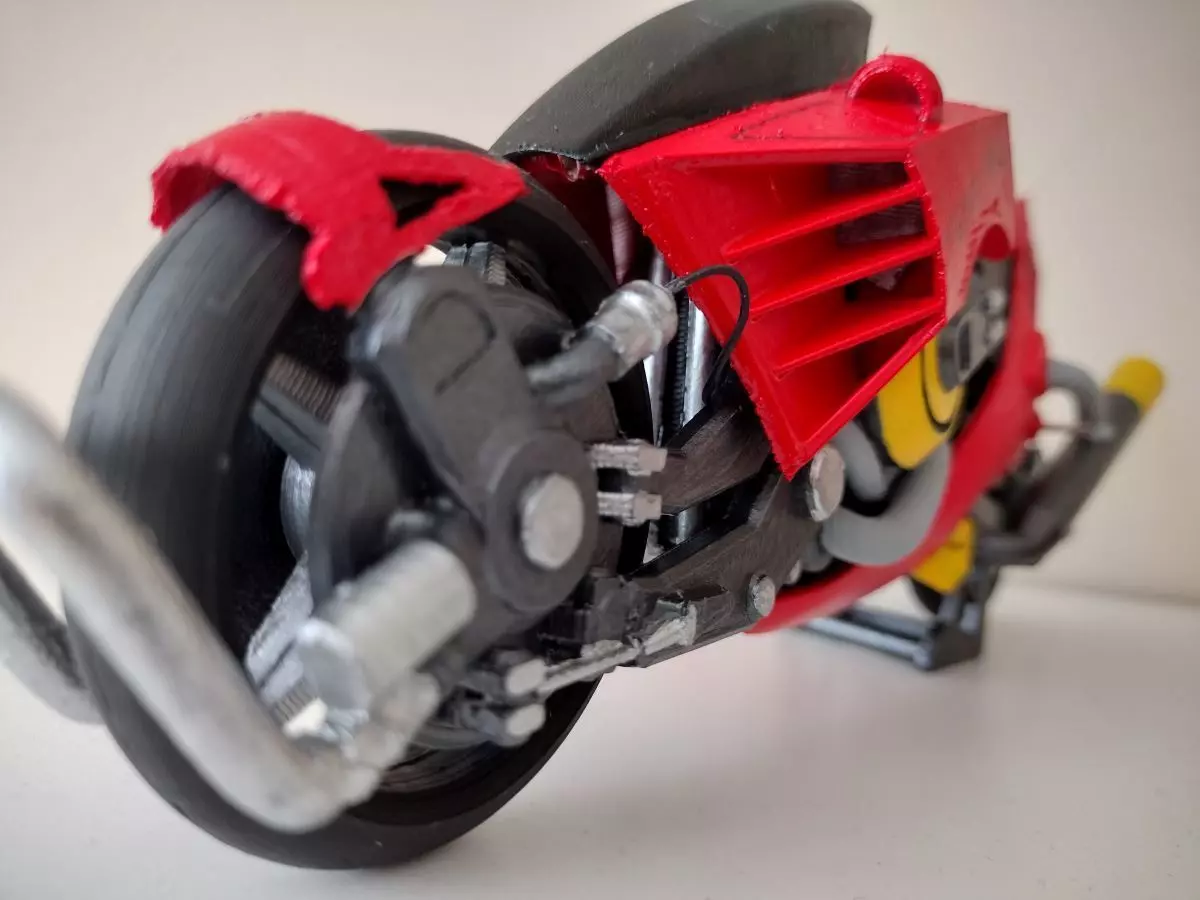
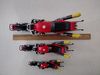
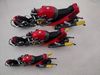
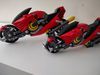
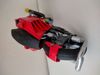
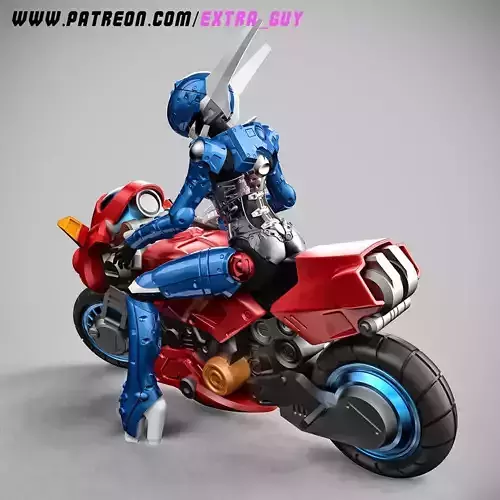
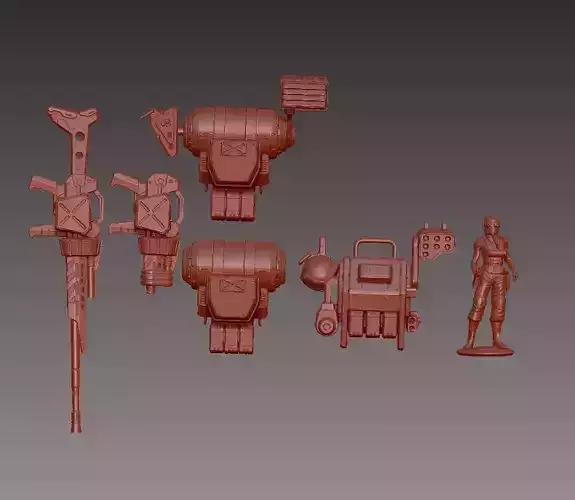
This is the Highway star bike from bubblegum crisis episode 4 Revenge Road.If you have not have experience putting together model kits, I recommend that you print the complete bike with supports at 50% size. If you want something that looks really good and paintable, you will need to print out the parts separately and put it all together. This model requires a fair amount of patience and time.This is my personal interpretation of the bike and is not meant to line up perfectly with the line art. I used the side view of the bike from the actual anime as the main reference in the design.
Before you get too confused, print out the pre-supported model at 50% size to see where all the parts will go. It doesn't take much filament and will answer most of your questions about the model itself.
The model can be printed in various sizes. For FDM printers, it is not recommended to go below 50% in size as printing and assembly gets difficult past this point.
Step 1: Figure out the size you want to print & scale it appropriately in your slicer.
50% - miniature and looks good if you like small scale models. This is my personal favorite, but is much harder to print and assemble than the larger versions. For this verison, you will need to use rfaring-3mm.stl instead of the 2mm version. The 2mm prints too thinly at 50% and is hard to install.
75% - I recommend this size as it is easy to put together and not as hefty as the full sized one. This is also the smallest scale where you will easily be able to insert your own brake cables, etc... to add more amazing details. Use the rfaring-2mm.stl for this scale.
100% - This is the size it was designed in and if you like something larger, go for it!
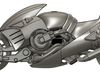
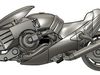
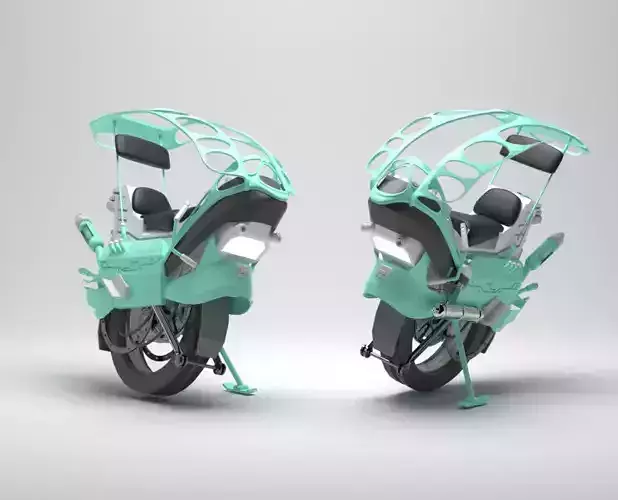
Step 2: Print settings.I used 80% infill, which works well with all scales, but you can go lower if your printer can handle it. I have also included two cura 3mf files which show how I aligned and printed them on my own printer (Anycubic vyper). Both use supports, but one has all the parts which can print with a skirt while the other has the rest of the parts which require a brim. If you choose not to use these files, you will need to figure out what works best for your printer. Certain parts will need to be mirrored as well. I included 2 different versions of the front faring. You can choose one which you like better and print that one. V1 is a bit more curvy and v2 is a bit straighter. Check out the attached images to see which one you prefer.
Step 3: Assembly.Be sure to spend some time checking familiarizing yourself with the stls so that you know which parts are supports to remove. It may be easy to remove something that is not a support!1) Carefully clear away the supports and glue togehter the main engine pieces.
2) Put together the wheels. The rear wheels are a bit larger/thicker than the front ones. If you put them in correctly, they can actually spin after the model is completed.
3) The front wheel hubs go together next over the wheels. Once the fit is correct, you can glue them directly to the engine.
4) The rear wheel hubs can also go together now and once the fitment is correct, you can also glue them directly to the rear of the bike.
5) The handles can be glued to the body.
6) The tank/seat can be placed on top and the lower faring can be glued on as well as it partially connects to the back of the seat.
7) The side tailpipes can be glued on.
8) The front faring can be assembled now. Please note that this is optional as I designed the bike to also be displayed naked.
9) All the delicate miscellaneous pieces can be put on as well. The front bumper, the front wheel faring, and the wheelie bars for the rear wheel.
10) The stand is in two pieces and can be glued togeher. In the anime, it holds up the footpegs during construction while the tailpipe was not attached. With the tailpipe attached in this model though, it simply needs to sit right in front of the rear wheel instead.
If you want to paint this, then you will need to plan this accordingly with respect to the steps above.