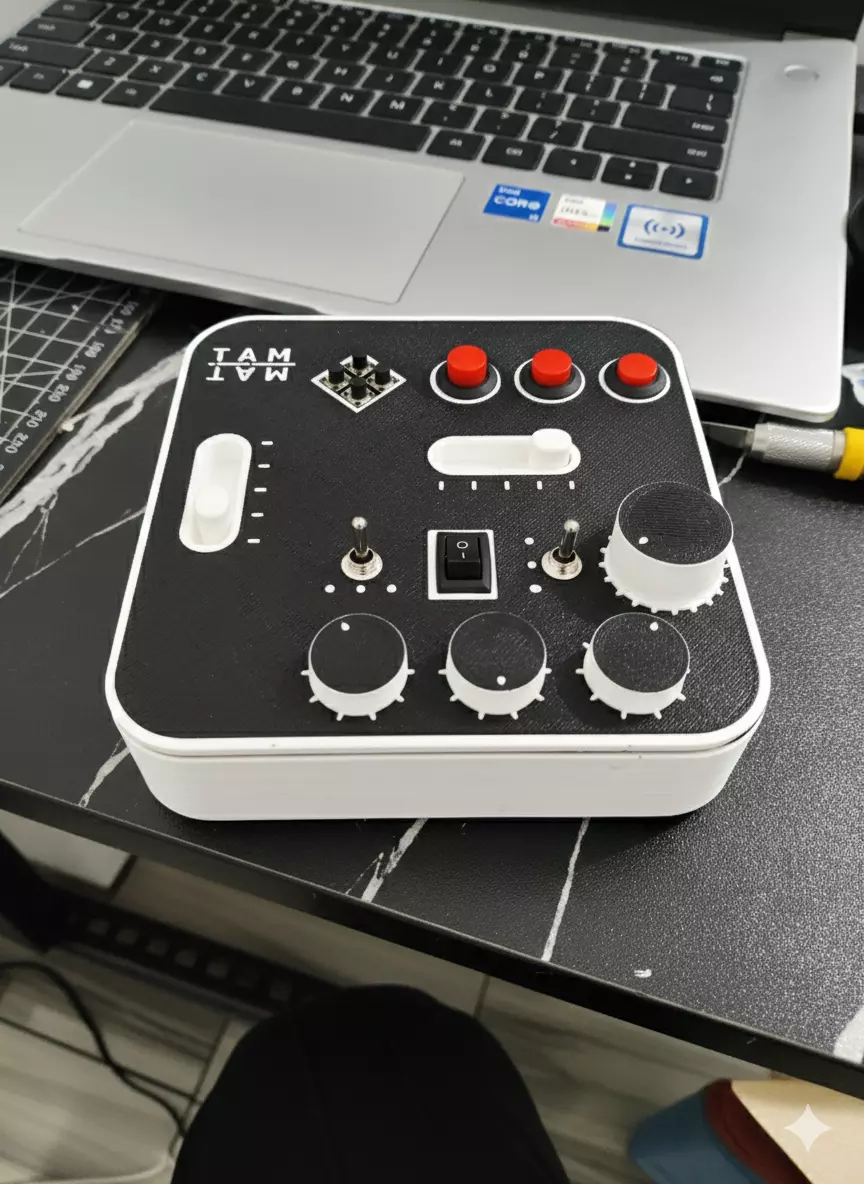
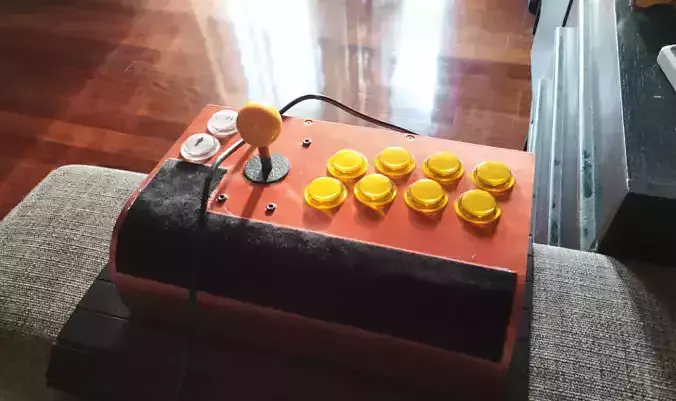
Fidget Toy Control Panel
For the STP Version visit me at:
https://ko-fi.com/bmbulahan/shop
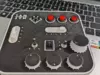
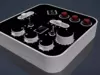
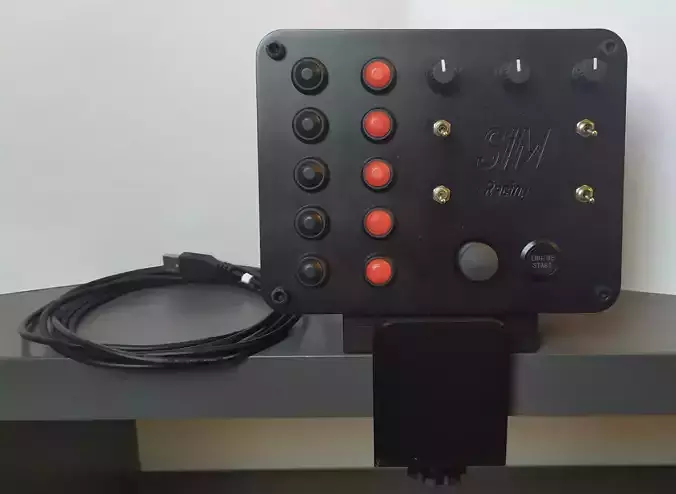
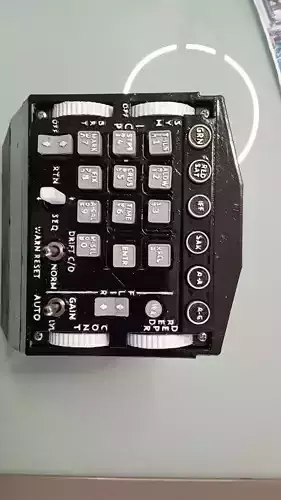
This is a fidget toy consisting of multiple buttons and sliders. The interface doesn’t perform any real functions—it’s designed purely to entertain a fidgety child. Although primarily intended as a toy, you can also repurpose or modify it for your own electronics projects.
Parts Needed
- Rotary Encoder – 2 pcs (for Rotary_Encoder_Knob.stl)
- Tactile Switch – 4 pcs
- Latching Button – 3 pcs
- Magnet – 3 pcs (for Magnetic_Knob_part1.stl and Magnetic_Knob_part2.stl)
- Rocker Switch – 1 pc
Materials Needed
- Super Glue
- PCB / Perfboard / Solderable Breadboard
Printing Steps (for non–multi-color printers)Slicer Used: Orca Slicer
1st Part
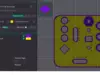
- Print Case_Top.stl and Case_Top_Surface.stl in a single project, sharing the same bed X and Y location.
- Add a new filament from the filament tab.
- Ensure the two STL files use different filaments.
- Refer to Instruction_1.3mf for a sample setup.
2nd Part
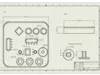
- Print Case_Bottom.stl, Slider.stl, Rotary_Encoder_Knob.stl, Magnetic_Knob_part1.stl, and Magnetic_Knob_part2.stl together on a single bed.
- Slice the print and insert an M600 gcode at the 2nd layer.
- Refer to Instruction_2.3mf for a sample setup.
Assembly Instructions
- Mount the tactile switches on top of a perfboard, PCB, or solderable breadboard.
- Insert the buttons into Case_Top.stl.
- Place a magnet into Magnetic_Knob_part2.stl.
- Insert Magnetic_Knob_part1.stl into the allocated hole.
- Apply super glue around the inner perimeter of the cylinder part of Magnetic_Knob_part2.stl and attach it to Magnetic_Knob_part1.stl.
- Use super glue to join Case_Top.stl and Case_Bottom.stl.