PAGINA IN ALLESTIMENTO---Nei prossimi giorni ci potrebbero essere delle modifiche o delle novita...
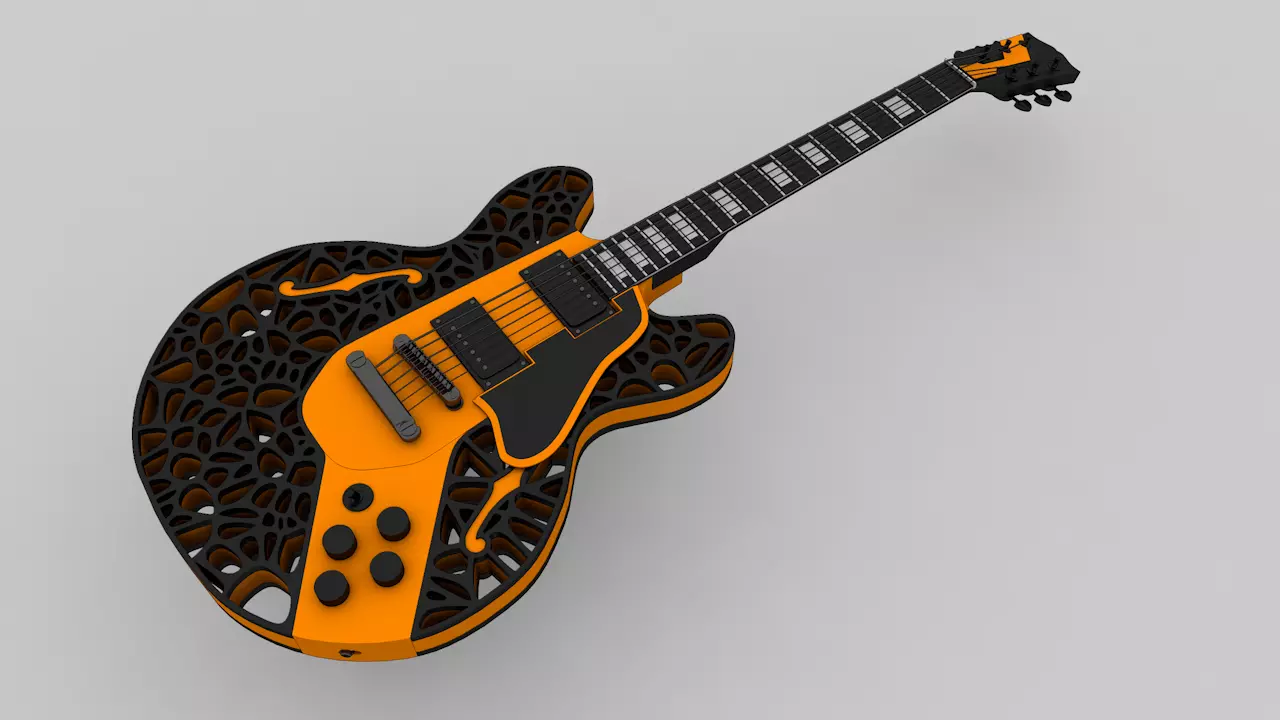
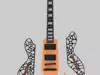
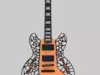
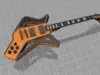
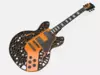
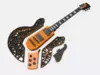
PARTI DA STAMPARE PER CREARE UNA CHITARRA ELETTRICA DAL DESIGN UNICO !!!
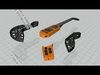
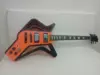
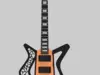
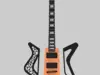
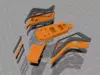
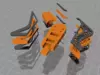
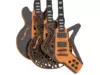
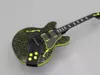
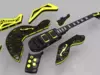
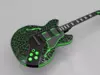
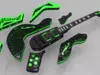
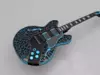
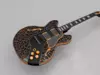
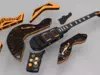
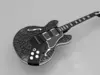
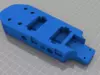
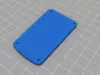
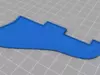
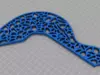
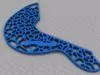
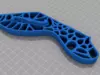
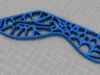
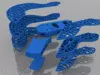
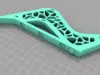
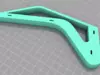
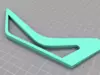
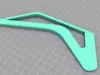
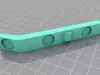
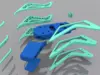
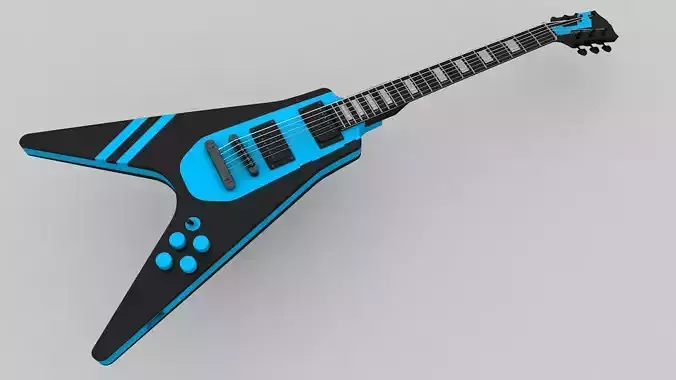
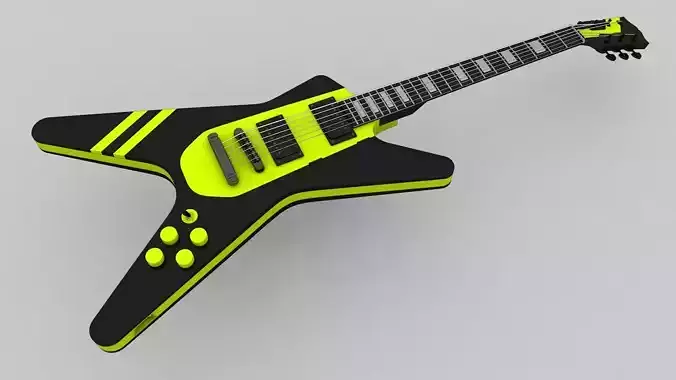
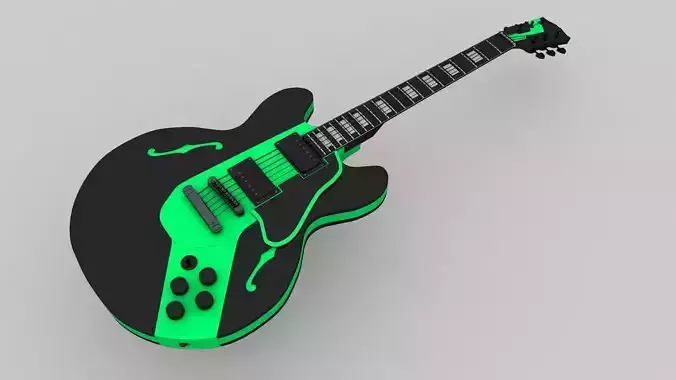
E' una chitarra di tipo modulare,si possono cambiare le parti dando alla chitarra forme diverse...i file STL contengono il corpo centrale,il controller,le parti per la chitarra stile gibson,e parti per una chitarra design fusion...per intercambiare le parti avrete bisogno di magneti da 20mm...piu le rispettive rondelle,di solito le rondelle sono gia incluse quando si acquistano i magneti,senno' dovrete comprarle a parte...inserite i magneti e le rondelle nelle rispettive sedi dando una punta di colla,poi inserite le viti cosi da dare molta resistenza senza il rischio che si stacchino...Per connettere il controller avrete bisogno di connettori a 9 pin maschio e femmina,dove dopo andranno saldati,i pick up dalla parte del body,e i controlli tono e volume dalla parte del controller...anche qua cercate di usare sia colla che viti...il manico deve essere del modello gibson les paul,non montate altri manici altrimenti cambia la scala del manico e si rischia di avere uno strumento insuonabile per il fatto che non si accordera mai'...Ora parliamo delle parti stampate...il body e' la parte piu importante quindi consiglio di usare un PETG materiale dalle buone caratteristiche meccaniche,resistente agli urti e al tempo,e consiglio di usare un infill del 40% 4 strati per le pareti e 4 strati sopra e sotto...per le altre parti non sono richieste particolari attenzioni,magai potete abbassare l infill mantenendo le pareti la parte bassa e la parte alta a 4 strati,questo dovrebbe bastare...Fate attenzione quando stampate le parti della parte dietro della chitarra,la chitarra non e' piatta,ha una leggera curvatura,ecco perche le parti dietro della chitarra sul vostro slicer le vedrete al contrario...Una volta stampate le parti dovranno essere incollate,usate delle buone colle oppure della resina,attenzione pero' troppo poca rischiamo che le parti si staccano,troppa colla potrebbe sbordare e creare delle fastidiose colature...incollate una parte alla volta,usate morsetti con teste di comma,oppure fate in modo quando stringete di non rovinare le parti stampate...per quanto riguarda l'elettronica ci sono svariati kit a buon prezzo,vi mettero qualche link,fate attenzione a quando saldate i fili dovete rispettare i piu e i meno dei pickup,ci sono anche dei fori per mettere a massa il ponte,per il ponte avrete bisogno di dadi esagonali M8 da 40mm..2 per il ponte e 2 per la cordiera..passate un filo elettrico nel foro apposito adiacente alla sede del connettore ,saldatelo sul dado poi infilate il dado M8 nella sede...questo dovrebbe bastare a mettere a massa il ponte...ìInsomma,e' un lavoro lungo e complesso.il body da solo richiede molte ore di stampa,anche incollare le parti richiede una certa attenzione,cercate di non farvi prendere dalla fretta,fate un po alla volta,una volta stampate le parti di almeno una chitarra,potete iniziare ad acquistare il necessario per completarla...quindi fornitevi di saldatore a stagno viti di varie nisure,colla o resina e qualche morsetto,poi sotto fato' una lista delle parti necessarie...una volta completata dovrete fare il set up dello strumento,sul tubo ci sono molti video tutorial...potete personalizzare la vostra chitarra con i colori che volete,vi ho lasciato qualche esempio sopra,per qualsiasi dubbio consiglio o per qualche problema relativo ai file stl non esitate a scrivermi...quindi mettetevi all opera...buon lavoro e buon divertimento...
It is a modular guitar, you can change the parts giving the guitar different shapes ... STL files contain the central body, the controller, the parts for the gibson-style guitar, and parts for a fusion design guitar... To interchange the parts you will need 20mm magnets... plus the respective washers, usually the washers are already included when you buy the magnets, otherwise you will have to buy them separately... insert the magnets and washers in their respective seats giving a tip of glue, then insert the screws so as to give a lot of resistance without the risk of them coming off ... To connect the controller you will need 9-pin male and female connectors, where they will then be soldered, the pickups on the body side, and the tone and volume controls on the controller side... also here try to use both glue and screws... the neck must be of the Gibson Les Paul model, do not mount other necks otherwise the scale of the neck changes and you risk having an unplayable instrument for the fact that it will never tune ... Now lets talk about the printed parts... the body is the most important part so I recommend using a PETG material with good mechanical characteristics, resistant to shocks and time, and I recommend using a 40% infill 4 layers for the walls and 4 layers above and below ... for the other parts no special attention is required, you can lower the infill while keeping the walls the lower part and the upper part in 4 layers, this should be enough... Be careful when you print the parts of the back of the guitar, the guitar is not flat, it has a slight curvature, that"s why the back parts of the guitar on your slicer you will see them backwards... Once printed the parts will have to be glued, use good glues or resin, be careful but too little we risk that the parts come off, too much glue could overflow and create annoying drips ... glue one part at a time, use clamps with comma heads, or make sure when tightening not to ruin the printed parts... as for the electronics there are several kits at a good price, I will put some links, be careful when you weld the wires you have to respect the pluses and minuses of the pickups, there are also holes to ground the bridge, for the bridge you will need 40mm M8 hex nuts .. 2 for the bridge and 2 for the tailpiece. pass an electric wire in the appropriate hole adjacent to the connector housing, solder it on the nut then insert the M8 nut into the seat... this should be enough to put the bridge to the ground... In short, it is a long job and complesso.il body alone requires many hours of printing, even gluing the parts requires some attention, try not to get caught up in the hurry, do a little at a time, once you have printed the parts of at least one guitar, you can start buying what you need to complete it... so equip yourself with a soldering iron screws of various nisures, glue or resin and some clamps, then below made a list of the necessary parts ... once completed you will have to do the set up of the instrument, on the tube there are many video tutorials ... you can customize your guitar with the colors you want, I left you some examples above, for any doubt advice or for some problem related to STL files do not hesitate to write to me ... so get to work... good work and have fun...
MANICO PER CHITARRA TIPO LES PAUL2 HUMBACKER PICKUPCHIAVETTE PER TENDERE LE CORDE 3DX 3SXCORDE PER CHITARRA ELETTRICAPONTE + CORDIERA TIPO LES PAULKIT PER CONTROLLO 2 VOLUME 2 TONI + SELETTRORE 3 VIEMANOPOLE X4CONNETTORI MASCHIO + FEMMINA A 9 PIN4 DADI M8 DA 40mm10 magneti da 20mm + rondelle