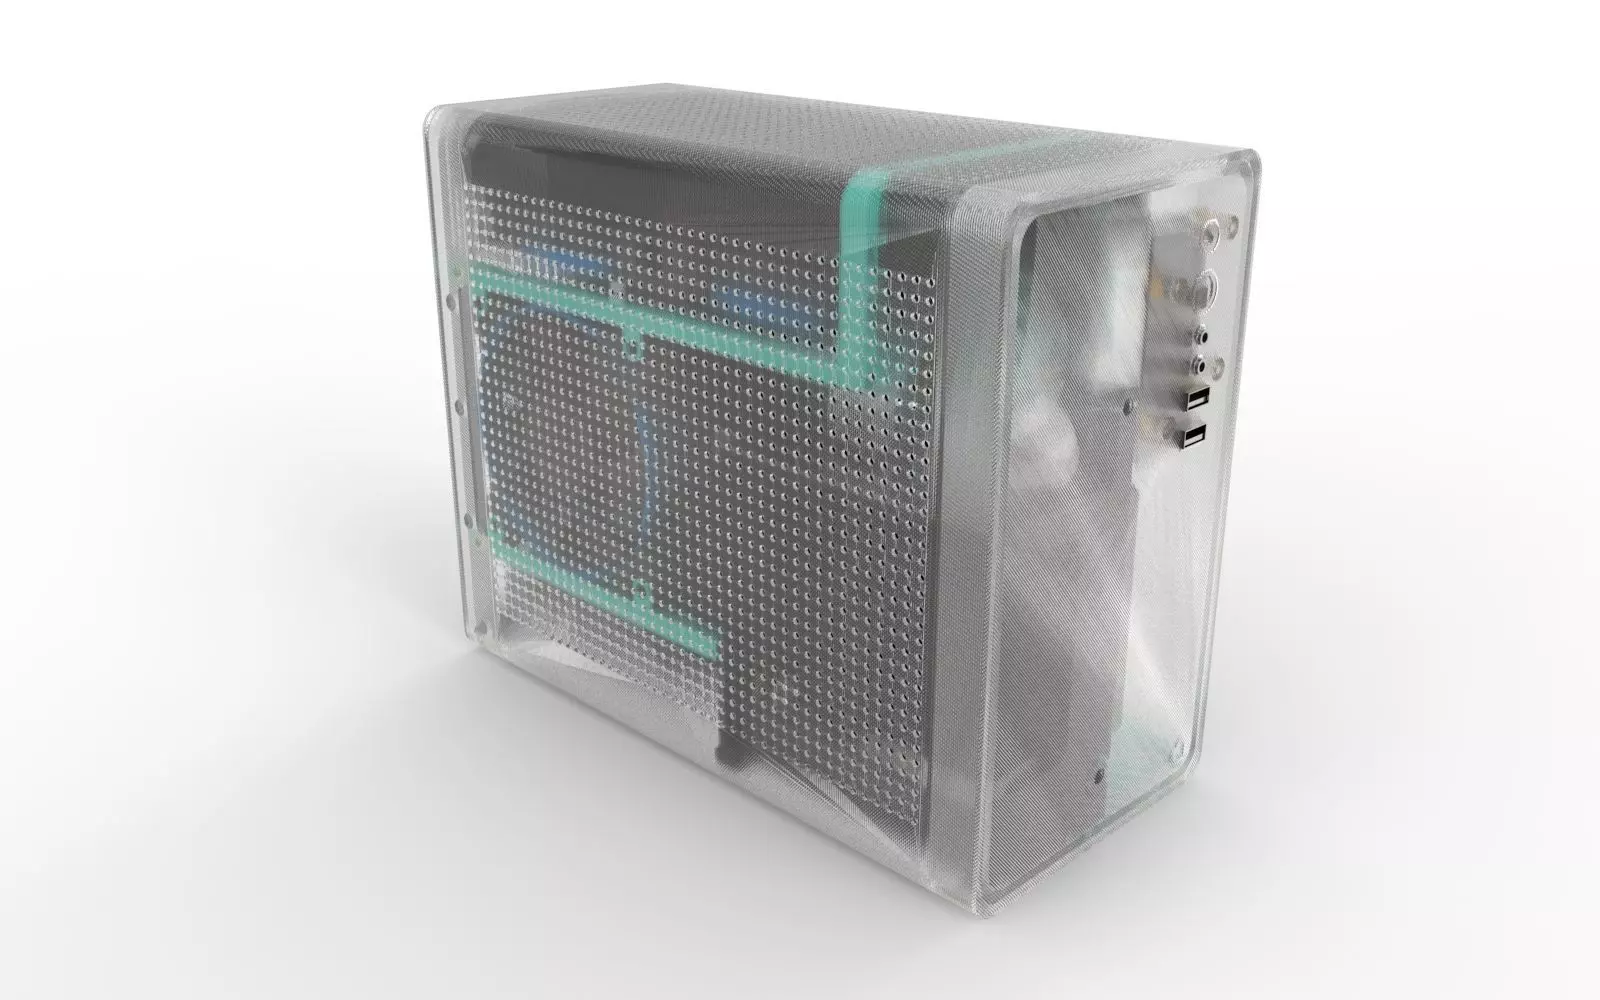
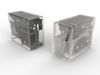
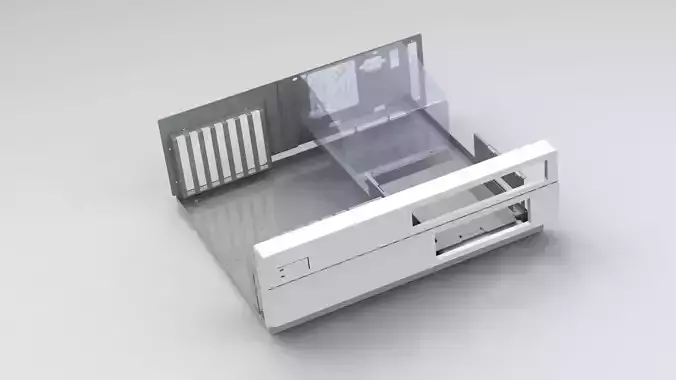
3D print your own PC case.
Supports 240mm AIO, a full-size GPU, and more.
Build plate of my 3D printer (28cm x 24cm x 30cm).As few overhangs as possible with absolute minimal support material needed.Fits standard off-the-shelf ITX/SFF components.Grip nut construction.Easy to open up and work on.
More information here:https://smallformfactor.net/forum/threads/heartcase-3d-printed-itx-12l-case-v1-0.16344
INSTRUCTIONS:
- Print all parts, use soldering iron to fit grip nuts.
- With the PCI riser in place attach the PCIE bracket to the back of the MOBO tray
- Attach the PSU tray to to the MOBO tray and attach the MOBO tray to the Outer Rear panel, fit the PSU to MOBO brace.
- Fit the Motherboard (and CPU). Fit all your MOBO cables now.
- Fitting the Radiator main bracket; with your AIO cooler not yet fitted but you need to now run the coolant tubes each side of the verticle part of the brace. Your rad is not yet fitted but the case is built inbetween your rad tubes.
- Fit the PSU and your power cable extender.
- Now the PSU is fitted you can slide the rad and fans into the radiator main bracket and attach the AIO pump to the cpu.
- Attach the Upper and Lower case fan brace's.
- Attach the the Rad brace.
- Fit your case fan and then fit your RAM.
- Fit your GPU - you may need to remove one screw from the PSU to MOBO tray bracket.
- Attach the gpu to the PCI riser and then screw the PCI bracket.
- Fit the GPU clamp.
- Attach the front I/O to the front panel now if you plan to run the case open and snap the fron panel into place.
If you are happy with the temps you can undo the front I/O and slide the outer case on. Attach the front I/O again and snap the front panel on. Screw the outer sleeve on underneath at the front and back.
Parts list:
front i/o - https://www.overclockers.co.uk/lazer3d-front-i-o-panel-2-x-usb3.0-40cm-cables-ca-01y-lz.html
PCI E Riser - https://www.ebay.co.uk/itm/PCI-E-X16-Express-Riser-Card-Extender-Extension-Port-Adapters-Cable-24cm-Length/254344829519
180 Degree Angled GPU Connector 1 - https://www.ebay.co.uk/itm/2x-180-Degree-Angled-Turning-Connector-Desktops-GPU-ATX-8-Pin-Power-Adapter/224171189090
180 Degree Angled GPU Connector 2 - https://www.ebay.co.uk/itm/2x-180-Degree-Angled-Connector-Graphics-Card-ATX-6-Pin-Power-Supply-Adapter/402762950697
Audio Extension - https://www.ebay.co.uk/itm/Akasa-EXAUDI-40-HD-audio-internal-extension-40cm/302358326880
Power extension cable - from anywhere.
Grip Nuts - https://www.aliexpress.com/item/1005001467877770.html?spm=a2g0s.9042311.0.0.40c34c4dwkjJF0
Screws - https://www.aliexpress.com/item/4001010449485.html?spm=a2g0s.9042311.0.0.40c34c4dwkjJF0
Disclaimer: This is an educational experiment and should not be used as a working computer case.