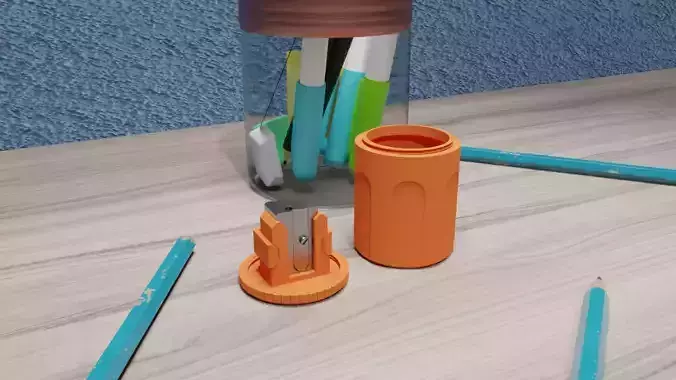
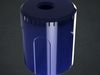
You can attach your pencil sharpener to this device and keep the pencil shavings contained until you're ready to empty them.
To empty the sharpener, unscrew the knurled top section of the sharpener and pull out the sharpening unit. Pour out the pencil shavings, then reassemble the sharpener.
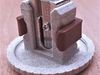
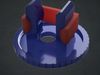
To assemble the device, slide in your sharpener in the corresponding slot of the lid and then secure it with the 3d printed clip. Make sure that the pencil insert hole of the sharpener aligns properly with the pencil insert of the 3d printed lid. Screw the lid to the container and you are good to go.
Before you print all the files make sure you print the Test_fit.stl file and put your sharpener in it to see if it fits. If it's a tight fit you are good to go. If the sharpener fits loosely the device may not work properly (sharpener may rattle inside it or the holes may not align properly).
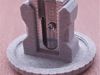
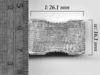
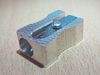
See the pictures for the exact dimensions of the sharpeners I had in hand when designing this device.
Prints without supportsLayer height 0.2 or lessI suggest you use PLA for this print in order for the threads to work properly