
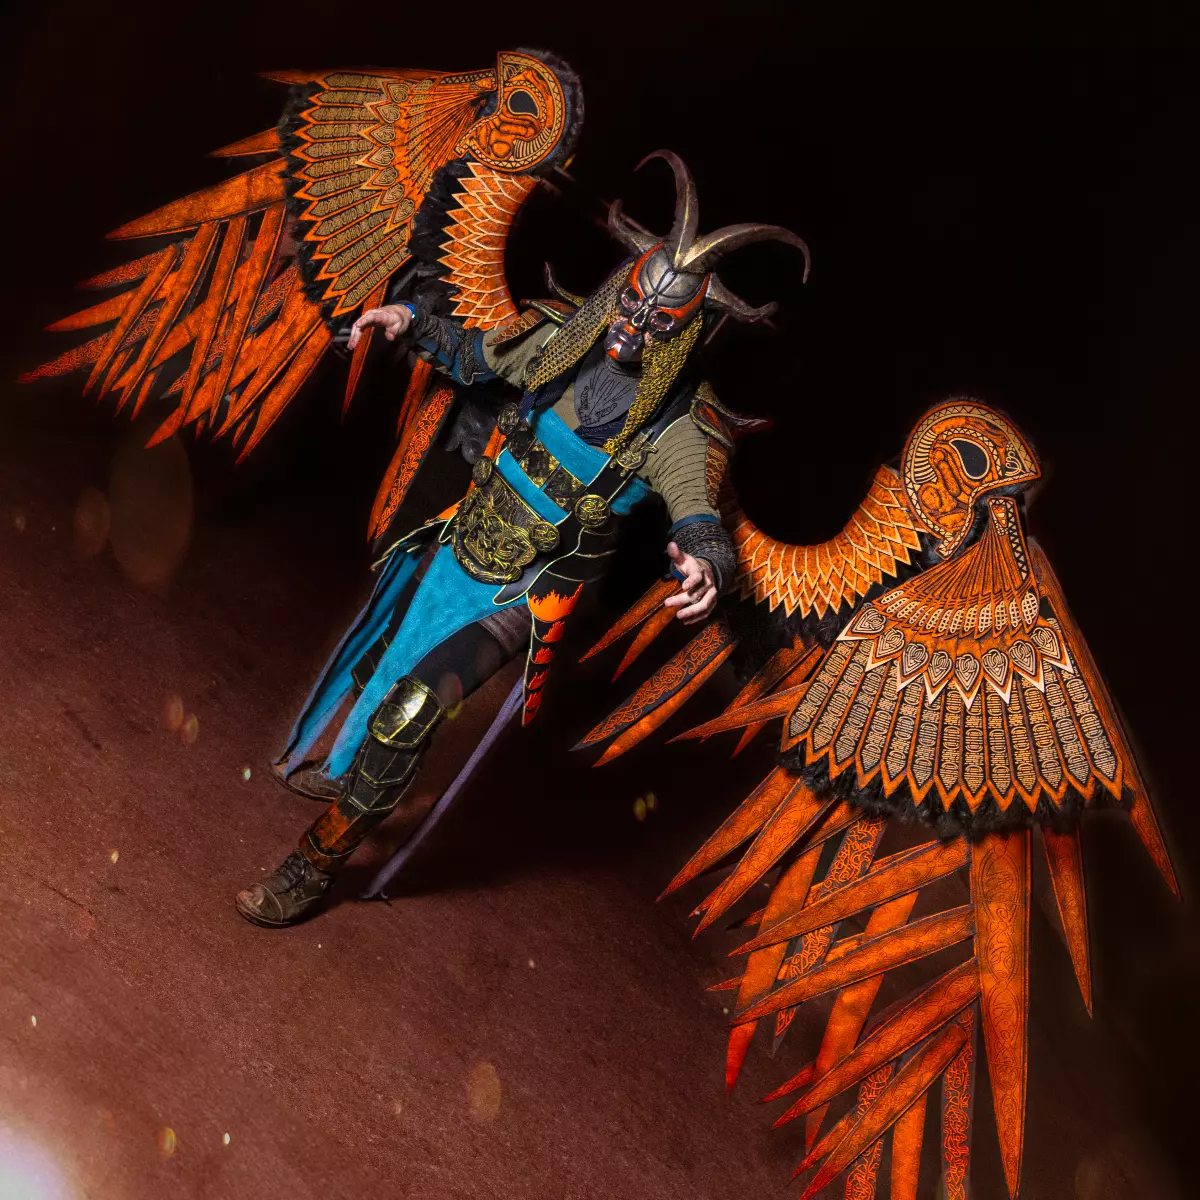
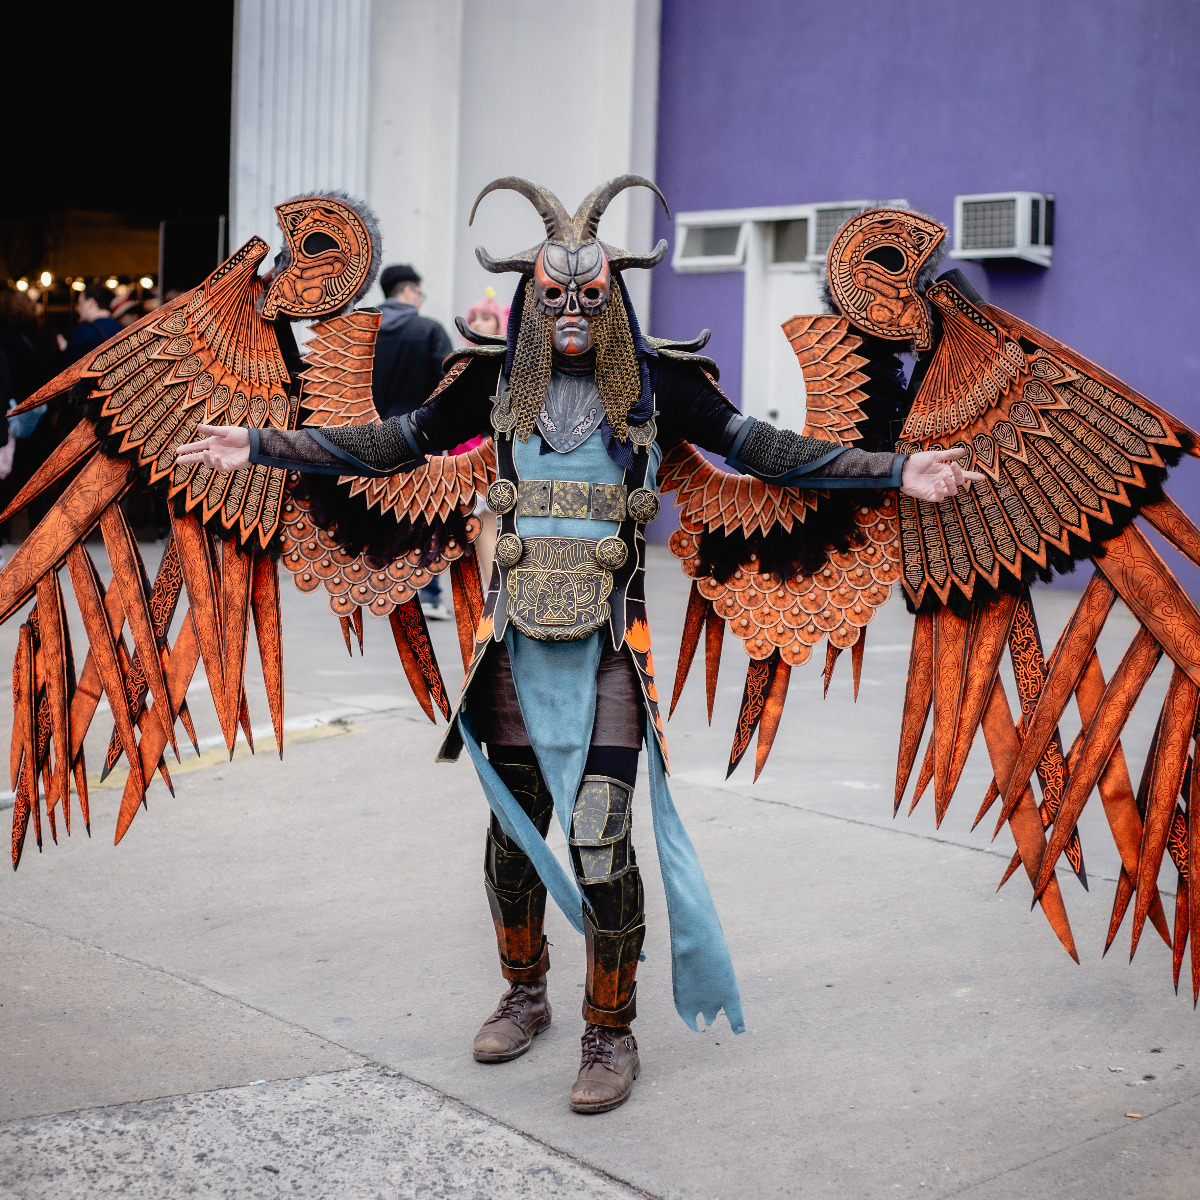

Valkyrie Costume Armor Set DIY Kit 3D print model
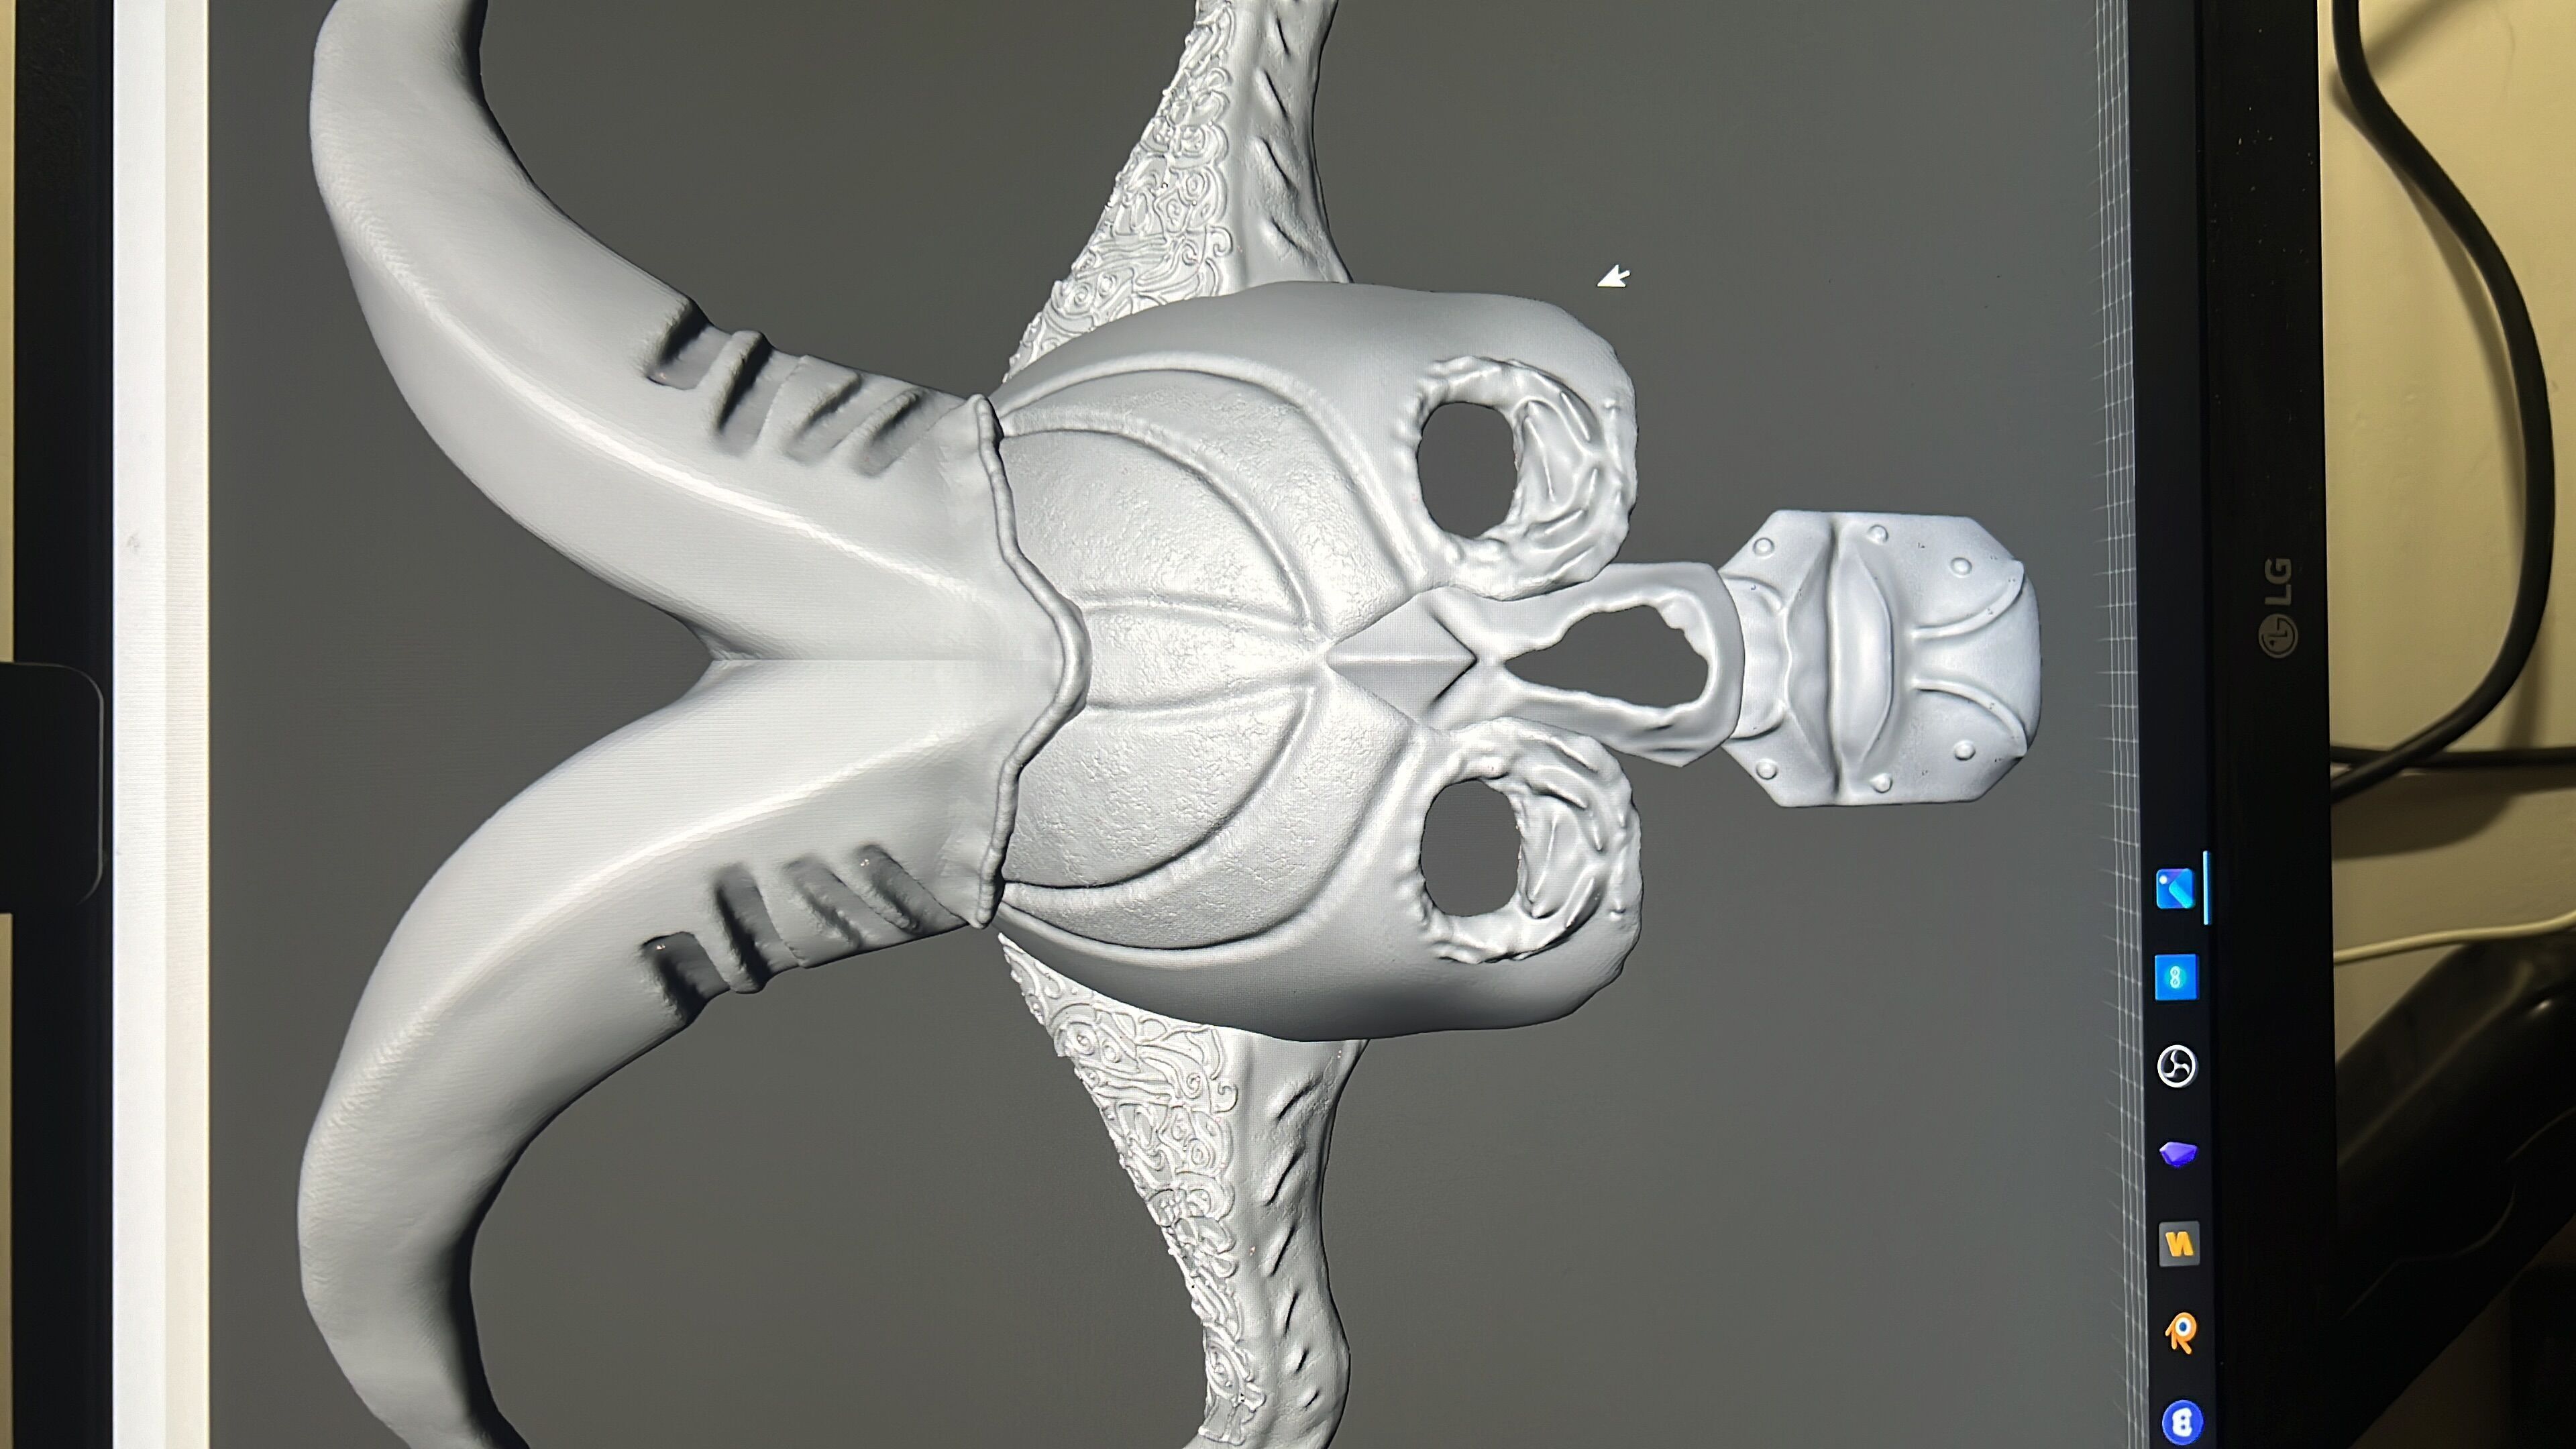
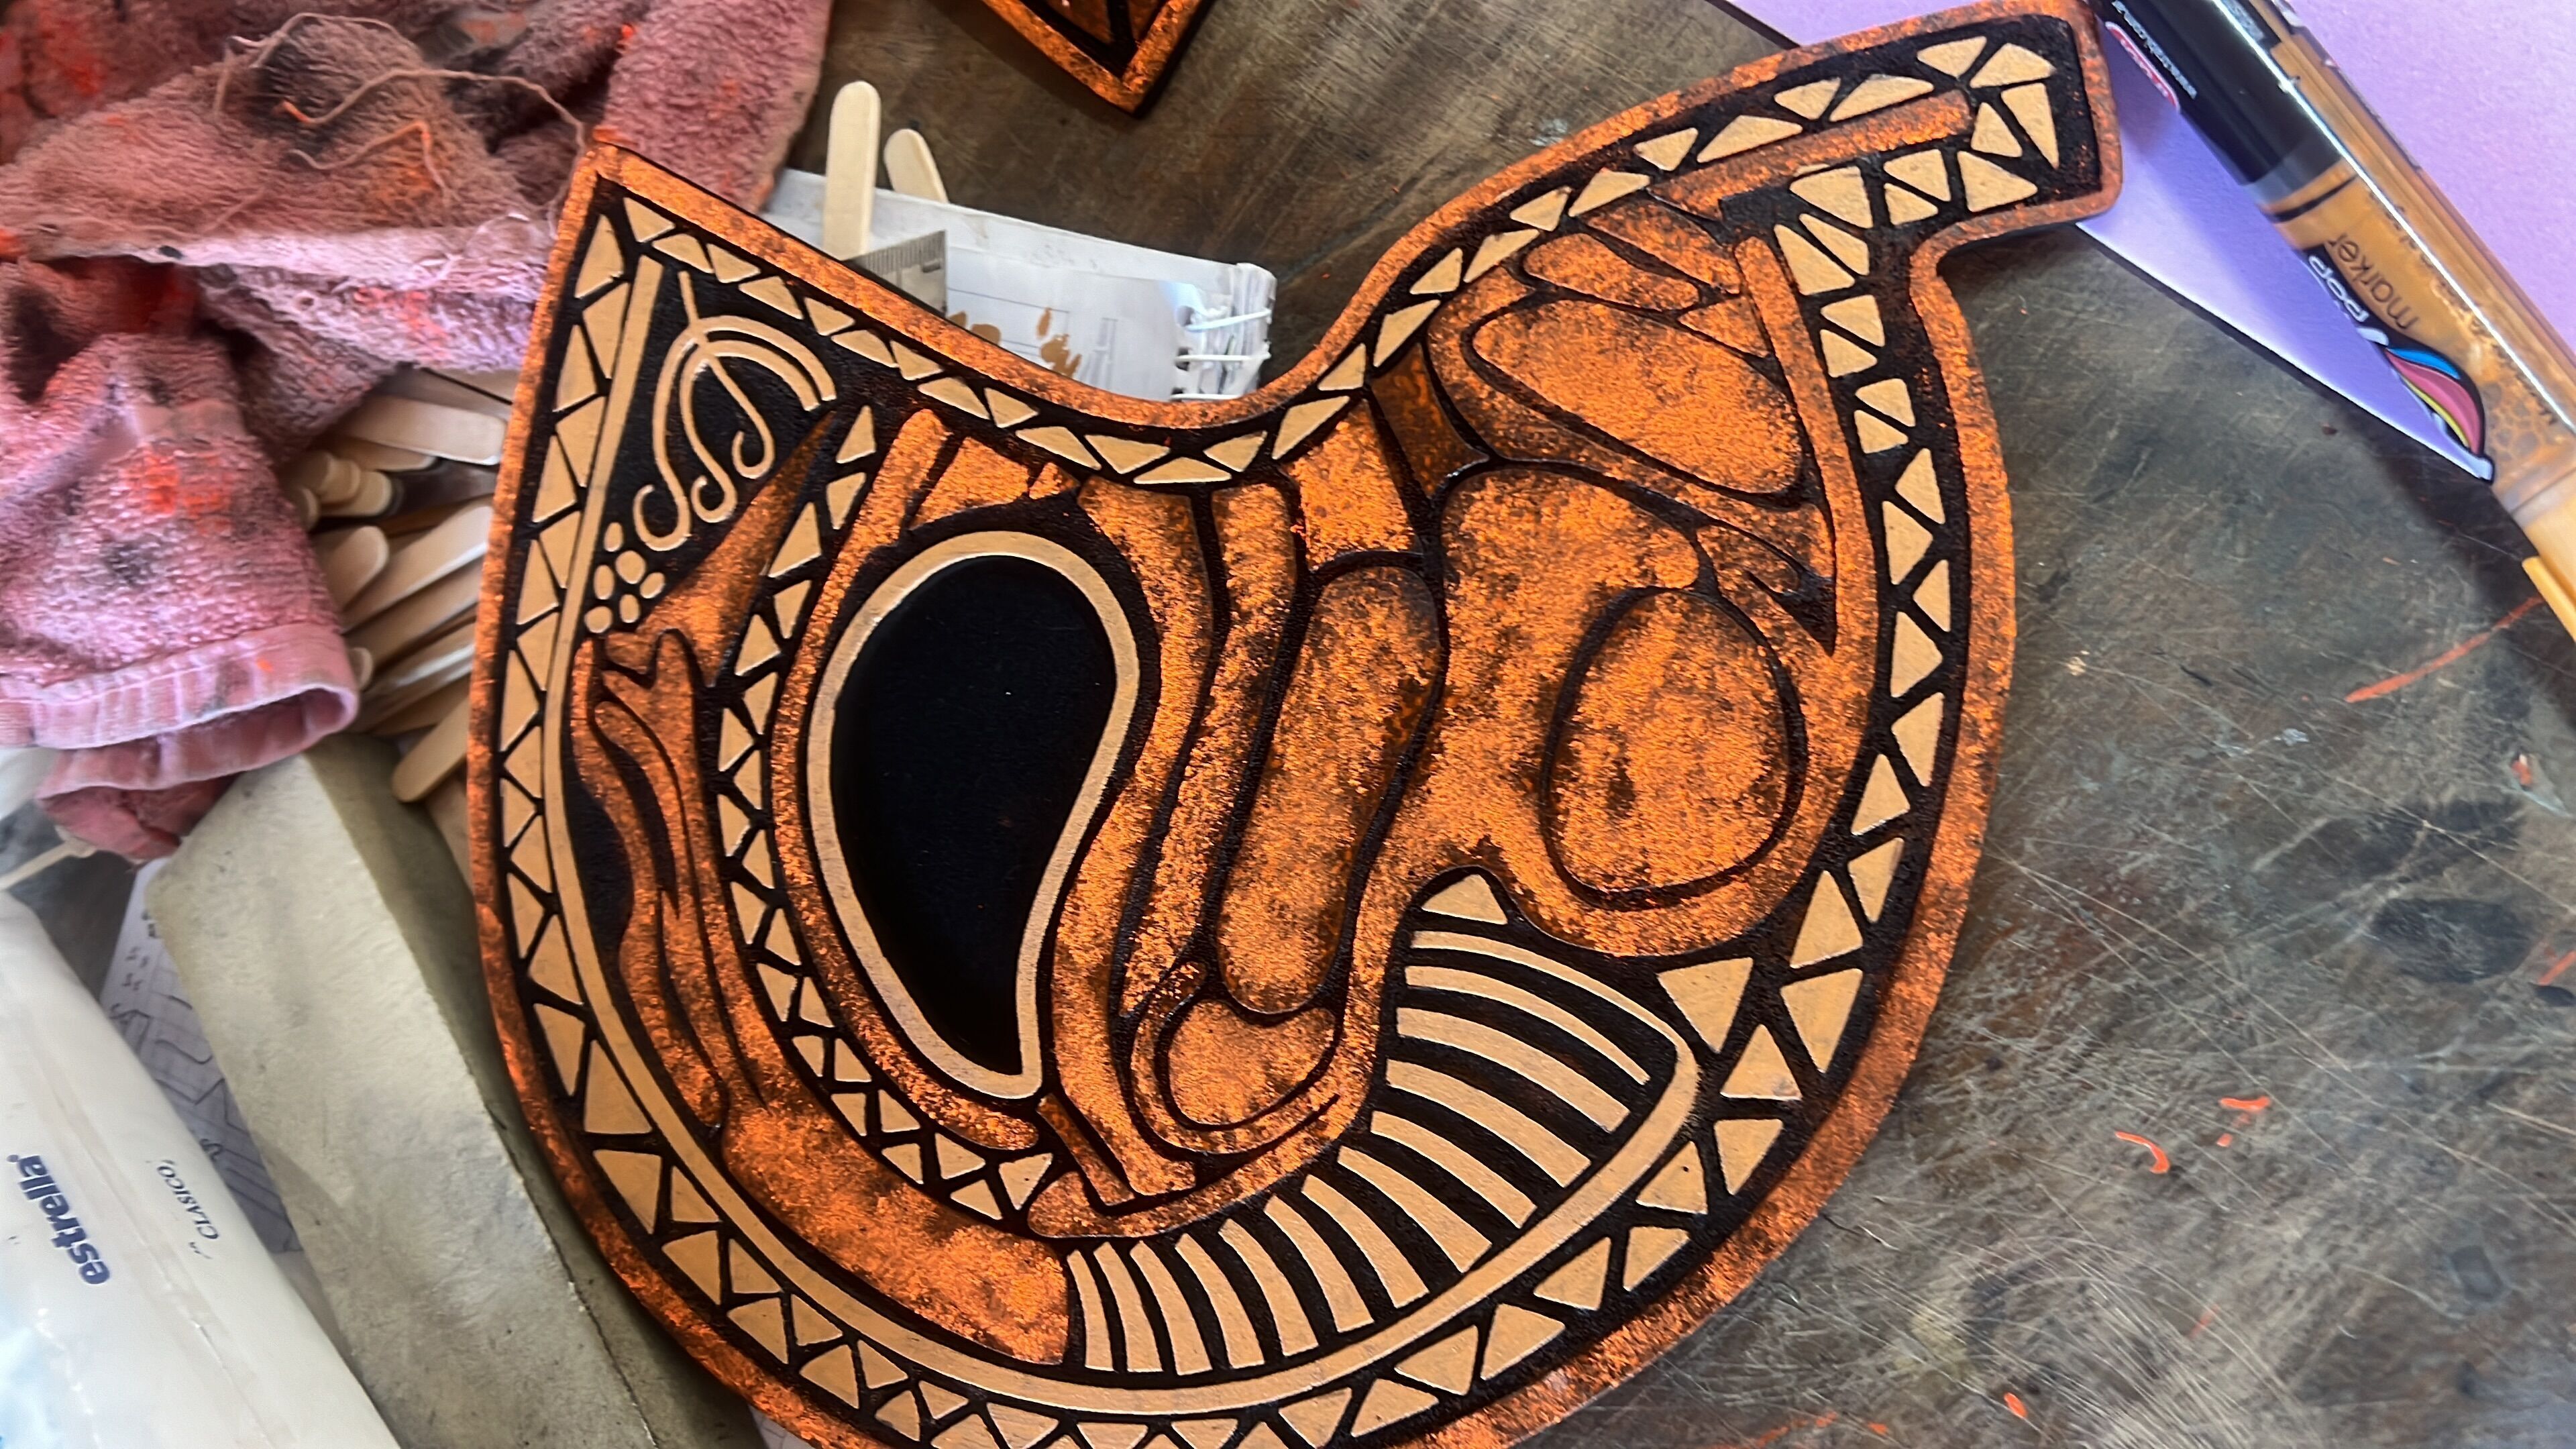
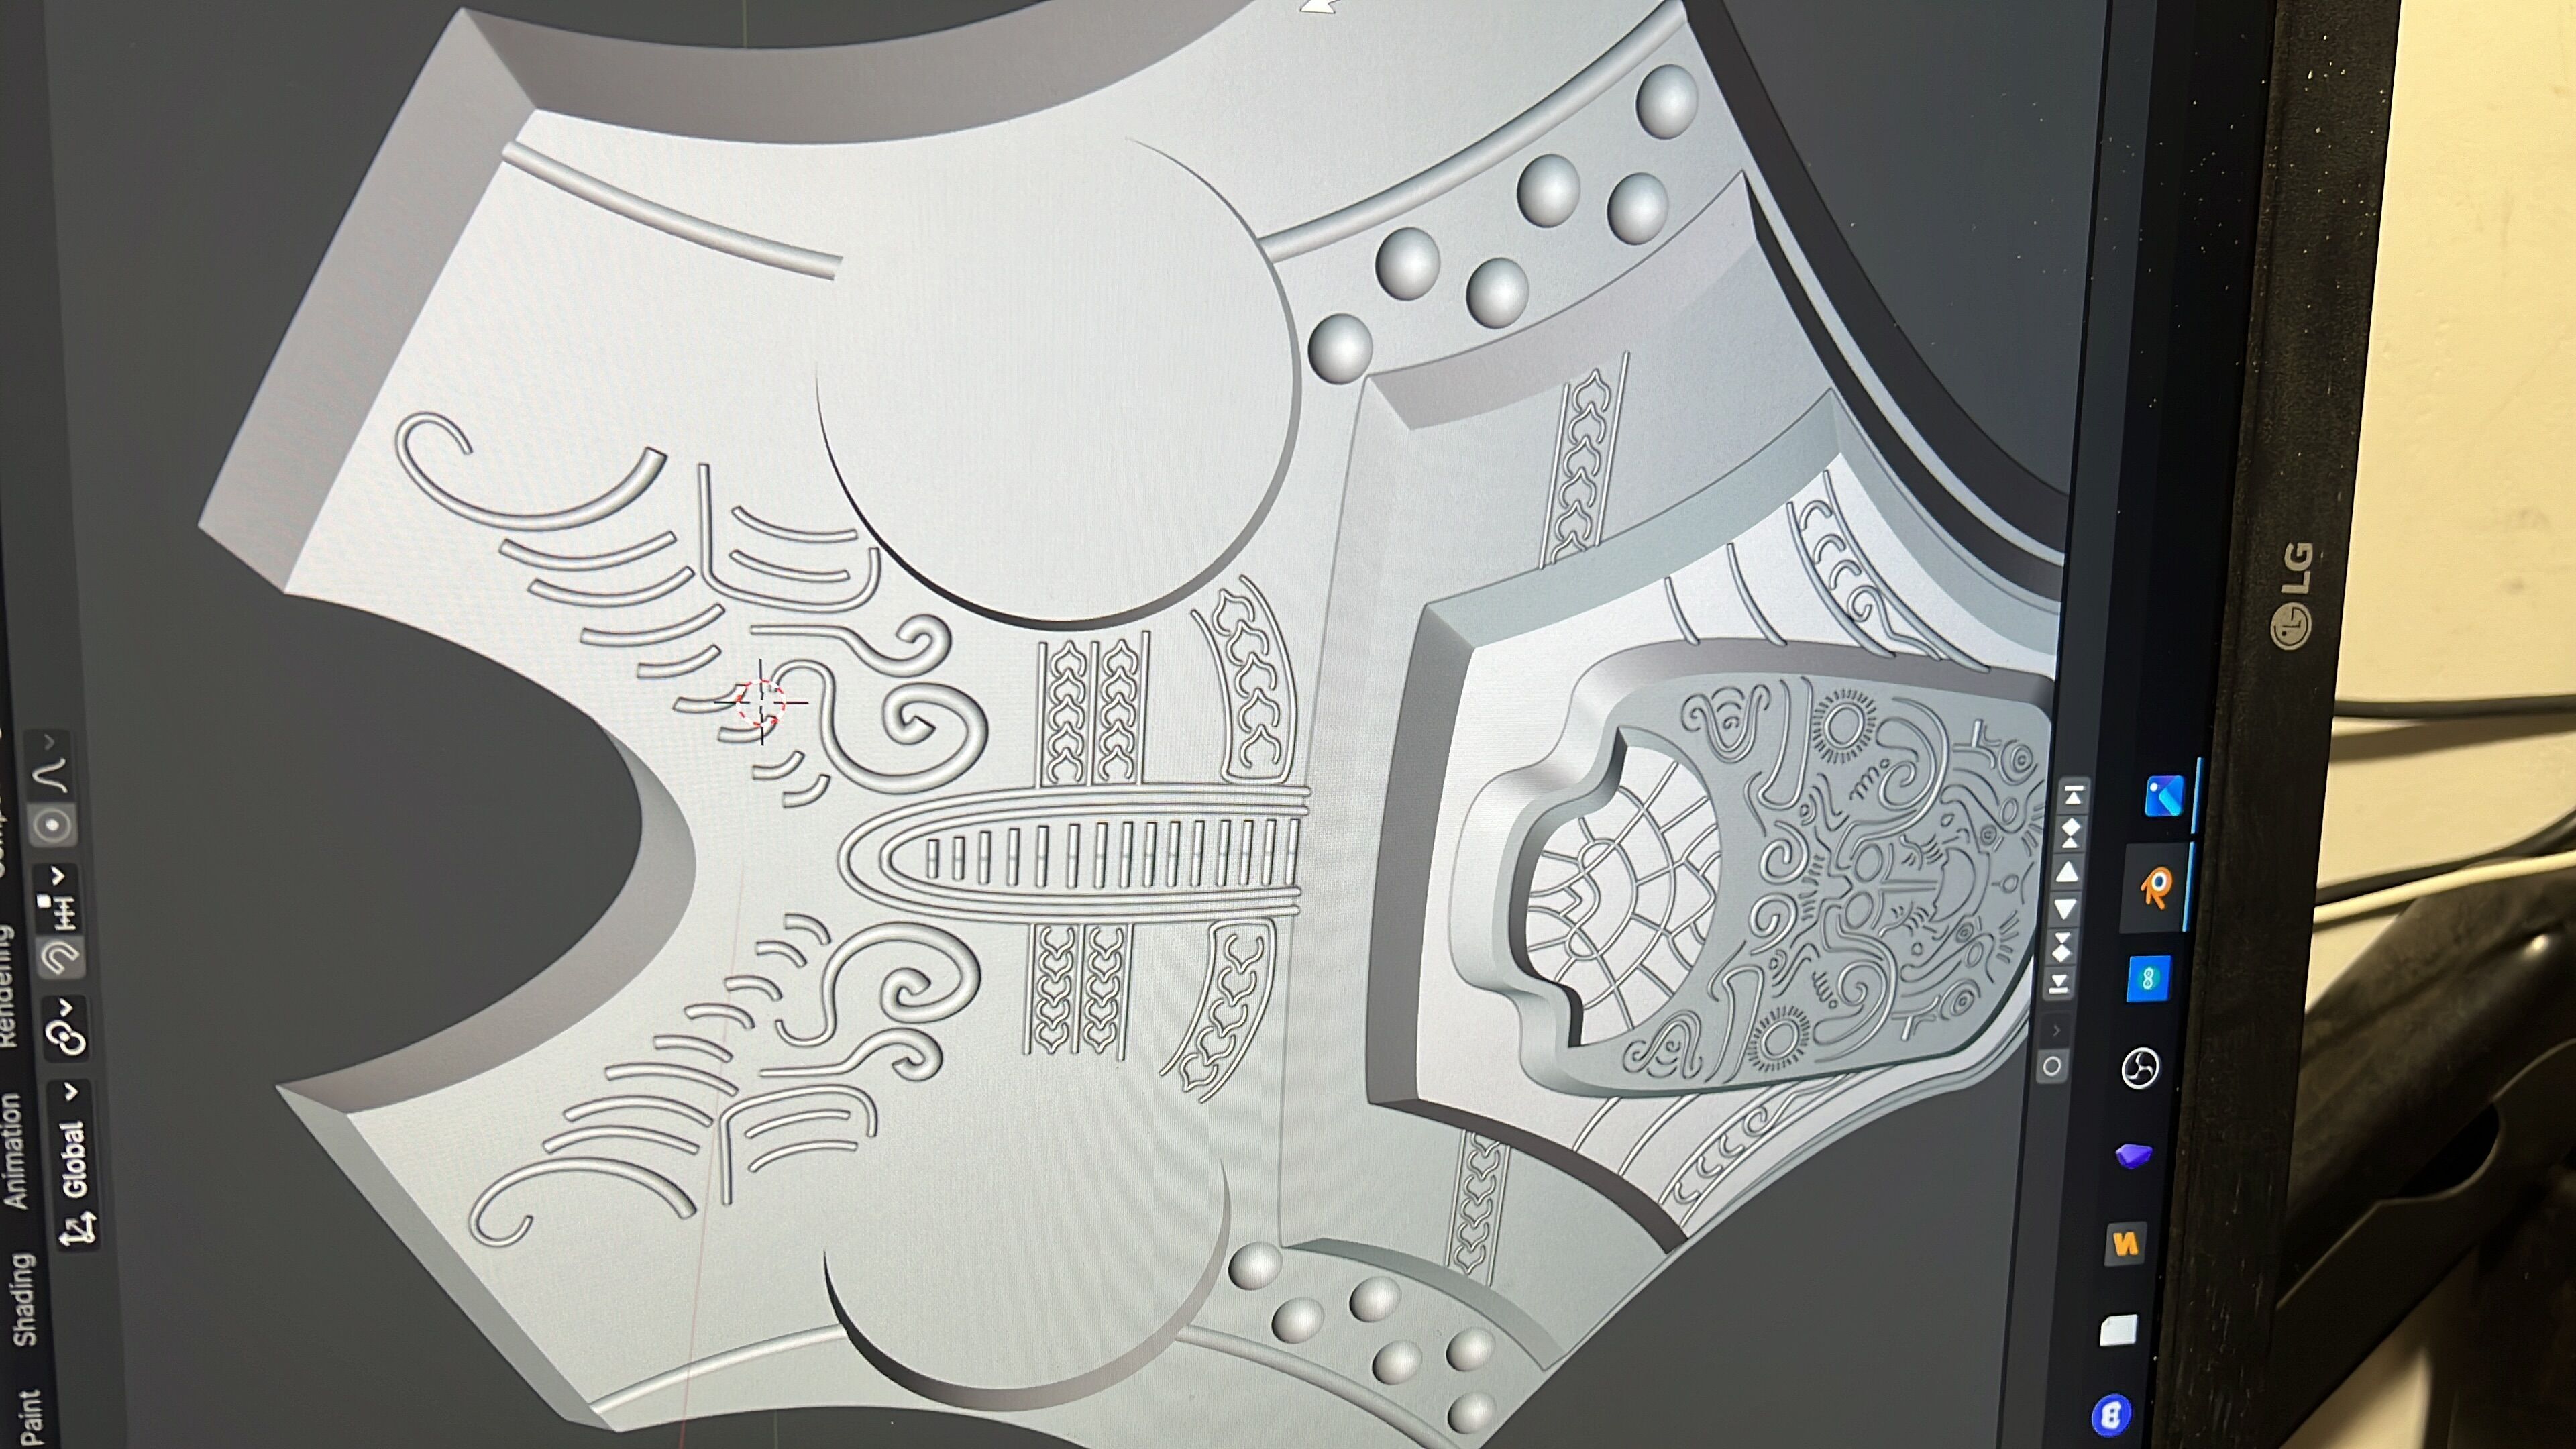
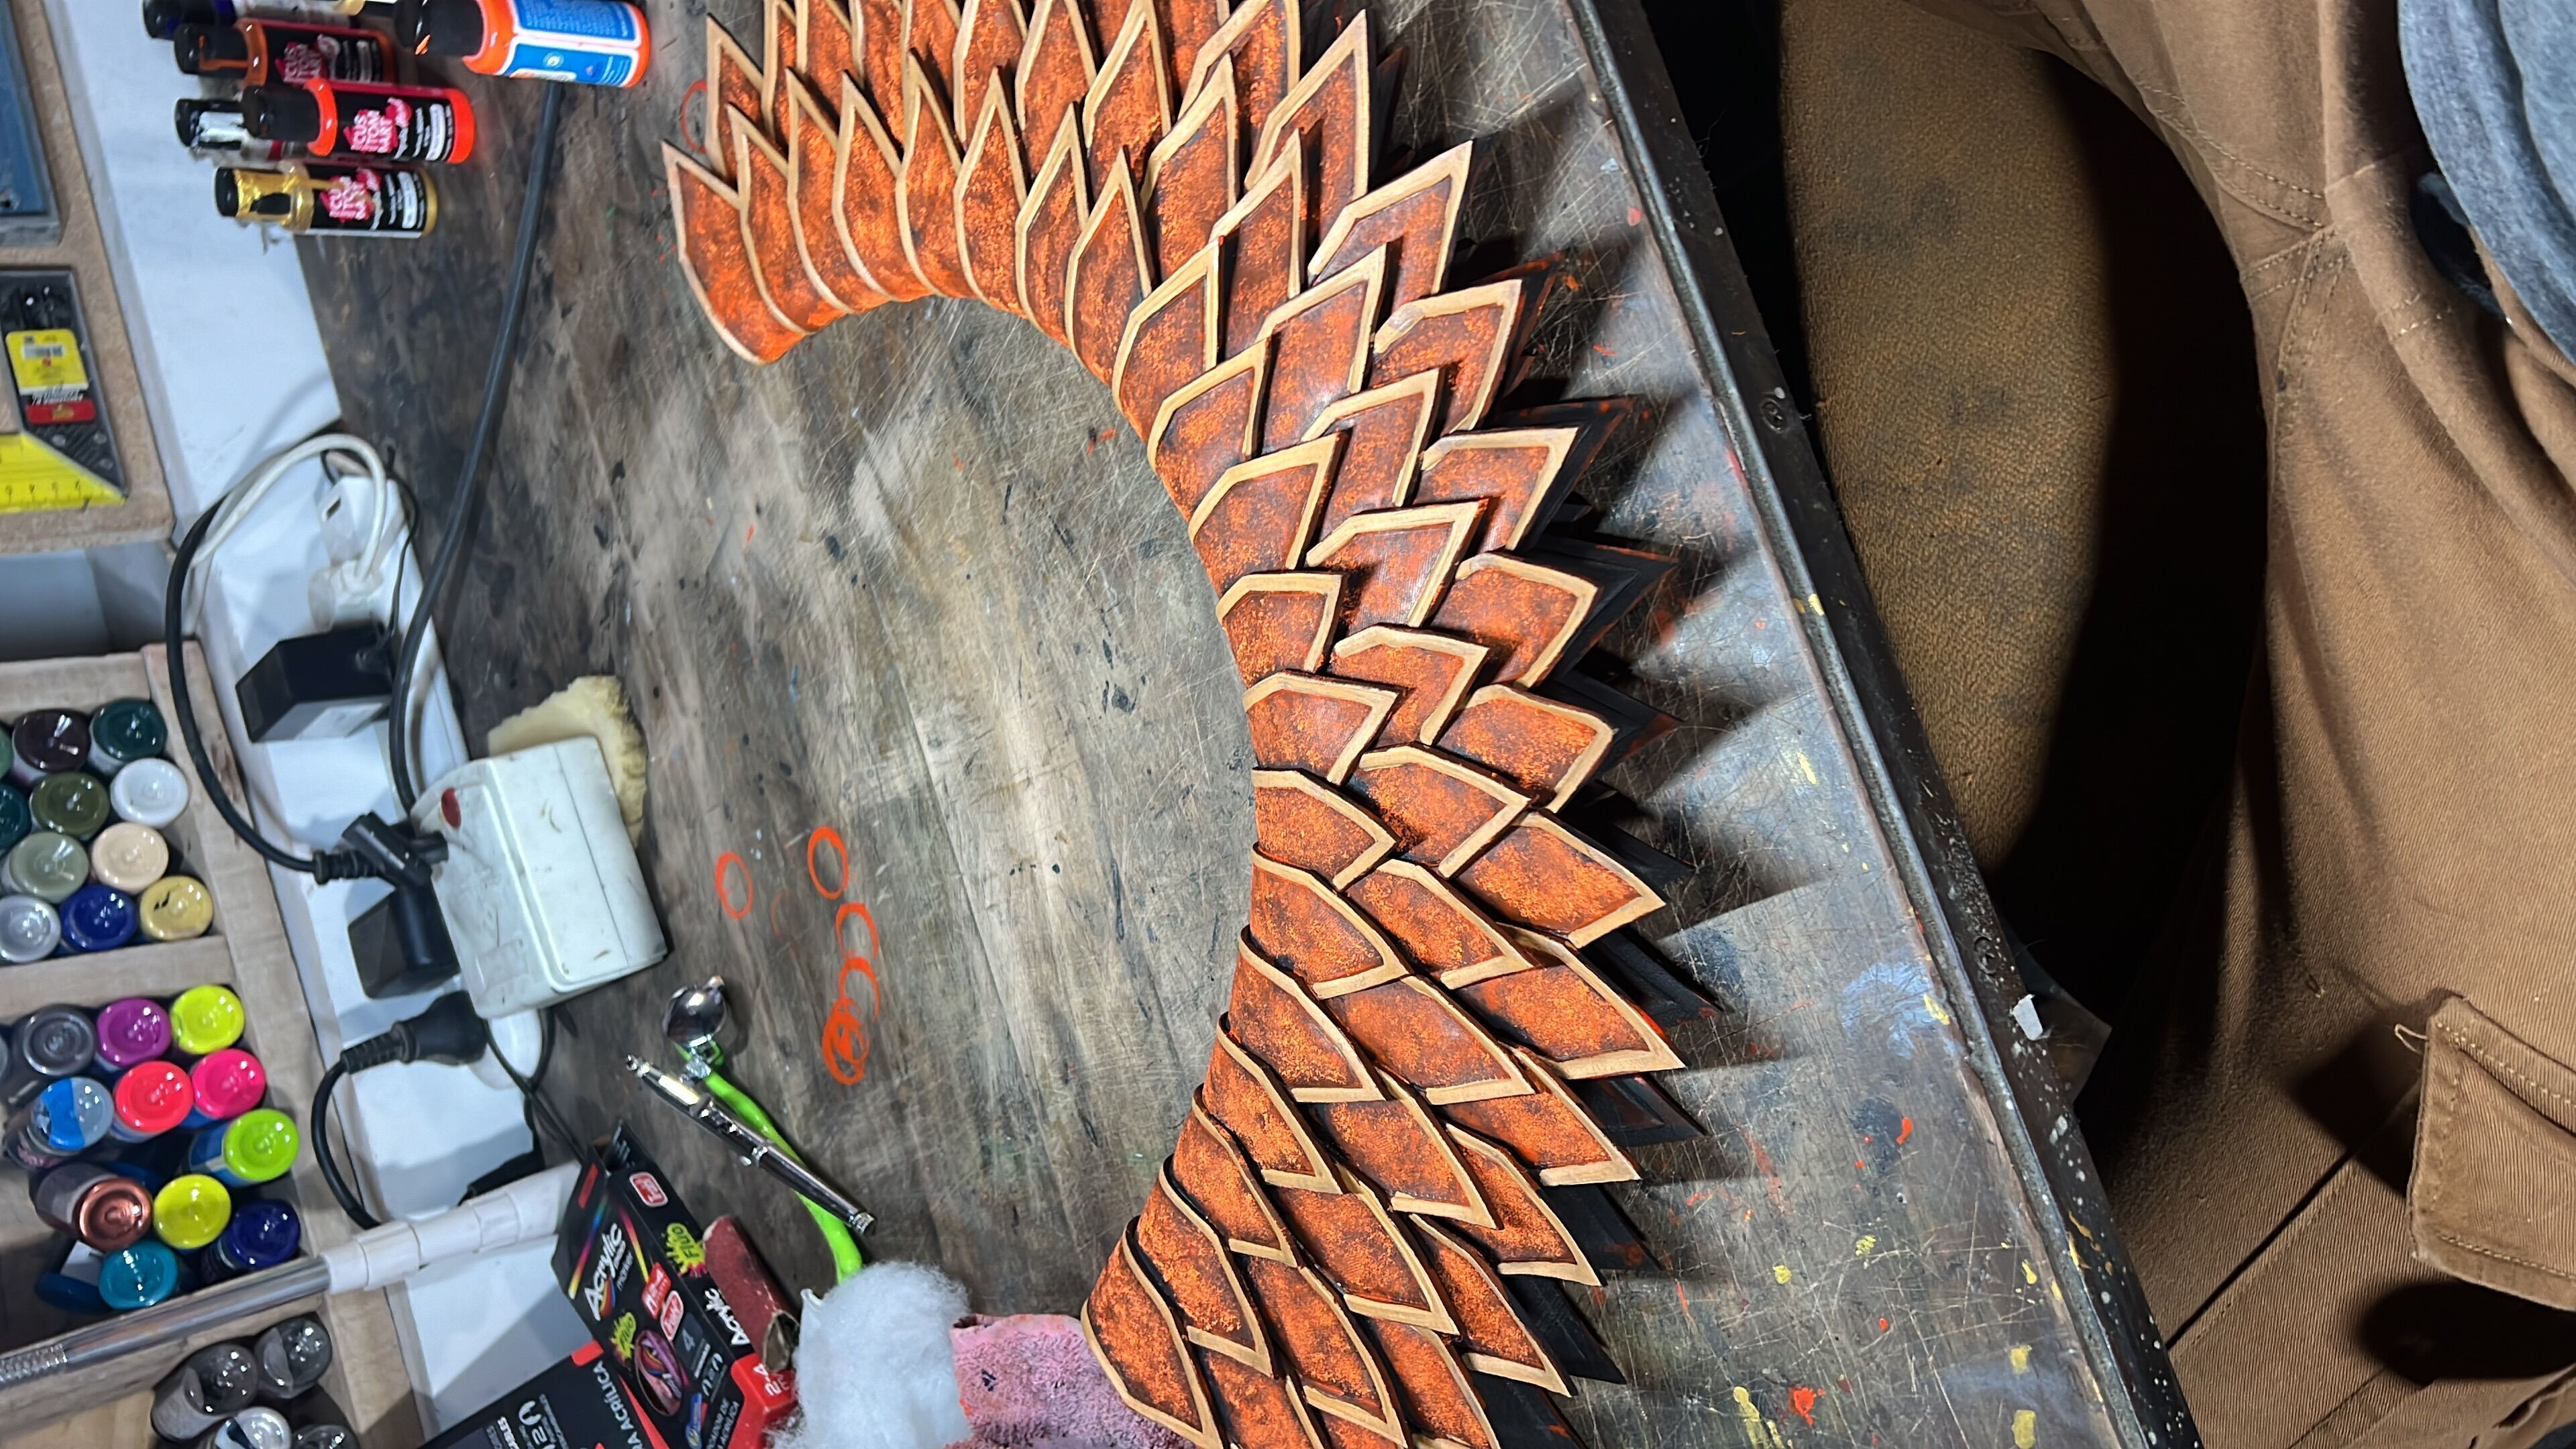
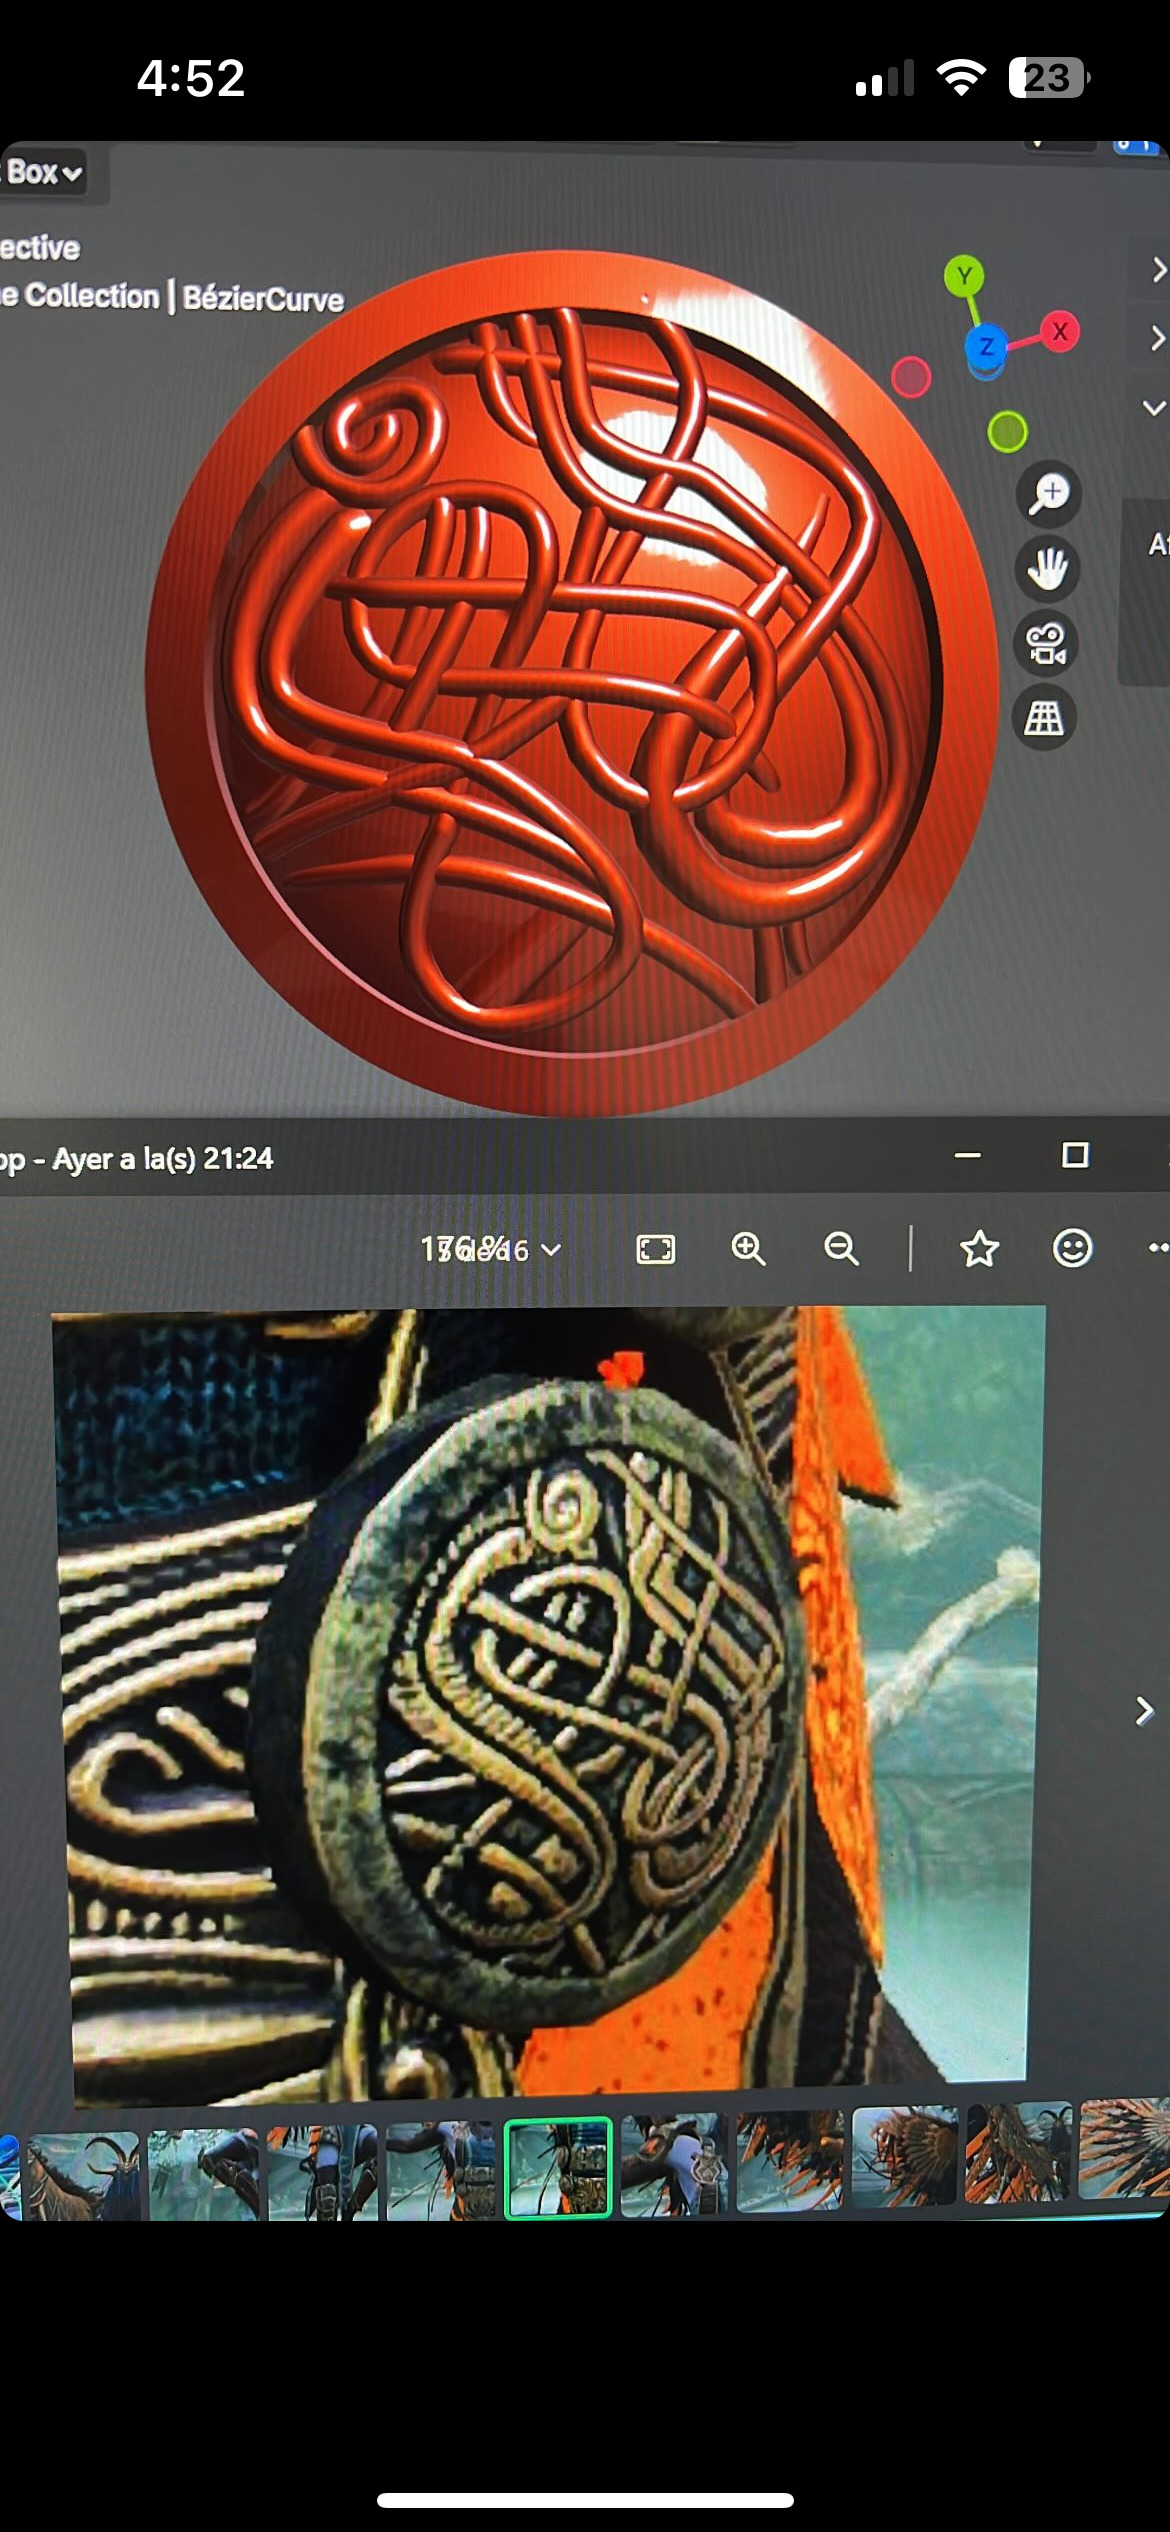
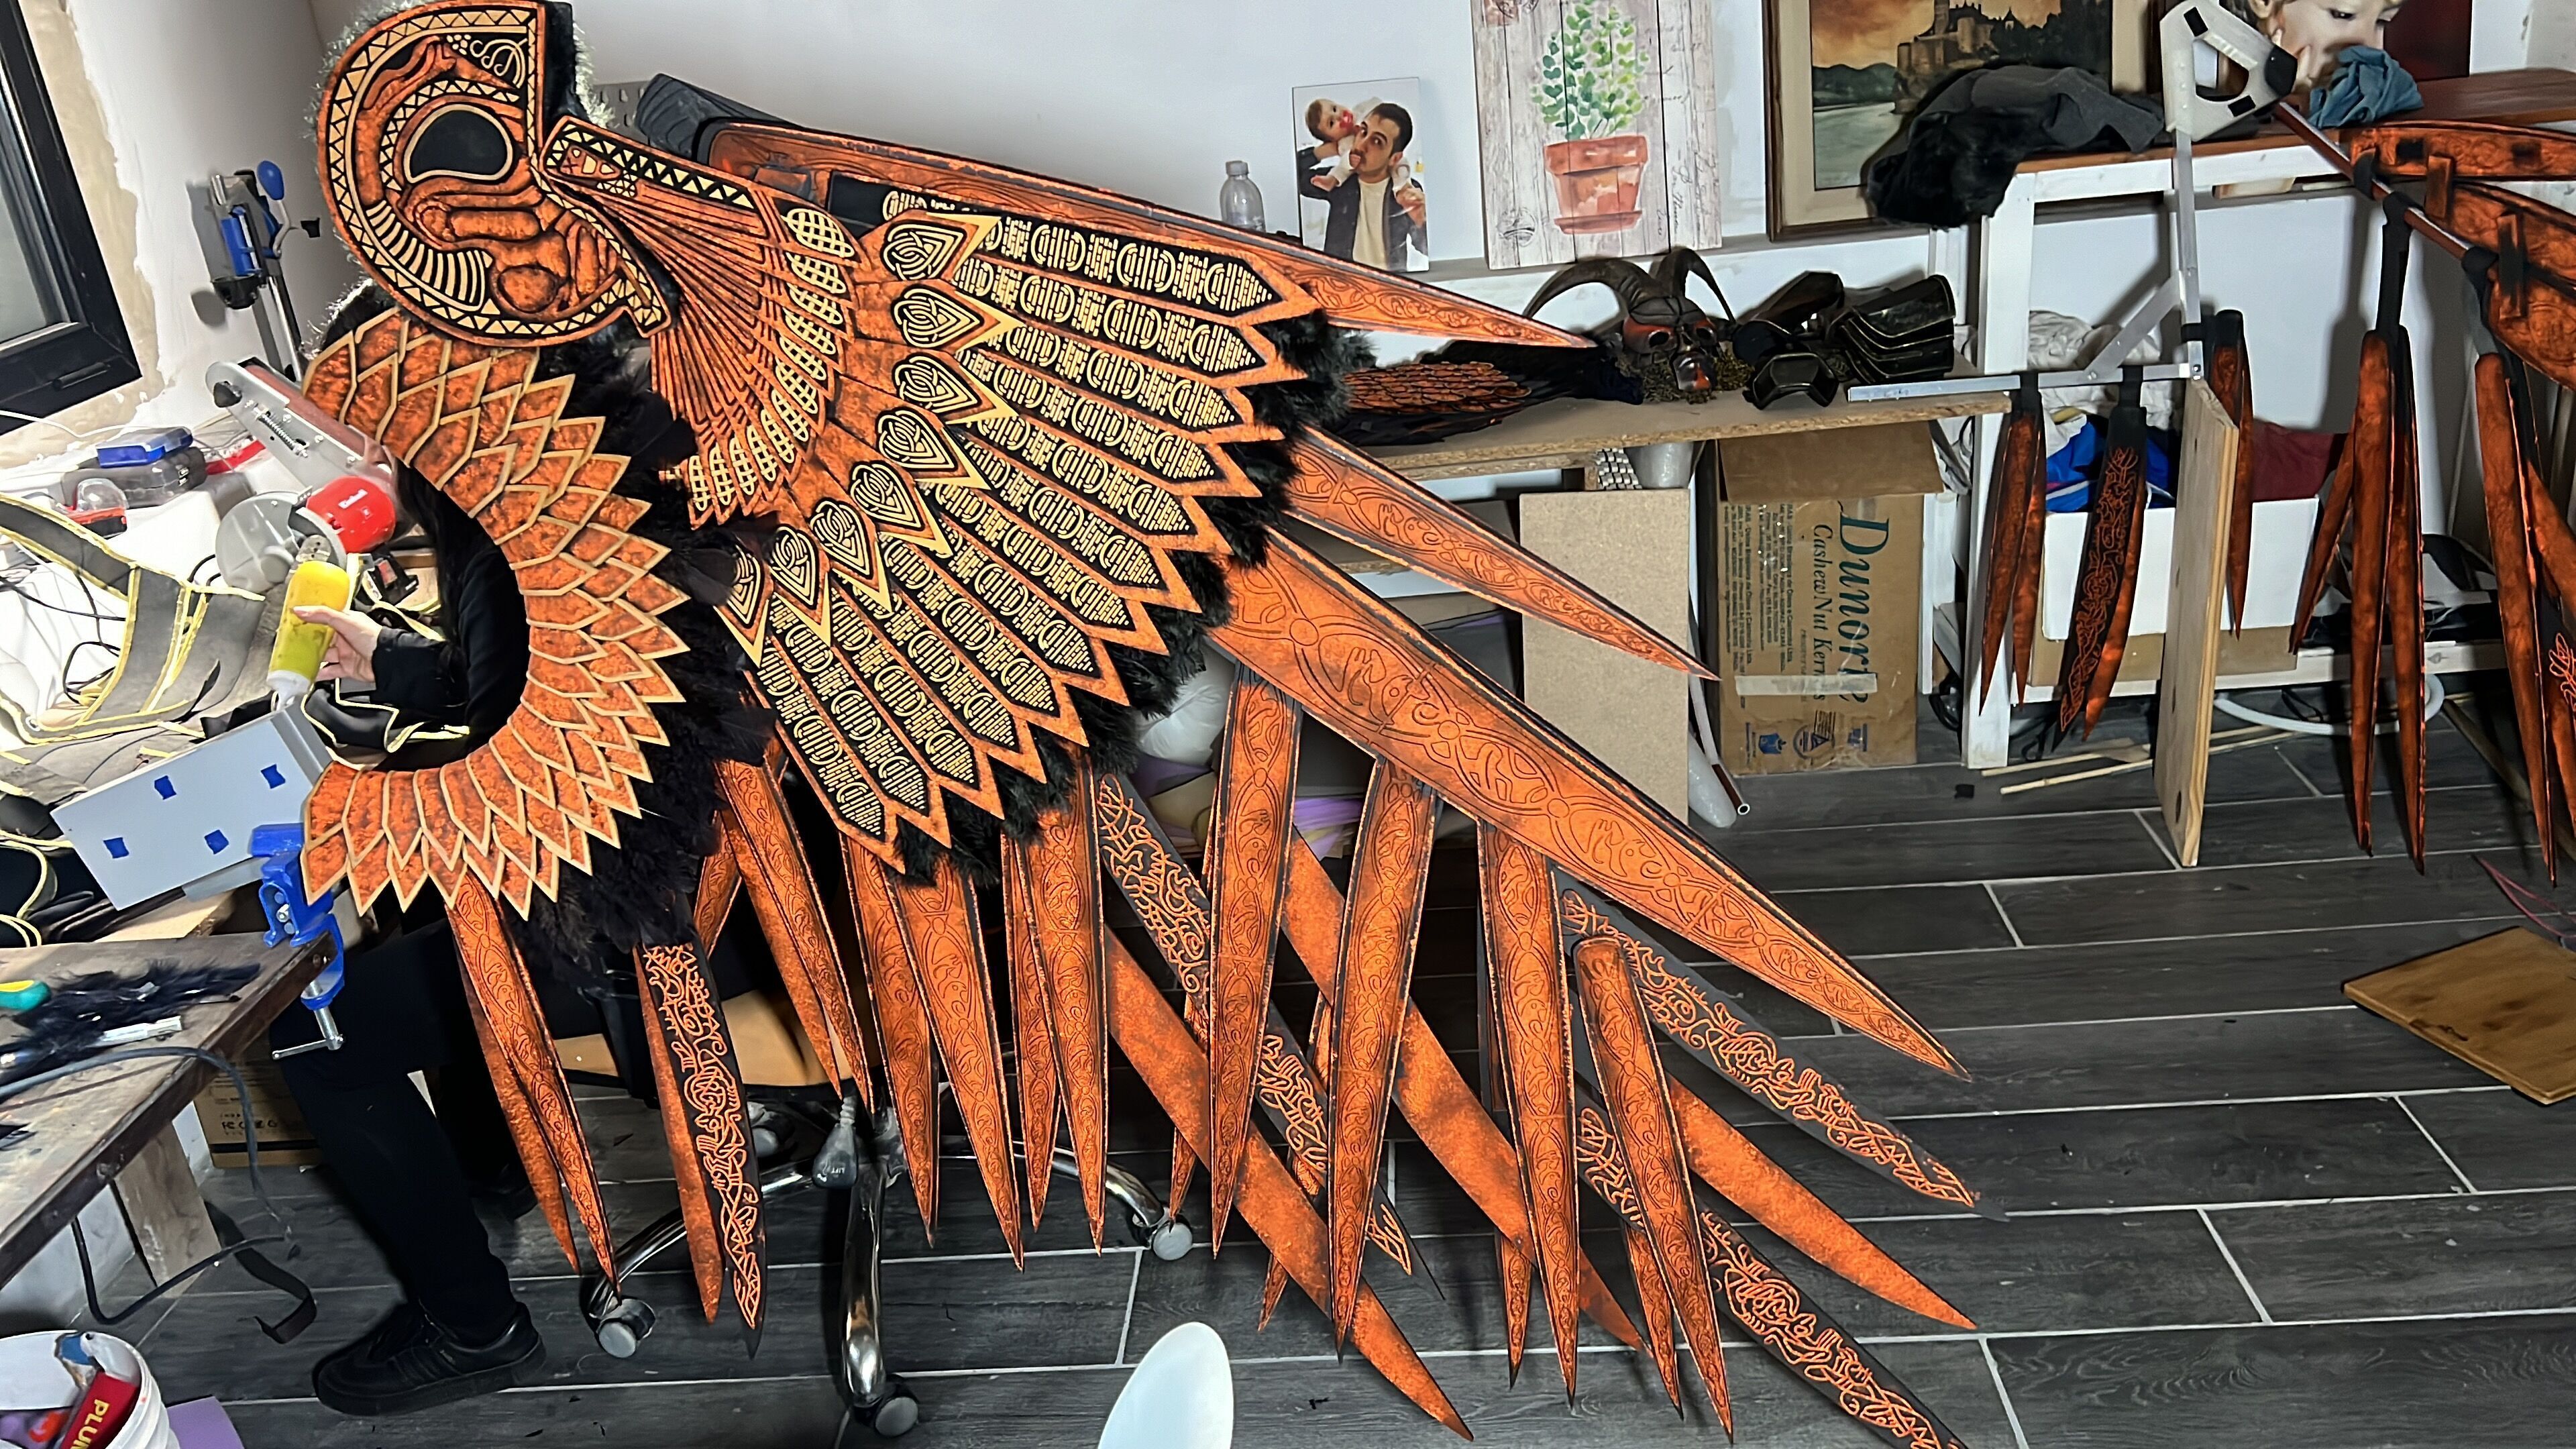
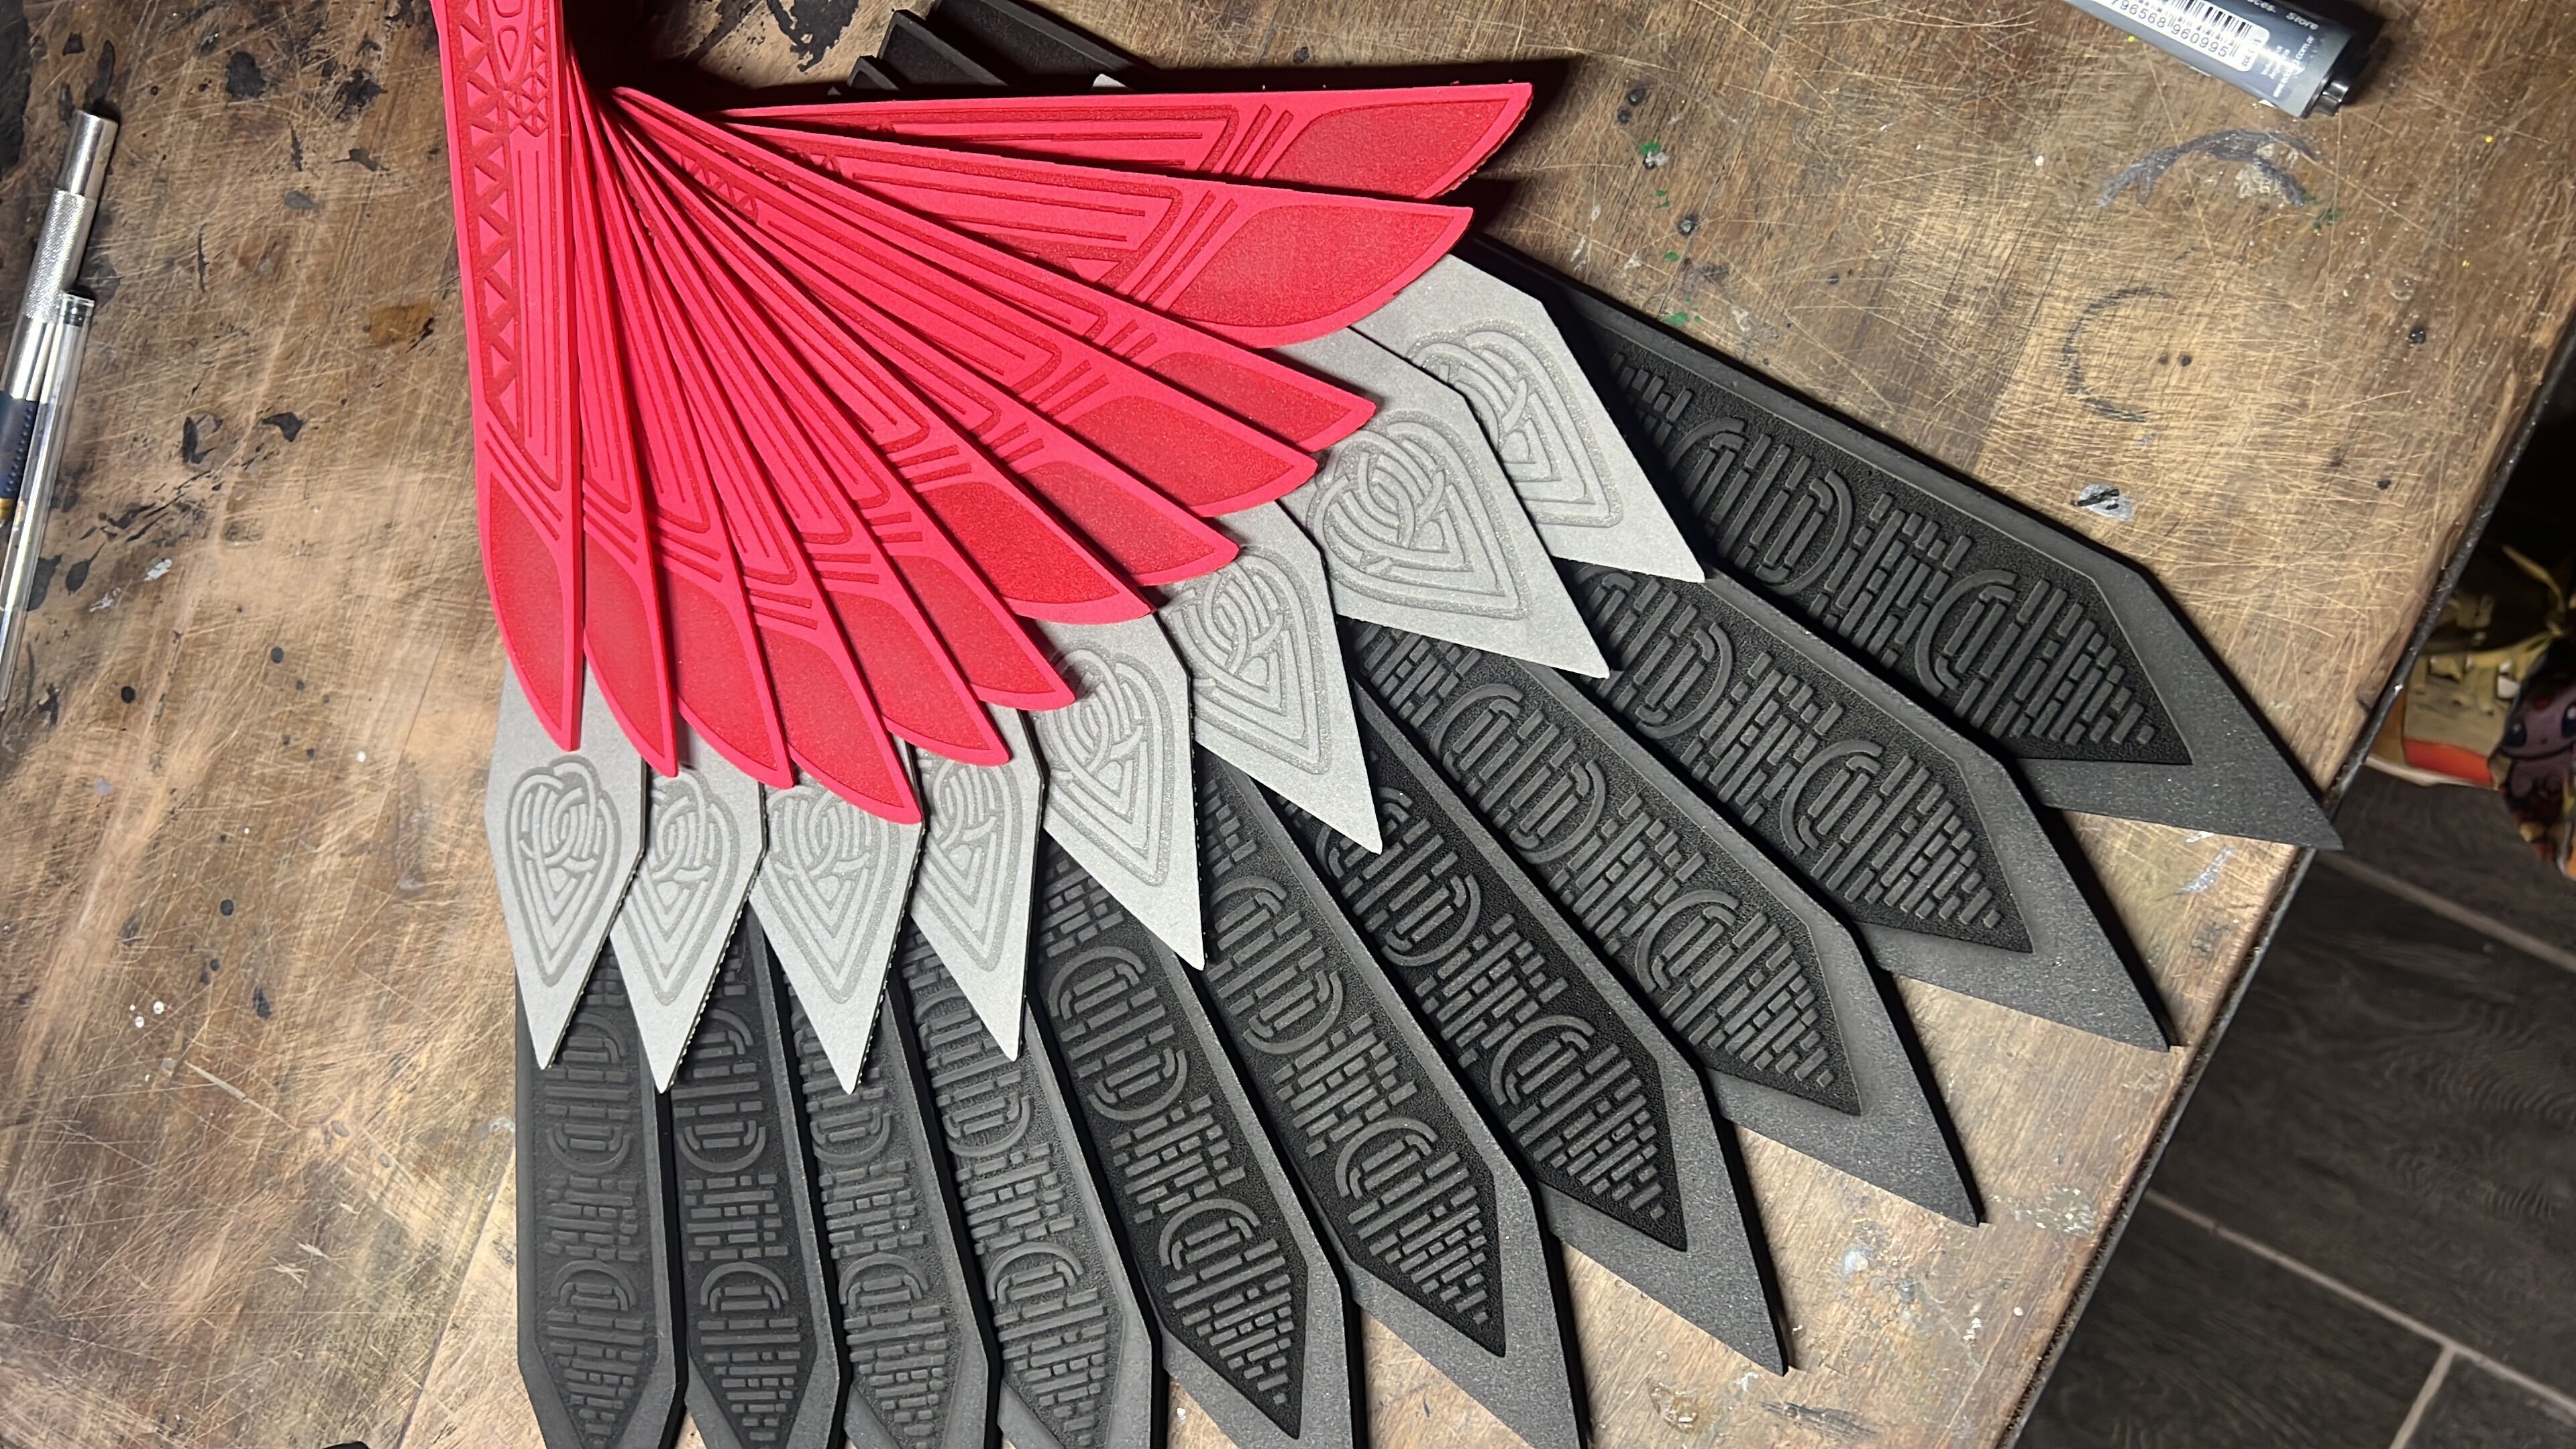
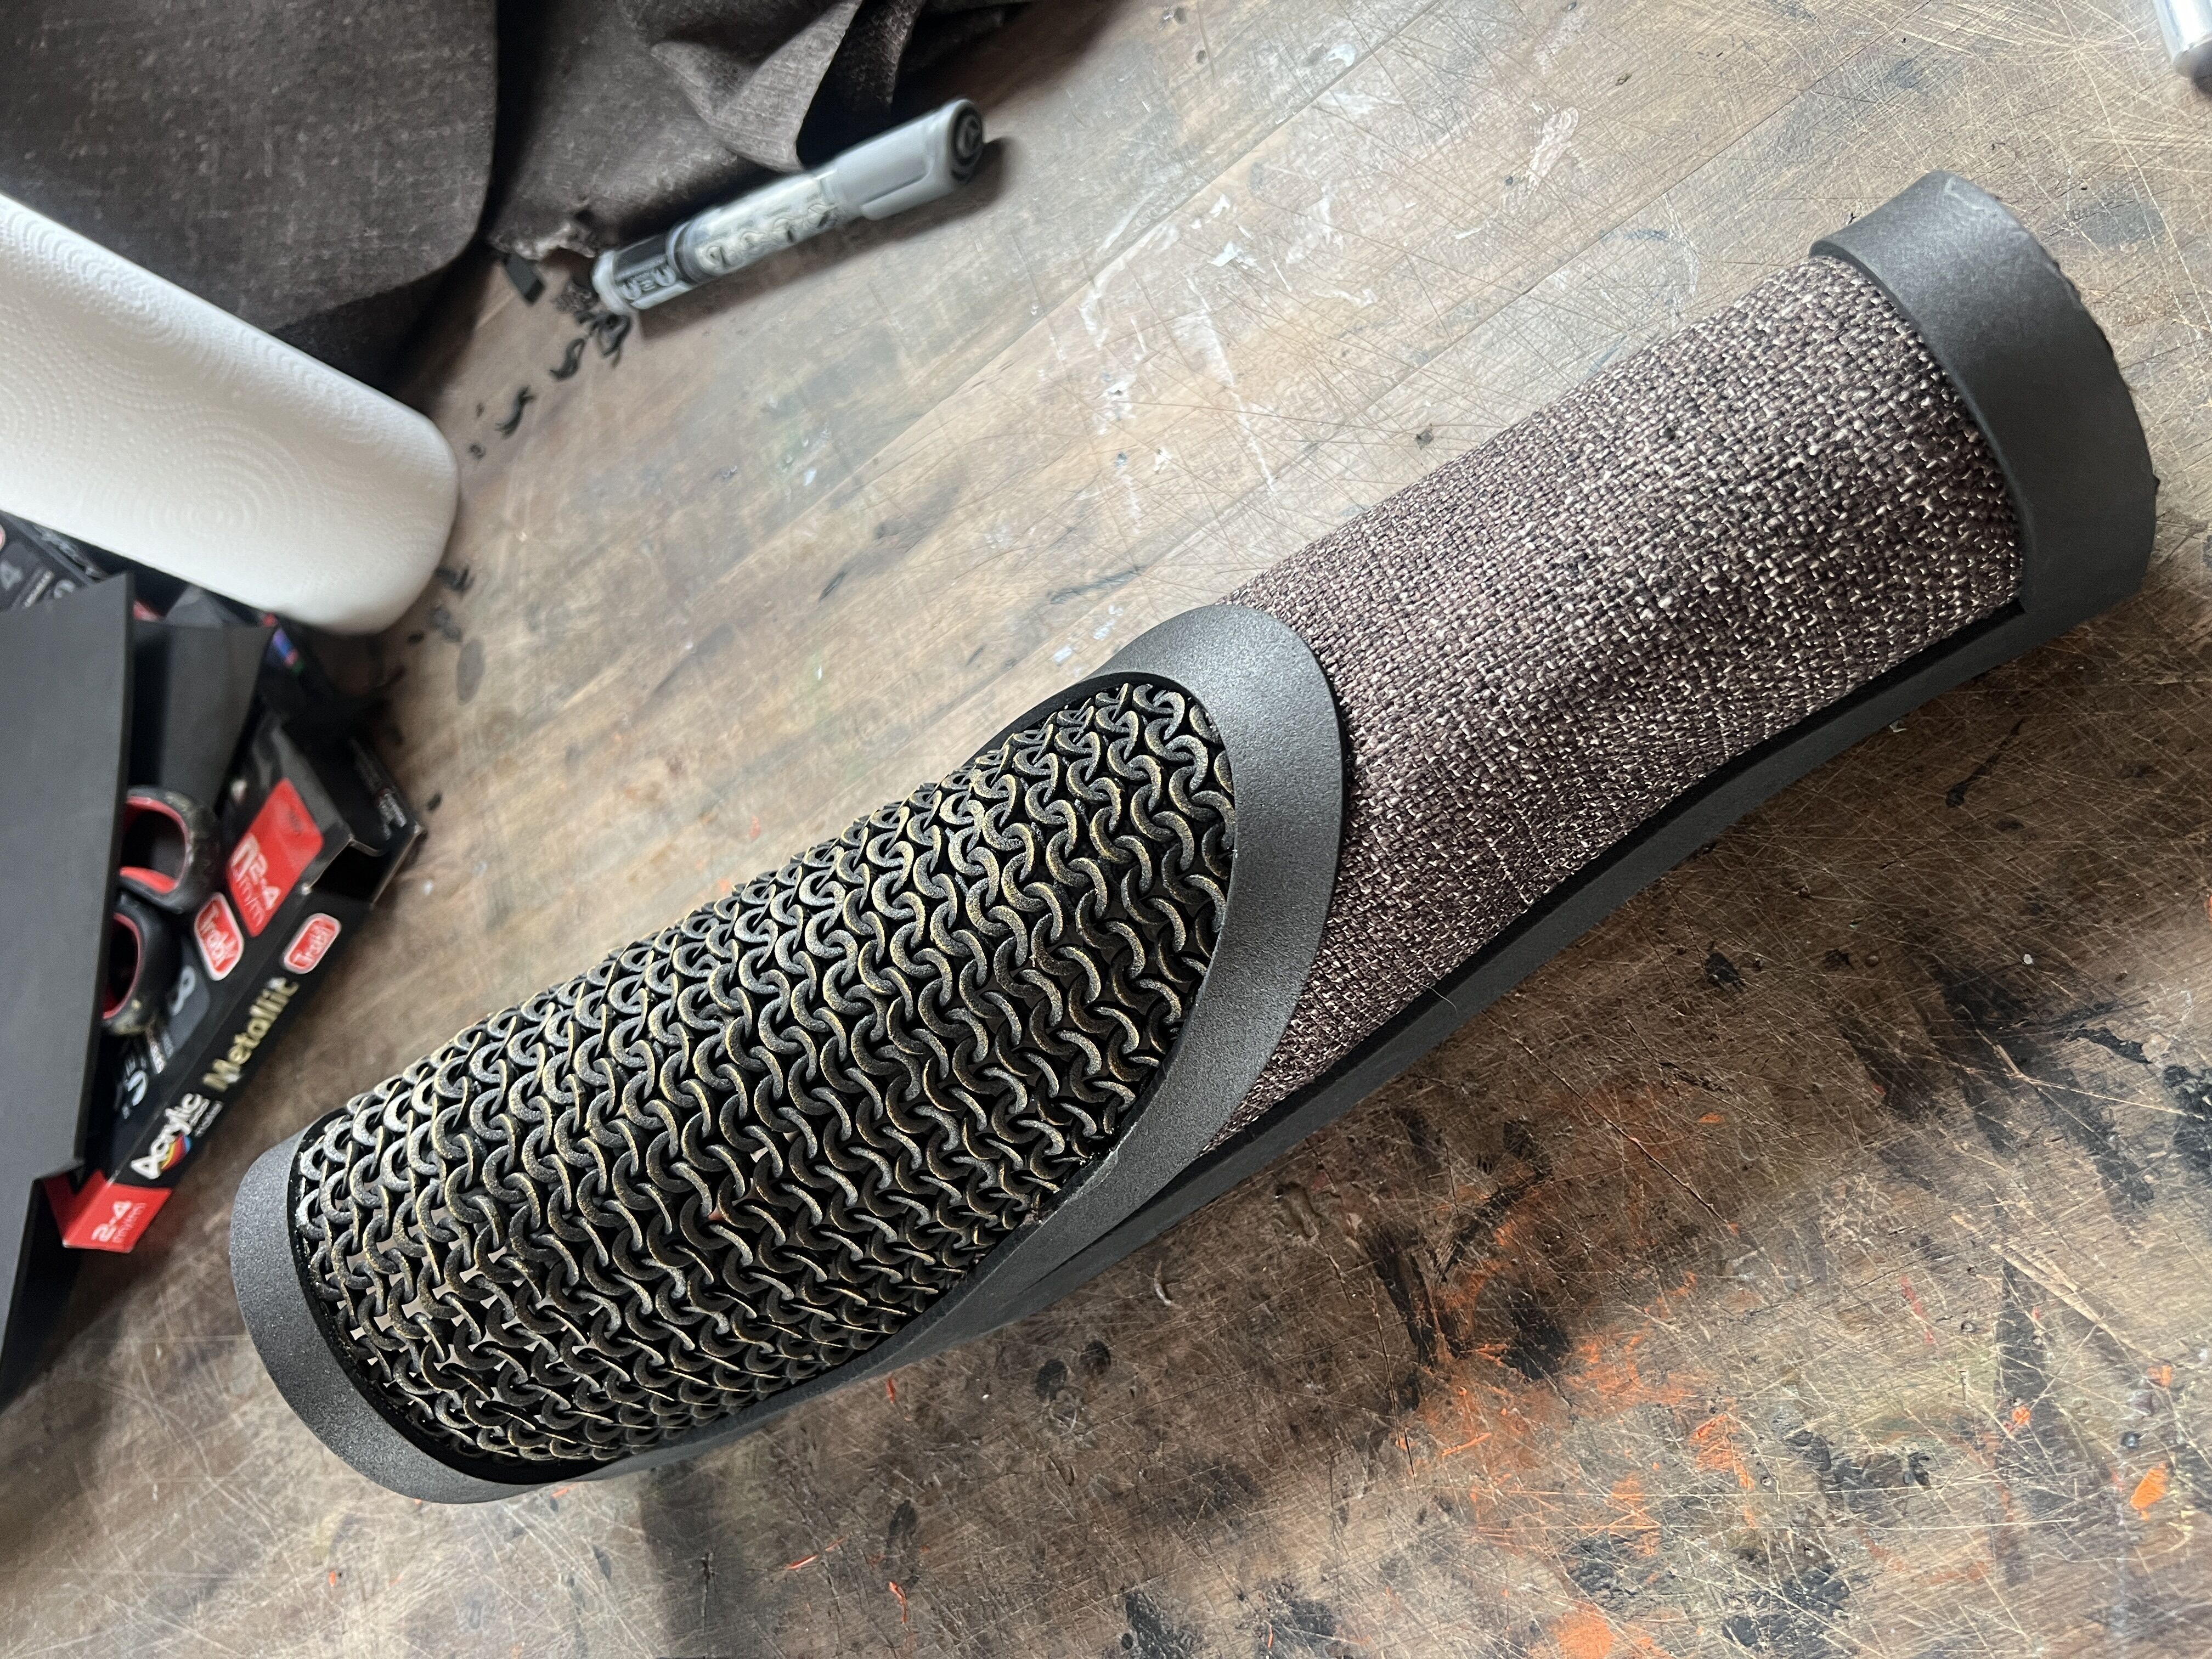
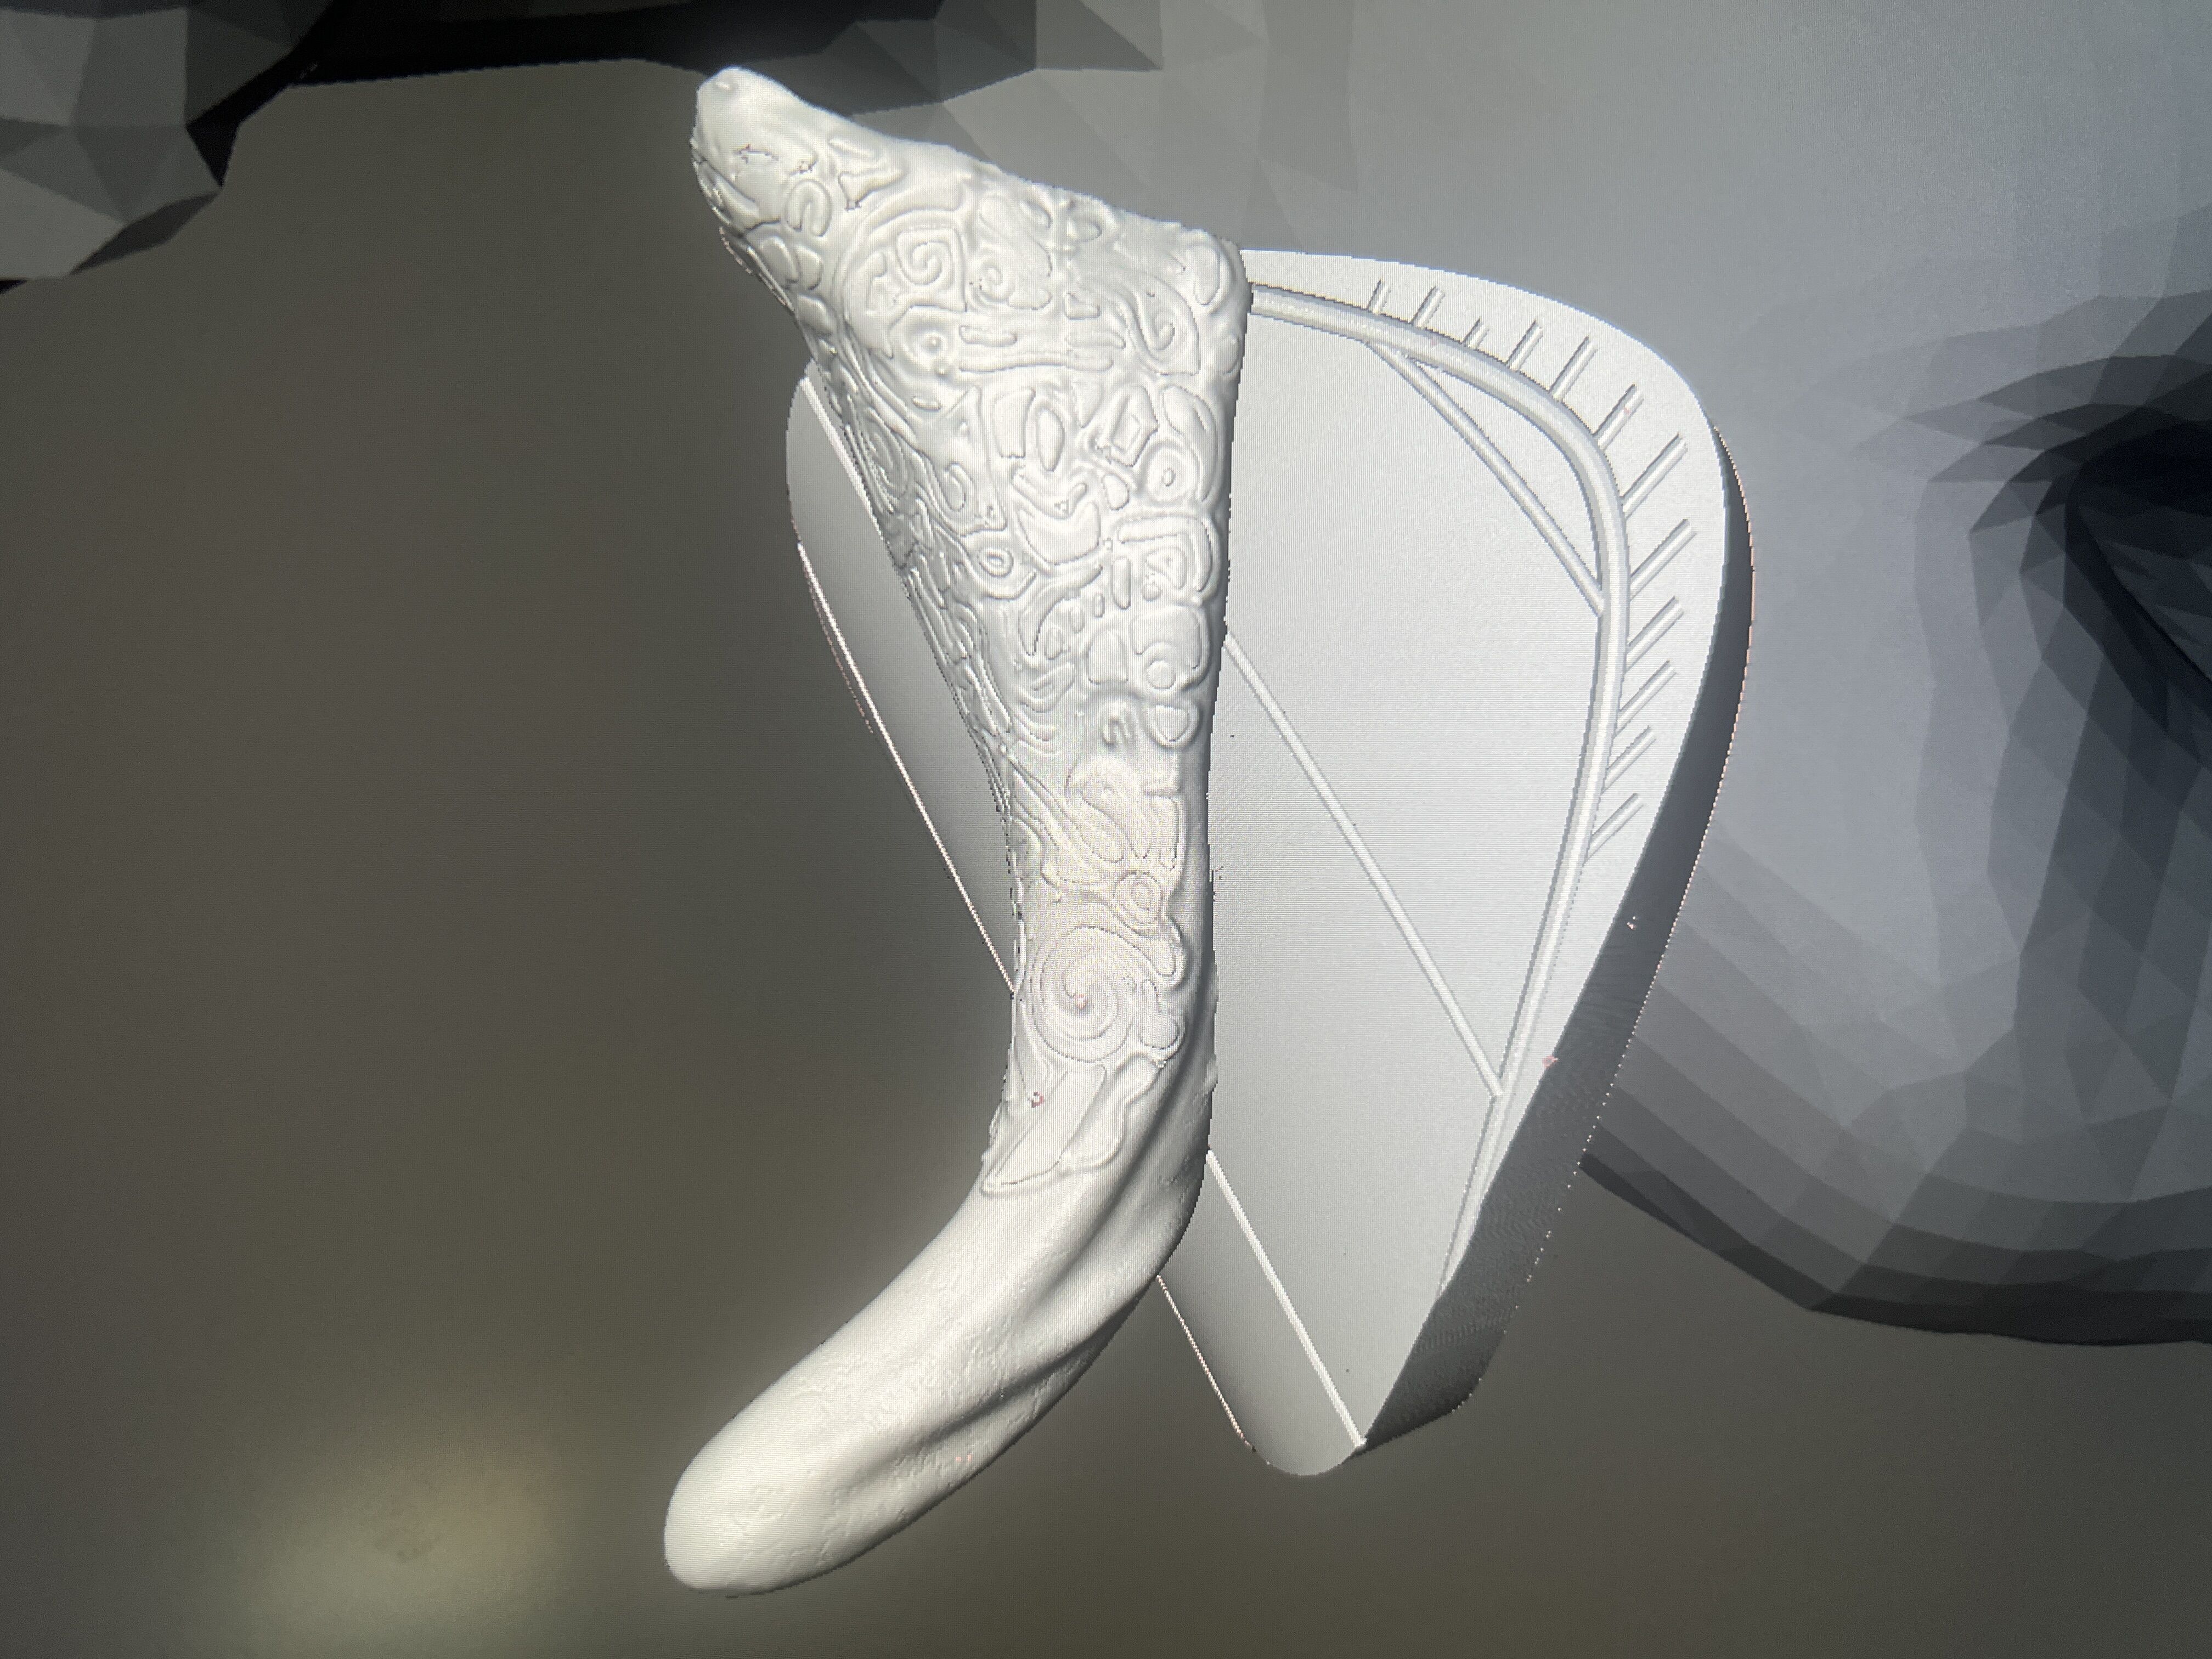
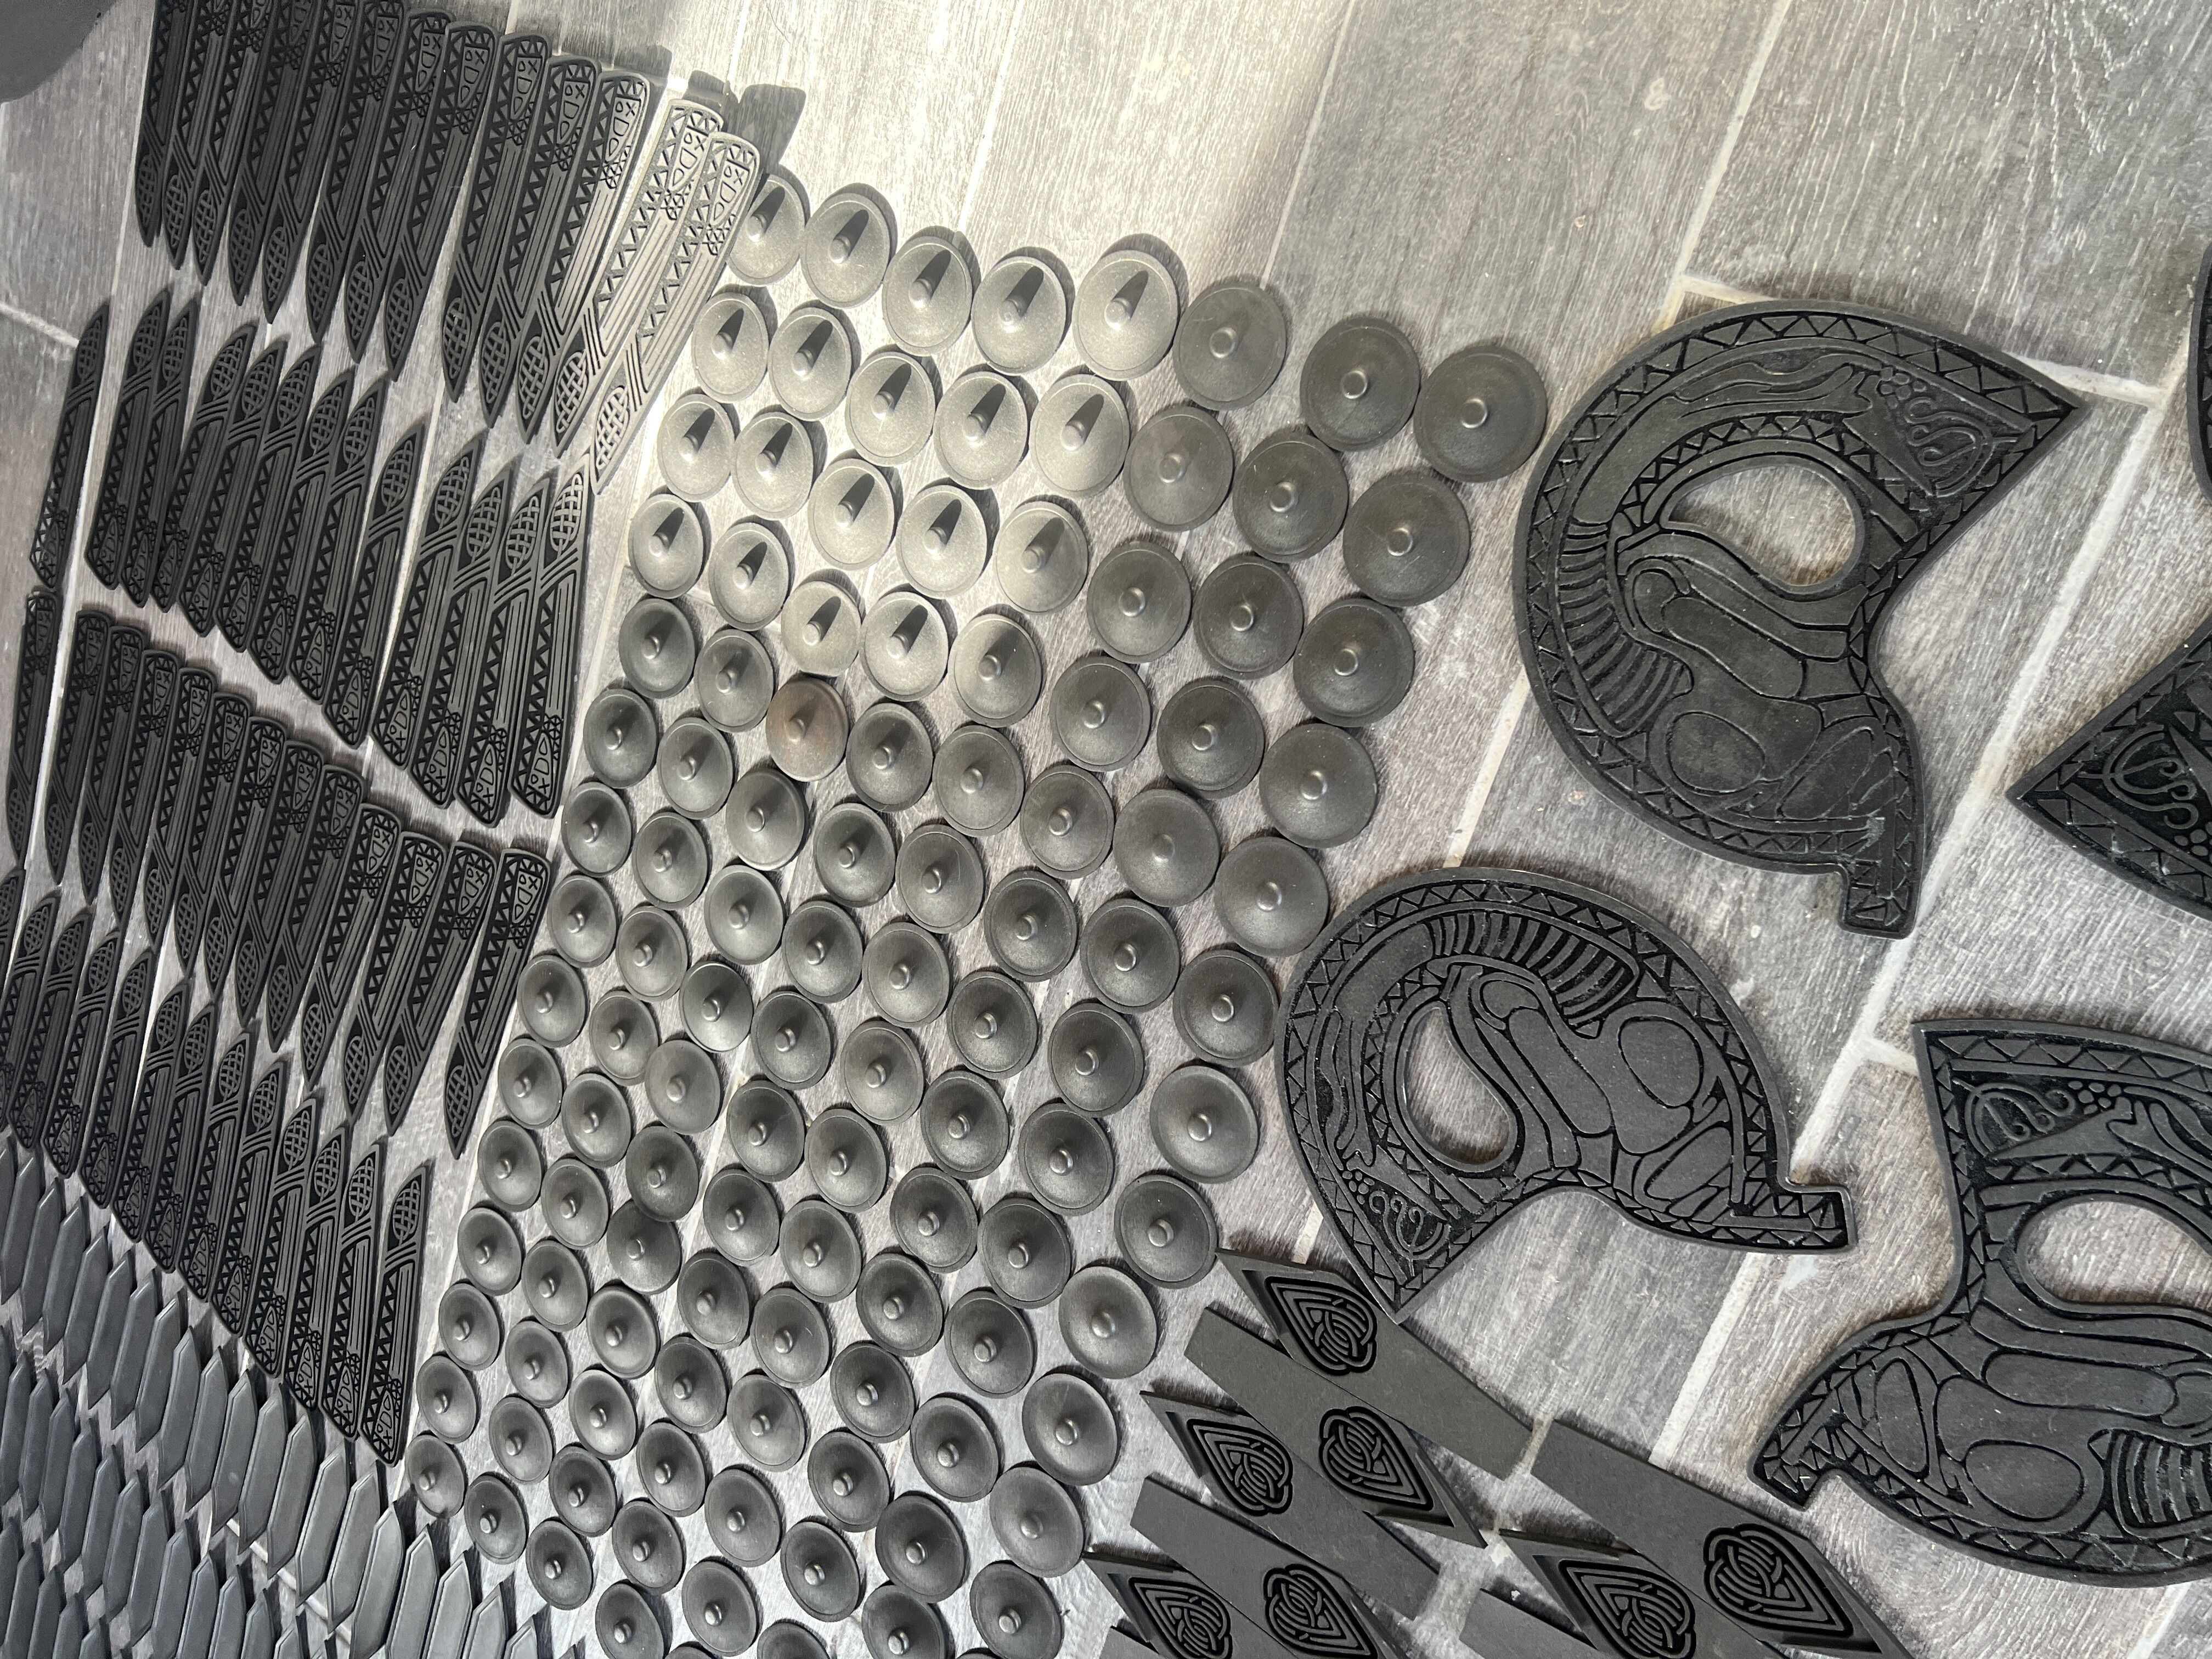
Craft your own intricate Valkyrie cosplay with this comprehensive DIY armor kit. Featuring laser-cut EVA foam, leather bags, and 3D printed accessories, this set includes detailed patterns and assembly guides. Ideal for fans of epic fantasy-themed cosplays, each element offers an authentic touch—from the chainmail bracers to the majestic wing structure. High-detail molds and sturdy aluminum framing ensure durability and impressive visual impact for your costume endeavors. BRACER I cut 3mm EVA foam using a laser cutter for the base structure. Inside it, I added 2mm laser-cut chainmail. I also added fabric on the inner side to cover the arm comfortably, and elastic bands so it stays in place by friction against your clothing. BELT I made a square leather belt and added velcro to attach it to the harness and secure 3D printed accessories, like the circular and square decorations. These accessories have holes in case you want to add extra cords or details like the original character, but it's not necessary. HARNESS The harness is made of leather. There's no pattern available since it depends on each person’s body, but you’ll be able to see how I made it in the images. It's made of two long leather straps, like a backpack, that go across your torso. It attaches around the stomach using the belt. There are leather straps around the waist that connect to the front under the buckle. On the back, I made a leather cross with holes to secure the backpack and wings. The chest amulets were 3D printed. HEADPIECE The headpiece has several 3D printed parts, including the back, lips, nose, face, forehead, side horns, and top horns. Once printed, glue or weld the parts using epoxy or any thick adhesive. I added fabric around the nape and sides of the face. I also 3D printed golden chainmail for the face sides. LEGS Files are included for laser cutting 5mm EVA foam. Cut all pieces and assemble them with contact cement. It includes shin guards and knees. NECKPIECE This is the bib-style neck armor. You can reinforce the back for better grip so it doesn’t rotate or fall, but that’s up to your preference. SHOULDERS Print each shoulder and their horns separately. The horns are slotted into place. Cut the end detail of the shoulder using 5mm EVA and a laser cutter. It has incredible detail. Attach both parts with glue. THIGH GUARD Laser-cut leather patterns are provided, as well as optional EVA flame details to glue on top. Connect parts using holes and waxed thread to create a concave, non-flat shape. WINGS All feather files are available for laser cutting. There’s a PDF document that specifies how many of each feather to cut and which thickness to use. For the frame, use aluminum tubes and sheets—aluminum is essential due to its strength and lightness. I tried other materials and they failed (broke or bent). The back support is made with a 20x20mm square aluminum profile (2mm thick) in an L-shape, with each arm 500mm long. A 3mm thick diagonal aluminum plate connects both profiles for reinforcement. On the other side, it's secured to the harness using bolts, nuts, and ideally Grover washers (to avoid loosening over time). The mount attaches to the harness with bolts and washers, sandwiching the leather to prevent damage. Since it didn’t fit in my printer, I split it into 4 parts and added holes in the slicer to insert wooden dowels for reinforcement. You can adapt this, but it must be strong enough to carry the wings’ weight. The back mount has a hollow rectangle with holes for the aluminum tube. You can screw it in if needed, though mine stayed in place just by pressure. The core of each wing is made using a strong, flexible water pipe—20–21mm in diameter and 800mm in length. Do not use PVC as it breaks. This pipe runs inside the largest feather, sandwiched between both halves and glued in place. There’s also a 3D printed connector piece that joins the water hose to the square aluminum tube. Thanks to gravity and fit, I didn’t need screws, but the holes are there in case you want to secure it with a pin or bolt. Some wing feathers were too big for my laser cutter, so I split them and glued them with contact cement. THERMOFORM MOLDS I made 2 molds for thermoforming EVA foam pieces that were hard to shape flat. For example, the wing tips have round elements that are difficult to create with a laser cutter. You can print the molds, place the EVA piece, apply heat, and press with the top lid. It cools in seconds and creates a high-detail concave shape. Some wing feathers were too big for my laser cutter, so I split them and glued them with contact cement.
Printing Settings
- Material Requirements: EVA Foam, Leather, Chainmail, Aluminum, 3D printed parts
- Construction Techniques: Laser cutting, 3D printing
- Additional Files: PDFs with feather counts/thickness

3D Model formats
Format limitations
3D Model details
- Ready for 3D Printing
- Publish date2025-06-12
- Model ID#6208297
Similar Models

Users who bought this item also bought...