Hey all!
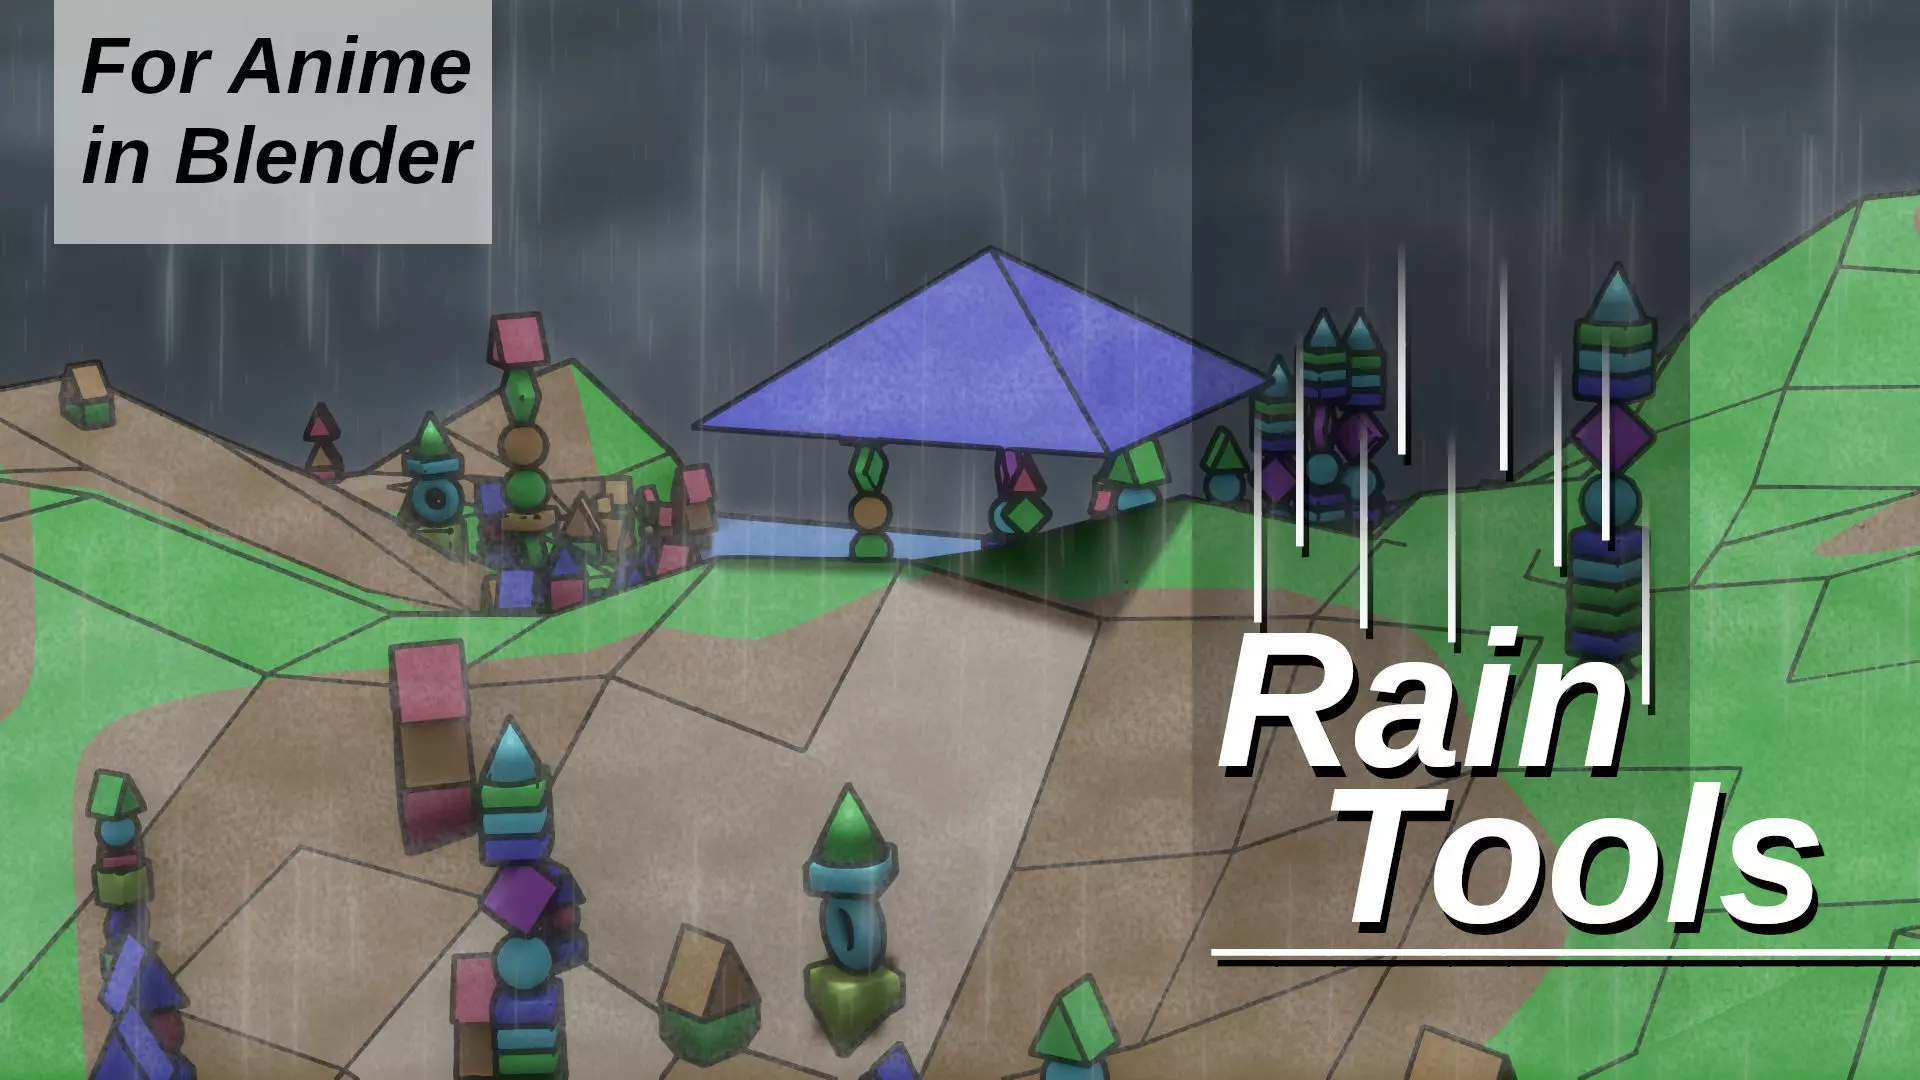
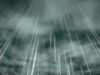
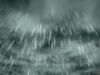
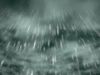
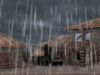
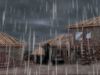
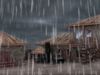
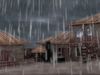
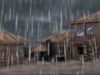
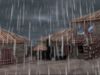
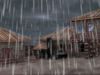
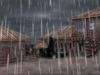
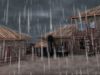
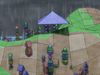
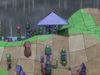
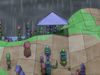
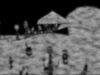
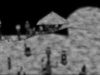
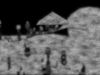
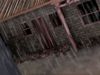
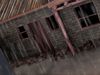
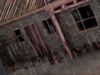
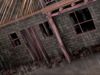
Another classic, we have rain! In Anime and other older cartoons, it's rare to have fully animated scenes with integrated rain. It's also a nightmare with particles - even with dynamic paint. BUT with a post processing tool, you can pretty much have your cake and eat it too!
So how does this work?
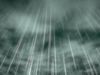
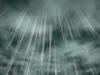
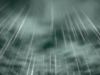
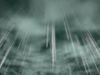
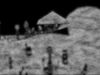
The Rain Mist group uses primarily the global normals to tell which way is up, because rain comes down. So all of the visible upward facing surfaces get rain mist over 5 depth based layers. This is where the exclusion mask comes in. Often you'd have characters or objects under shelter in pouring rain, so what do you need? Masking to prevent it raining under surfaces!When there is rain and it's under solid cloud cover, the sunlight is effectively from directly above - this allows you to use the sun lamp with the shadow pass as an exclusion mask, like in the demo scene. Just remember that this mask excludes, so you need to invert your shadow pass!
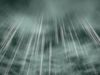
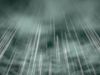
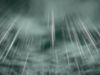
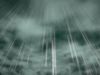
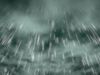
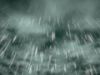
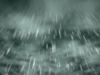
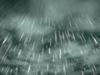
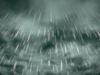
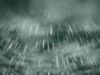
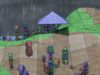
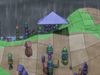
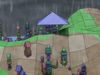
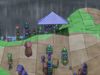
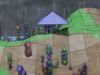
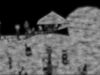
The rain drops themselves consist of 3 layers, each has individual opacity control and global opacity. I included a perspective slider for when characters are looking up - demo video. It's only limited to one point of perspective (middle top), but does bend the rain when you rotate the overall angle and turn it up - VERY cool effect!
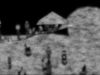
You simply animate these groups together!The way Blender's compositor works, makes this a breeze! Follow the camera keyframes in the viewport with the compositor open to animate the rotation, for example, and then just add inbetween keyframes and boom, done with the rain rotation.
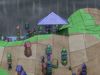
For the mist, you just animate your coverage and breakup. The defaults are pretty solid, so you should be good in most instances.
This should be render engine independent as long as the relevant passes are there, but I only tested it in Eevee so far - speed! hehe.
Included:
- Demo sceen with
- Rain Mist node group
- Rain Drops node group
Rain Mist node group:
-
Image
Input image
-
Depth
Raw depth information from the renderer. The nodegroup normalizes the depth over the whole scene to keep the coverage consistent. Just makes it easier.
-
Normal
Normal pass (Global) to determine what is facing up.
-
Exclusion Mask
Anything combined that you want removed (white parts removed, black parts remain - this is for the sake of ease in not having to flip every mask you use)
-
Depth Mode (Normalized <-> Direct)
Recommended that you leave it on Normalized, but you can switch to direct and customize. I caution the use of the map range node - it produces some strange results with values over 1.
-
Offset - X
After blurring and breaking up the mist, you can move it a bit. This is before masking again and allows you to have that fringe around the objects. This offsets it on the Canvas X not the global normal X. Default 0 - would only really change in rare situations.
-
Offset - Y
After blurring and breaking up the mist, you can move it a bit. This is before masking again and allows you to have that fringe around the objects. This offsets it on the Canvas Y not the global normal X. Default 0.5, cause that's a common use case.
-
Splash Surface Area
Default at 0.9 to give max coverage of up facing surface and no glitching.
-
Breakup
Gives added roughness to the misting
-
White Mist
Just blurs the breakup result further for a stronger smooth effect.
-
Blur Size
Blurs the coverage after exclusion to give the fringe caused by splashing.
-
Final Mix
Final mix with the original image
Outputs:
-
Image
Composite of the image with the effect
-
Rain Mist Only
This allows for flexibility. Demonstrated in the demo video! :)
Rain Drops Group
-
Image
Image input for compositing with the rain drop effect
-
Depth Map (0-1) (Optional)
This effect consists of three layers. Normalizing depth can sometimes have unintended rapid switching consequences - like the auto-brightness on some cameras. This effect wants a stable depth map - ie not normalized, but valued from 0-1. This is optional. It only helps to integrate the rain into the shot more if it actually makes contact with the ground.
-
Base Scale
This is the overall scale of the texture used to create the rain drops
-
Droplet Length
Self-explanitory
-
Droplet Width
Self-explanitory
-
Density
The texture base smooth, so it uses a threshold to determine how dense the drops would be, or how thick they'll be in relation to one another. Recommended to stick to the default, unless you want to up it for colorful paint effects or something clever like that! :D
-
Relative Scale
Scale of the rain between layers. Increases/decreases apparent distance over the rain layers
-
Relative Offset
This is an animation control that handles the offset of the animation speed between layers. Remember, drops that are further away, appear to fall slower on a 2D surface, so they are artifically slower. Adjust this control when you adjust Relative Scale.
-
Perspective
Shrinks to a point at the top of the screen to create a vanishing point. Creates the illusion of rain falling from above. Demonstrated in the demo video. Also allows you to bend the rain for the camera a bit when you rotate the rain drops effect.
-
Degrees
Rotates the rain drops by input degrees. 0' by default.
-
Randomize Direction
A small roational offset between layers just to break up that intense linear feeling that can sometimes lend itself to an artifical overlay kinda feeling.
-
Animation Speed
Falling speed.
-
Final Mix Influence
Self-explanitory
-
Front Layer Opacity
Rain layer closest to the camera's opacity.
-
Middle Layer Opacity
Rain layer at the middle of the depth map opacity.
-
Back Layer Opacity
Furthest layer opacity.
Outputs:
-
Image
Composite with the rain effect
-
Rain Only
Allows you to use the raw effect with the depth applied (if used) to add extra softness effects, such as in the demo scene. In classic anime, this is rarely done, so it's simply given as an option.
This has been a labor of love, coming all the way from 2020 - I kid you not! I hope you love it and that it is of tremendous value to you, not only saving time, but getting the look you want! :D
GOD bless you!
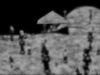
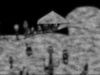
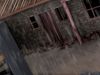
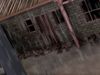
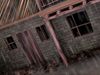
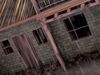
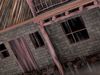
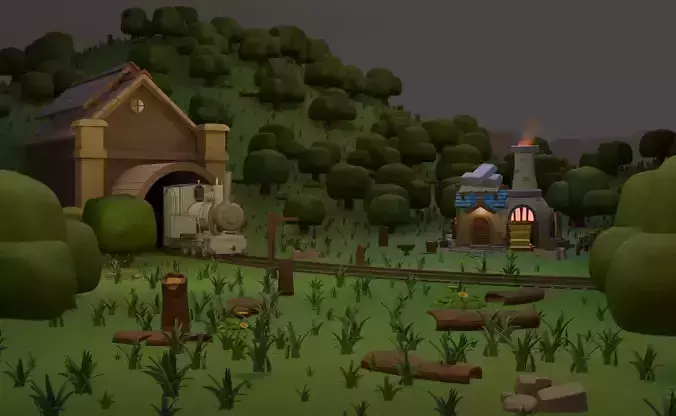
PS, farm house scene was a free model downloaded from CGT - own materials. Toy block demo scene included.