1/12
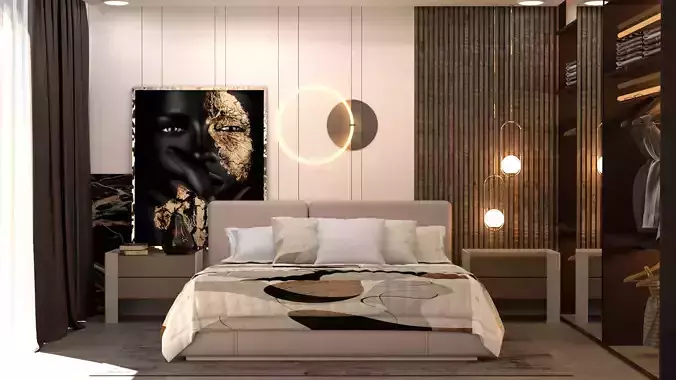
To create this room in 3ds Max, I began by establishing the basic layout using simple geometric shapes. Boxes were utilized to represent the walls, floor, and ceiling. I then adjusted their dimensions to match the proportions of the room.
Constructing the Furniture
For the furniture, I used a combination of boxes, cylinders, and spheres to create the basic shapes. For instance, the bed was created using a box for the base and the mattress, and then I added a more complex shape for the headboard. The bedside tables and the sideboard were also created using boxes, with additional shapes for the drawers and handles.
Creating Artwork and WardrobeThe artwork on the wall was created using a plane, onto which I mapped a texture that represented the artwork. The wardrobe was created using a box, with planes for the shelves and cylinders for the hangers. The mirror was created using a plane with a reflective material applied to it.Setting Up the Lighting
For the lighting, I used a combination of point lights and spotlights. The point lights were used to simulate the wall-mounted lights and the floor lamp, while the spotlights were used to create the effect of the built-in lighting in the wardrobe and the illuminated border of the mirror.
Applying Textures and Materials
The textures and materials were applied to the objects to give them the desired appearance. For example, I used a wood texture for the furniture and a carpet texture for the floor. The color palette was chosen to match the neutral tones of the room.
Finalizing the Scene
Finally, I set up the camera to capture the room from the desired angle, and then rendered the scene to create the final image. The rendering process involved adjusting the lighting and shadows to create a realistic representation of the room.
REVIEWS & COMMENTS
accuracy, and usability.


