- Blog
- Interviews
- Making of the winner model of Landmark Challenge by Ovidiu Enache
29 Jul 2014
Making of the winner model of Landmark Challenge by Ovidiu Enache
Interviews
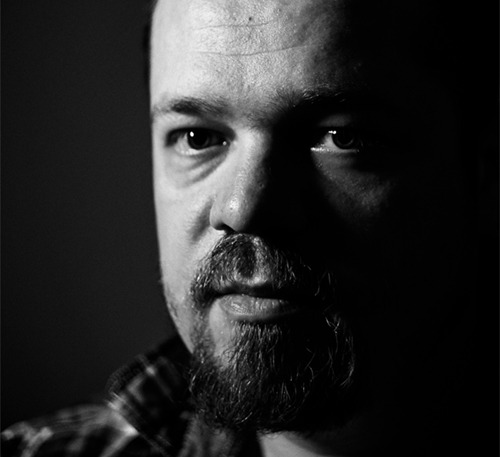
Sure! My name is Ovidiu Enache and I'm an artist from Bucharest, Romania. I have studied traditional animation (during high-school years), oil painting and mural conservation/restauration at the University of Bucharest, and I'm also a self-taught CG artist. I have worked for a little more than 6 years as a character artist in the gaming industry, on games, such as Rift and Tron Evolution, among others. Earlier this year I've taken a journey into the fantastic world of Tolkien by concepting some orcs in Andrew Baker's workshop “Breathing Life and Presence into Digital Creatures”, which was a great experience.
During university I had the opportunity to take part in a short Maya course, focusing on modelling and animation, which was my first contact with 3D software, but my interest really came when I discovered Zbrush. It was in version 2 and I've used it ever since :)
I look for inspiration everywhere, especially in nature, which is an endless source of inspiration, and also museums, music, movies, books, etc. It is always a good practice to do research, looking for material for reference (anatomy books, photos of animals, insects etc.), it is the key in designing or sculpting – a believable character or creature.
If I'm doing a creature concept, I usually start of in zbrush from a dynamesh sphere, blocking in the basic forms and work my way to the final piece. After that I paint it using Polypaint and Photoshop for the final presentation. If the model is for production, I will use additional tools for different tasks (retopology, uv's, texture baking etc.), such as topogun, maya, xnormals, ndo, Marmoset Toolbag.
It all depends on the model and how complex it is. It can take from a few days to a month or so, if it is a very complicated model and has a lot of details and textures.
I found out about it by chance on the internet. I believe it was on Luxion's blog.
Keeping up with technology, which is evolving fast nowadays. The technical aspects of 3D requires a lot of time to learn and master. There will always be a new tool out there that you need to learn how to use in order to make certain tasks easier, helping you to be more efficient.
I think the key is to stay true to your path, never quit, no matter how hard it is sometimes, learn all you can, the rest is just hard work, patience and dedication. This is a full time commitment and doesn't happen overnight, hard work and dedication will always be rewarded in the long run.
Keep on doing what I love, designing characters and creatures, drawing, painting, constantly improving my art and trying to accomplish what I've set myself to do. The path is right ahead, all I need to do is just follow it.
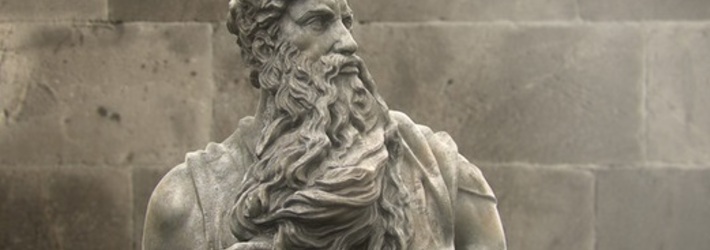
Making of 'Moses' by Ovidiu Enache
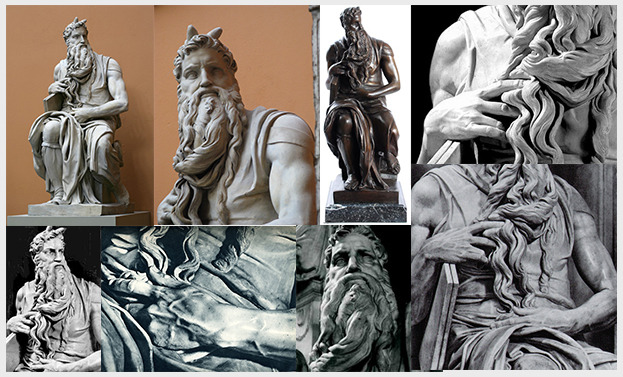
Reference: Before I've started the sculpture I've done some research, looking for reference pictures of the real statue of Moses on the internet. I also have some art albums of Michelangelo’s sculptures to use for reference. The main goal here was to make a sculpture that resembles the original, not an exact replica, just my take on the subject.
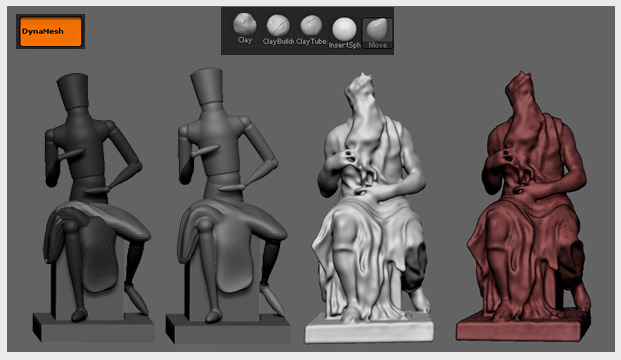
Sculpting: The model was entirely done in Zbrush. We can start either from a dynamesh sphere with no symmetry or by using a basemesh, which is posed with transpose tool on a basic stand in that position, or simply using the mannequin tool as an armature which is much easier to pose.

After posing is done, I work on the block in stage of the major forms. In this stage I sculpt the base shapes and tweak the proportions. The major volumes are added with insertSphere brush and then re-dynamesh and sculpt with clay brushes, mainly clay buildup and clay tubes. Basically, I'm using a technique similar to the one used by sculptors in real world, by adding lumps of clay which in zbrush translates by inserting spheres and shaping them to build form.
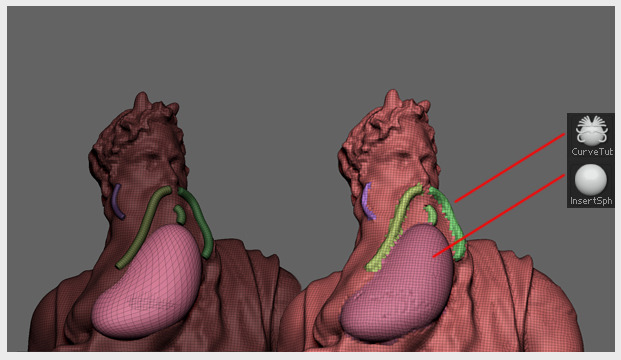
The same technique is used all over the sculpt until the silhouette is revealed. Also, another great brush is CurveTube, which can be used on beard, hair strands and to build the fingers.
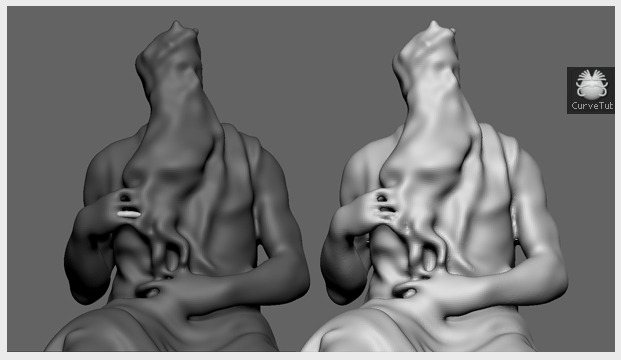
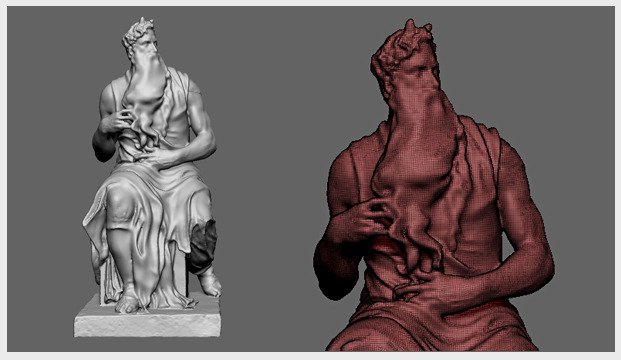
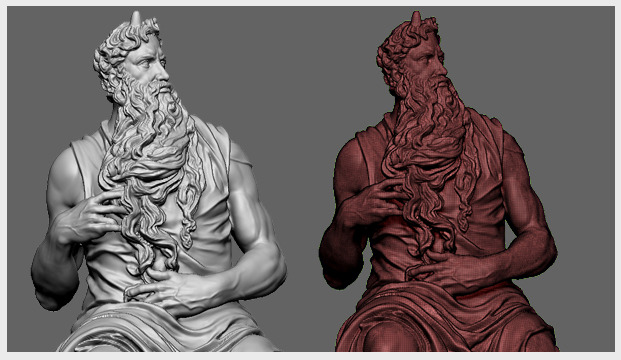
After more sculpting and tweaking, I finally have a base to work with that resembles in form the finished one. At this point the sculpture is still in dynamesh mode, no retopology yet. Here is my sculpt, after adding more details:
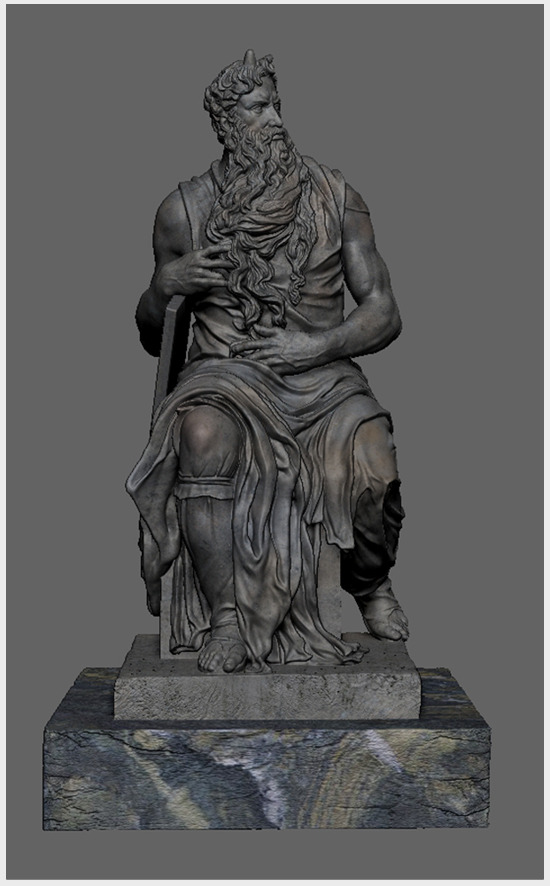
Now I move forward to finalize the sculpt. First, I've made the retopology using Zremesher, after that some basic uv's with UVMaster and then I've re-projected the details onto my new mesh and finished the sculpting. After I'm done with all that, I make the texture using polypaint. For this sculpt the texture is basic, for presentation purposes, using a few marble patterns and hand painting. Here is the final model with polypaint in all its glory.
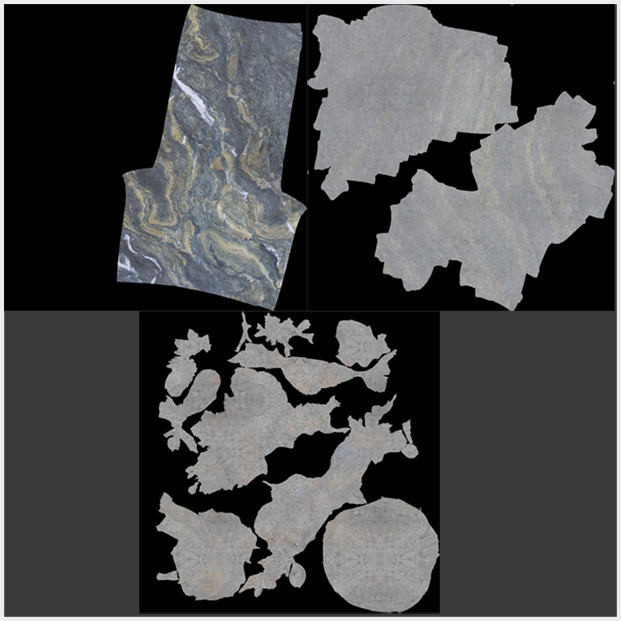
Below are the textures that I've used. They are very basic. Also, from these diffuse textures I've made the specular maps:
Rendering and compositing the final image: The rendering part was done in Luxion's Keyshot, really powerful rendering engine and very easy to use. Can't wait to incorporate it in my future projects. The setup is pretty simple, I have used a translucent shader with the textures plugged in and tweaked the values a little bit. The scene is lit with a simple hdri. Here it is an early lighting test inside of key shot:
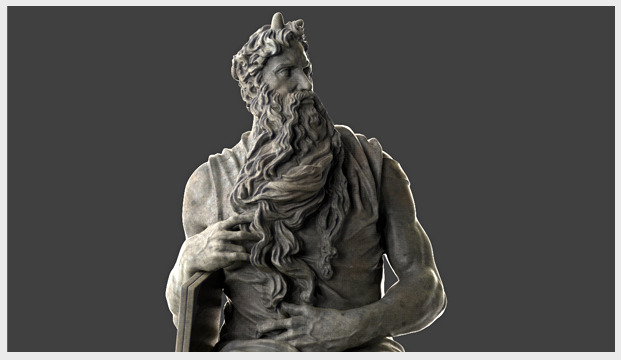
After a little more tweaking and testing, I've decided to go with this lighting setup:
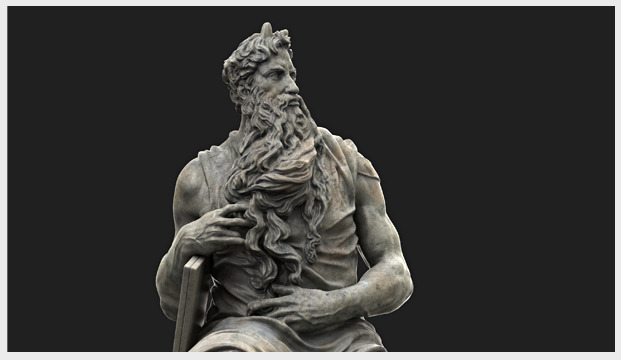
So, this is all I did in terms of rendering. For the final image I did a little bit of compositing, including some athmosferic effects. You can see the stages right bellow:

That would be all. I hope it was helpful. If you have any questions, please feel free to contact me. Thank you for your time!
Author Website: http://www.enaov.ro
Software: Zbrush and Keyshot


Comments