


Gold Sluice - Worlds Smallest 3D print model
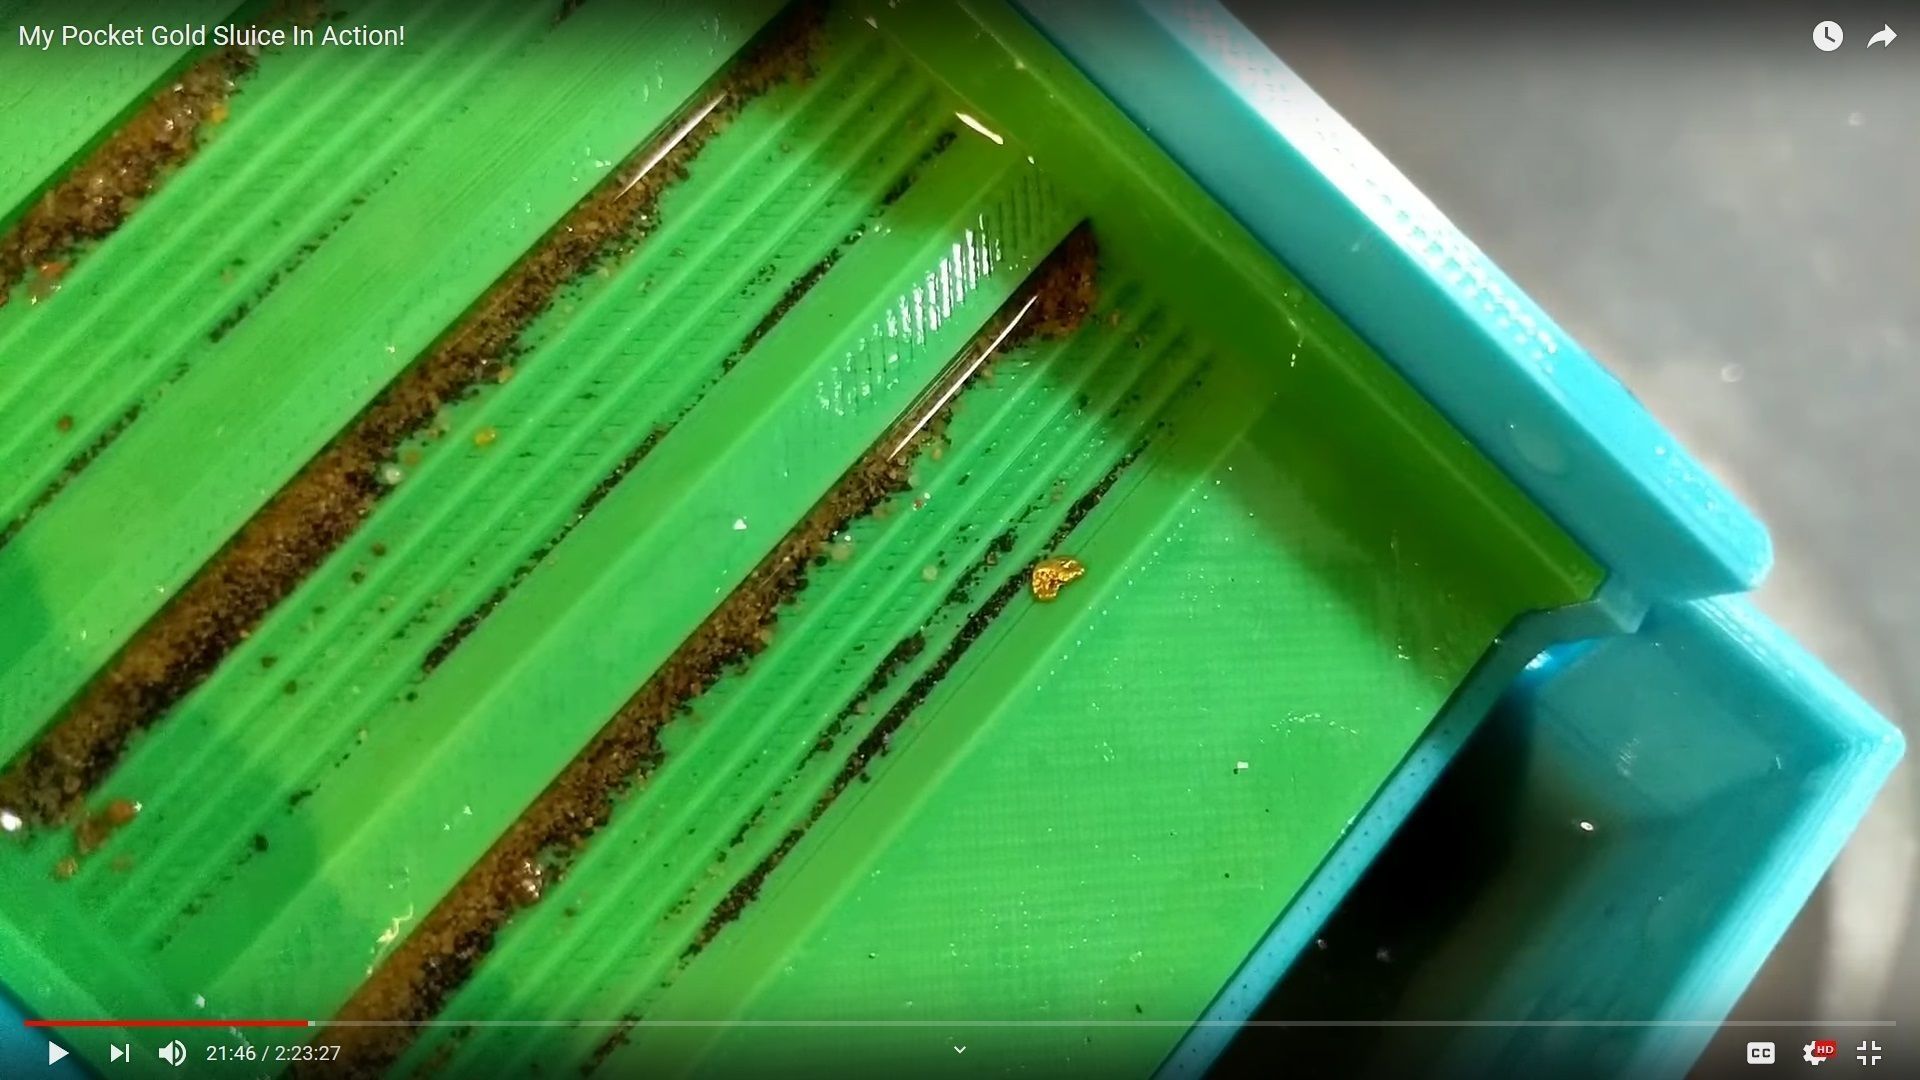
This isn't your grandads folded sheet metal pocket thing. This is a fully functional, self contained gold sluice.
Features:
- Small, portable, and self contained. Packs up 100% into itself for transport!
- Try inserts are customizable. Make your own designs and use them!
- Almost completely silent!
- Uses 4x AA batteries
- Two different flow rates, single pump output or double.
- Super lightweight design
- Extremely compact
It looks intimidating, but it's really not. Once you get this set up a couple times, it'll make sense. A couple things to remember. 1: You will want to print with 100% infill if possible. That will prevent water buildup inside the models, and strenghten them 2: It's nearly impossible to make this 100% watertight without using a coating like XTC-3D (which I HIGHLY recommend) 3: You will still want to classify your material a little first. This won't take shovel fulls straight in.
You will need to buy a couple things that you obviously can't print:Submersible Micropumps: https://www.ebay.com/itm/Mini-Micro-Submersible-Water-Pumps-DC-3-6V-120L-H-Low-with-1-Meter-water-tube-/253305104540
Battery Holder: https://www.amazon.com/Jameco-Reliapro-SBH-341-1A-Battery-Holder/dp/B01N18EH9Y
Scouring pad. This should be any color, and be the flat Scotch style pads. This is a secondary filer to keep material away from the pumps.I was easily able to get almost 2 straight days of pumping from a single set of 4 AA batteries.
Directions: 1: Fully assemble the trays and supports, and attach the pumps and hoses 2: Fill the main body full of water up to about 10mm below the top of the main body 3: Turn on the pumps and allow them to prime and start an even flow. Use either two or three pumps. Different flow rate depending on the block used. 4: Use a tablespoon to slowly add your classified material to the flat part of the top-most tray. Go slow, let it work down, don't just dump it on. 5: When the water running off the end of the bottom tray is clear, go ahead an add the next spoonfull. 6: when your inserts are full, take them out, and agitate them inside a container of clean water. Gold, black sand, and heavy material will fall off. 7: Put inserts back into their trays (either order, they are the same profle), and continue to add material.
==========================================================================================================
As I get time to update this, I will. I made about 20 revisions of this, and it's hard to keep track of what parts I ended up using.

Similar Models

