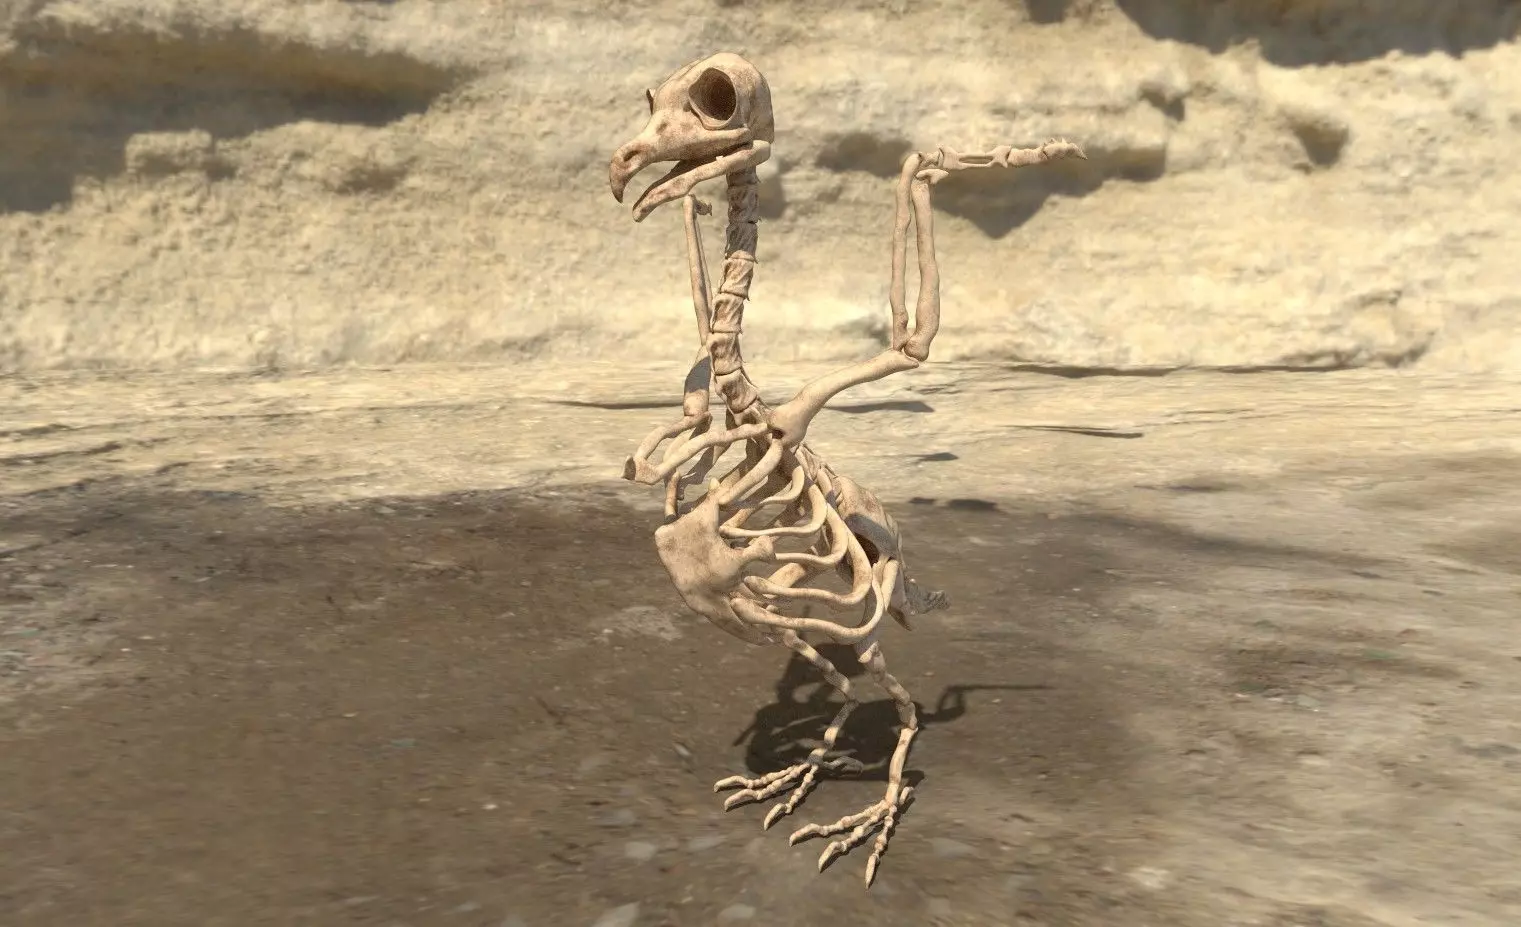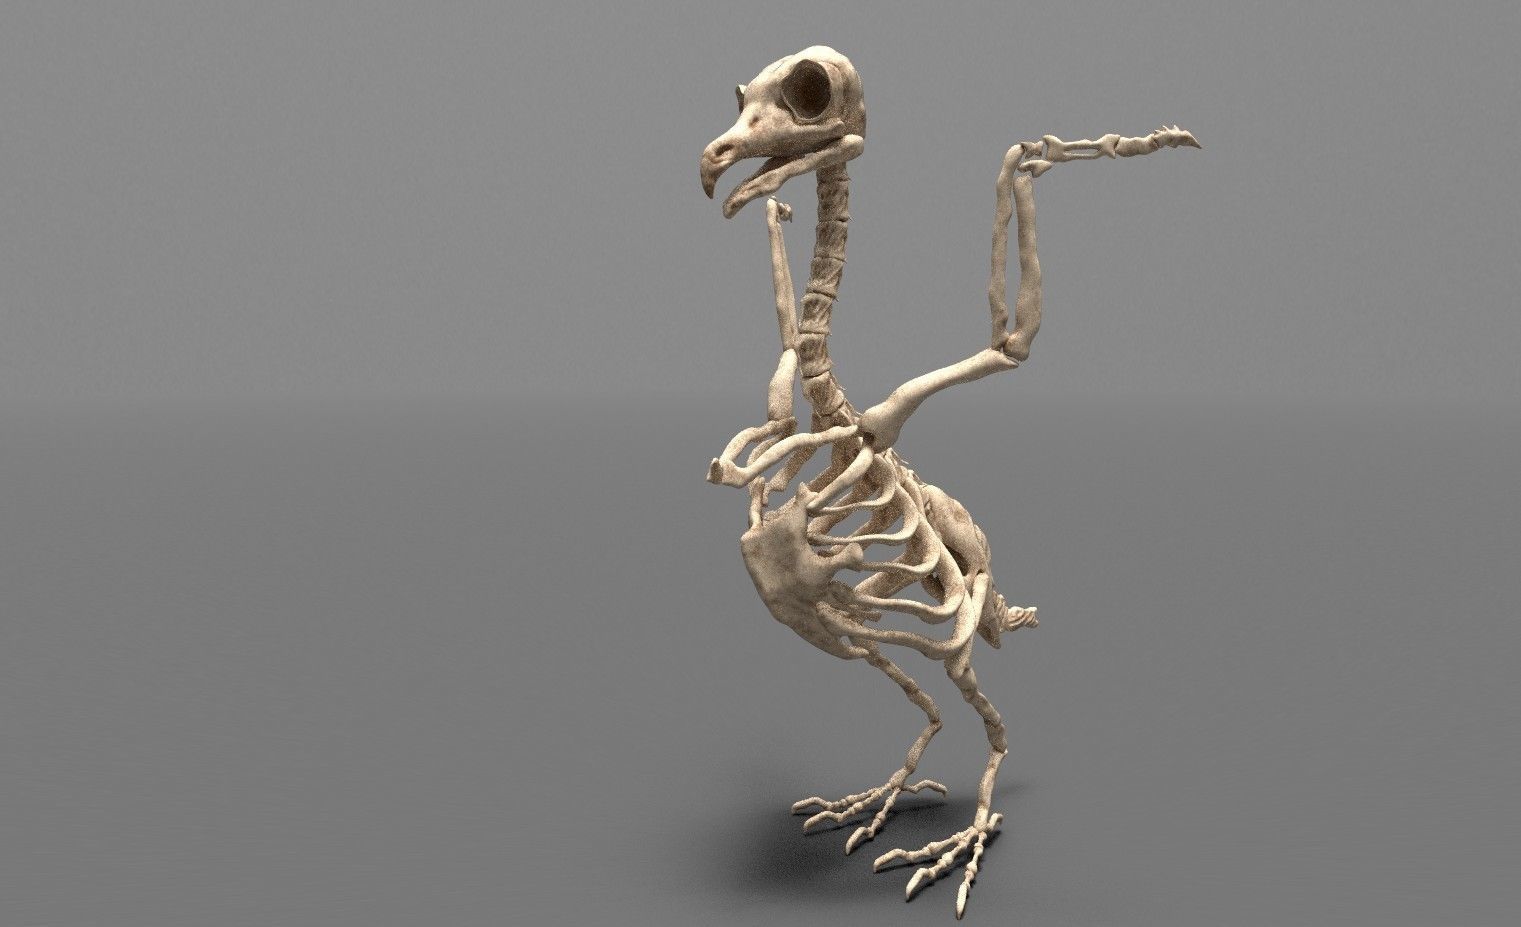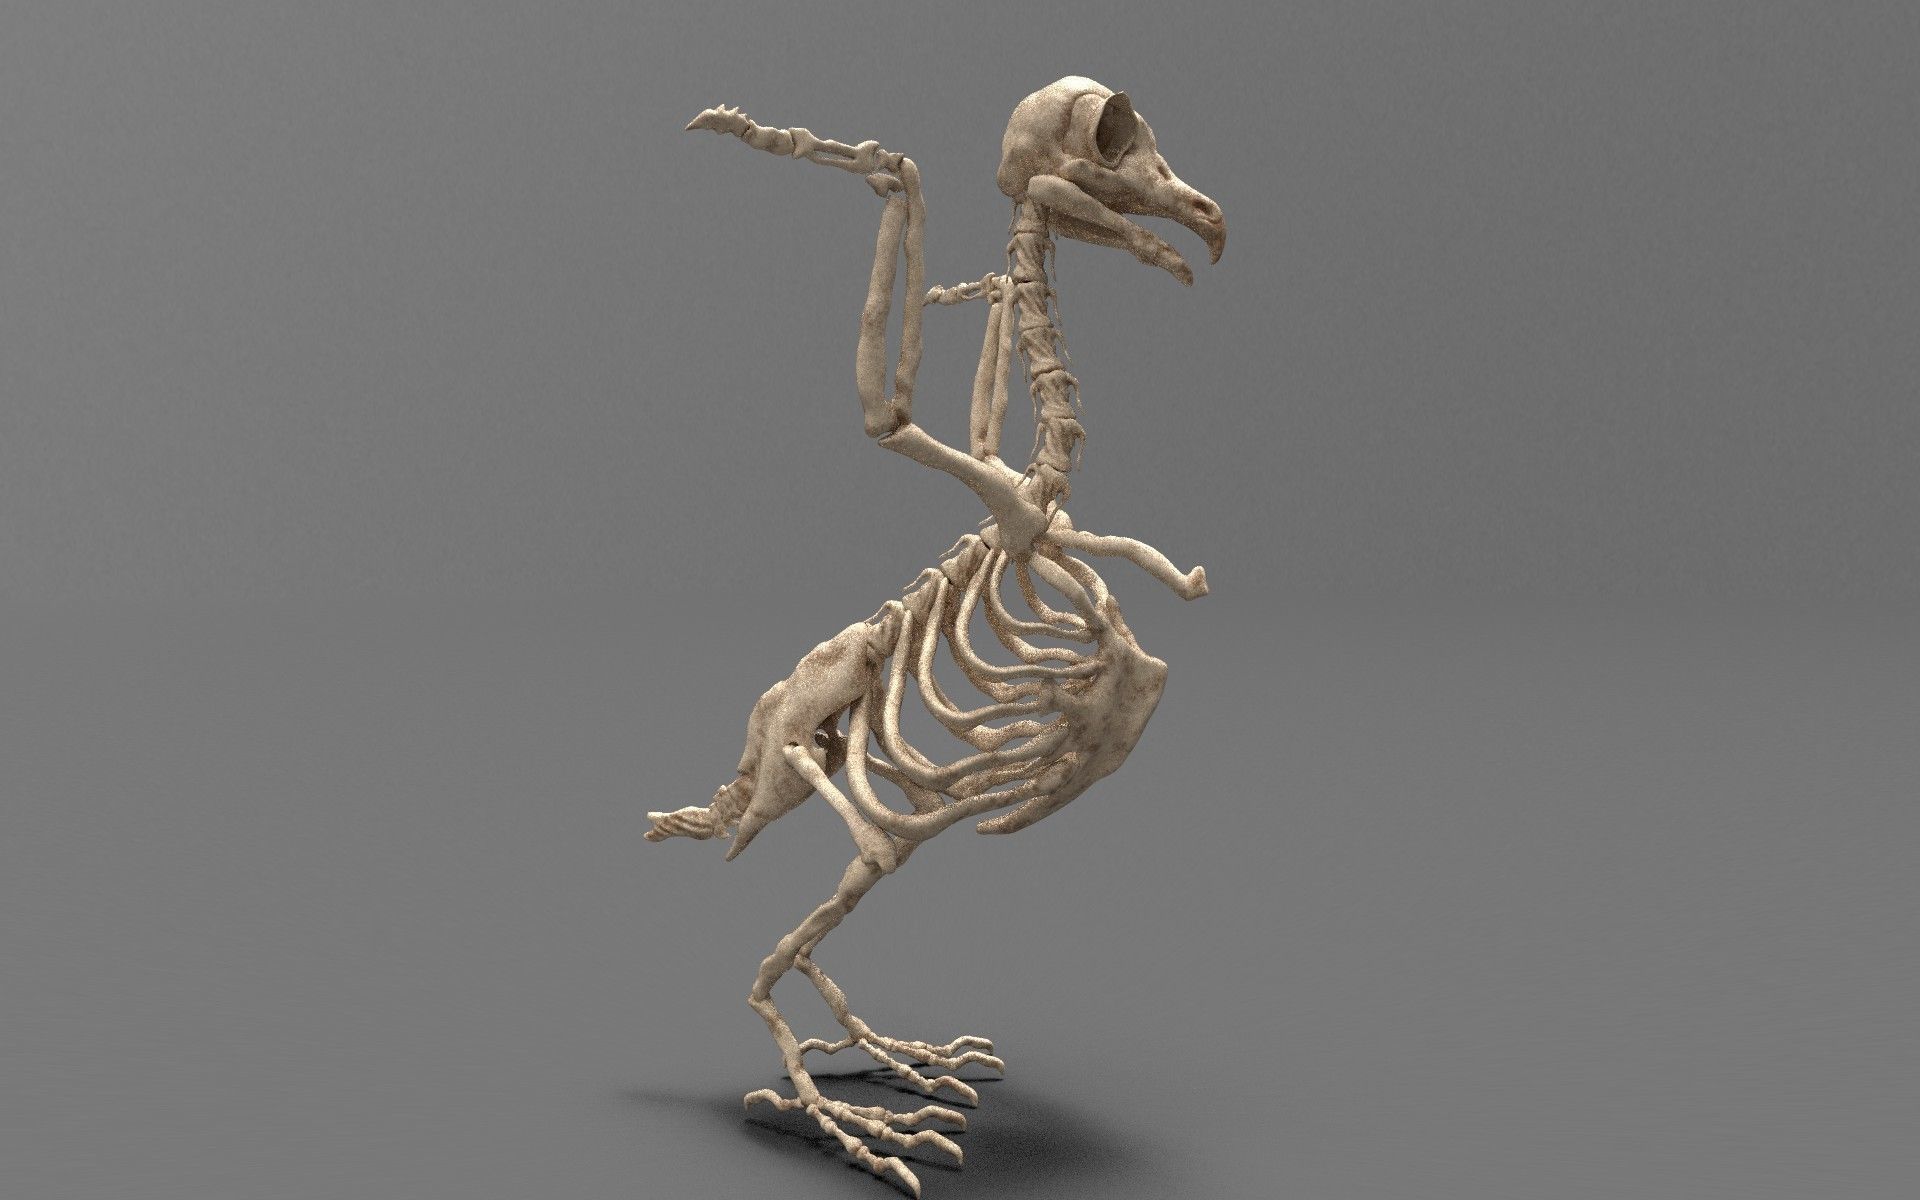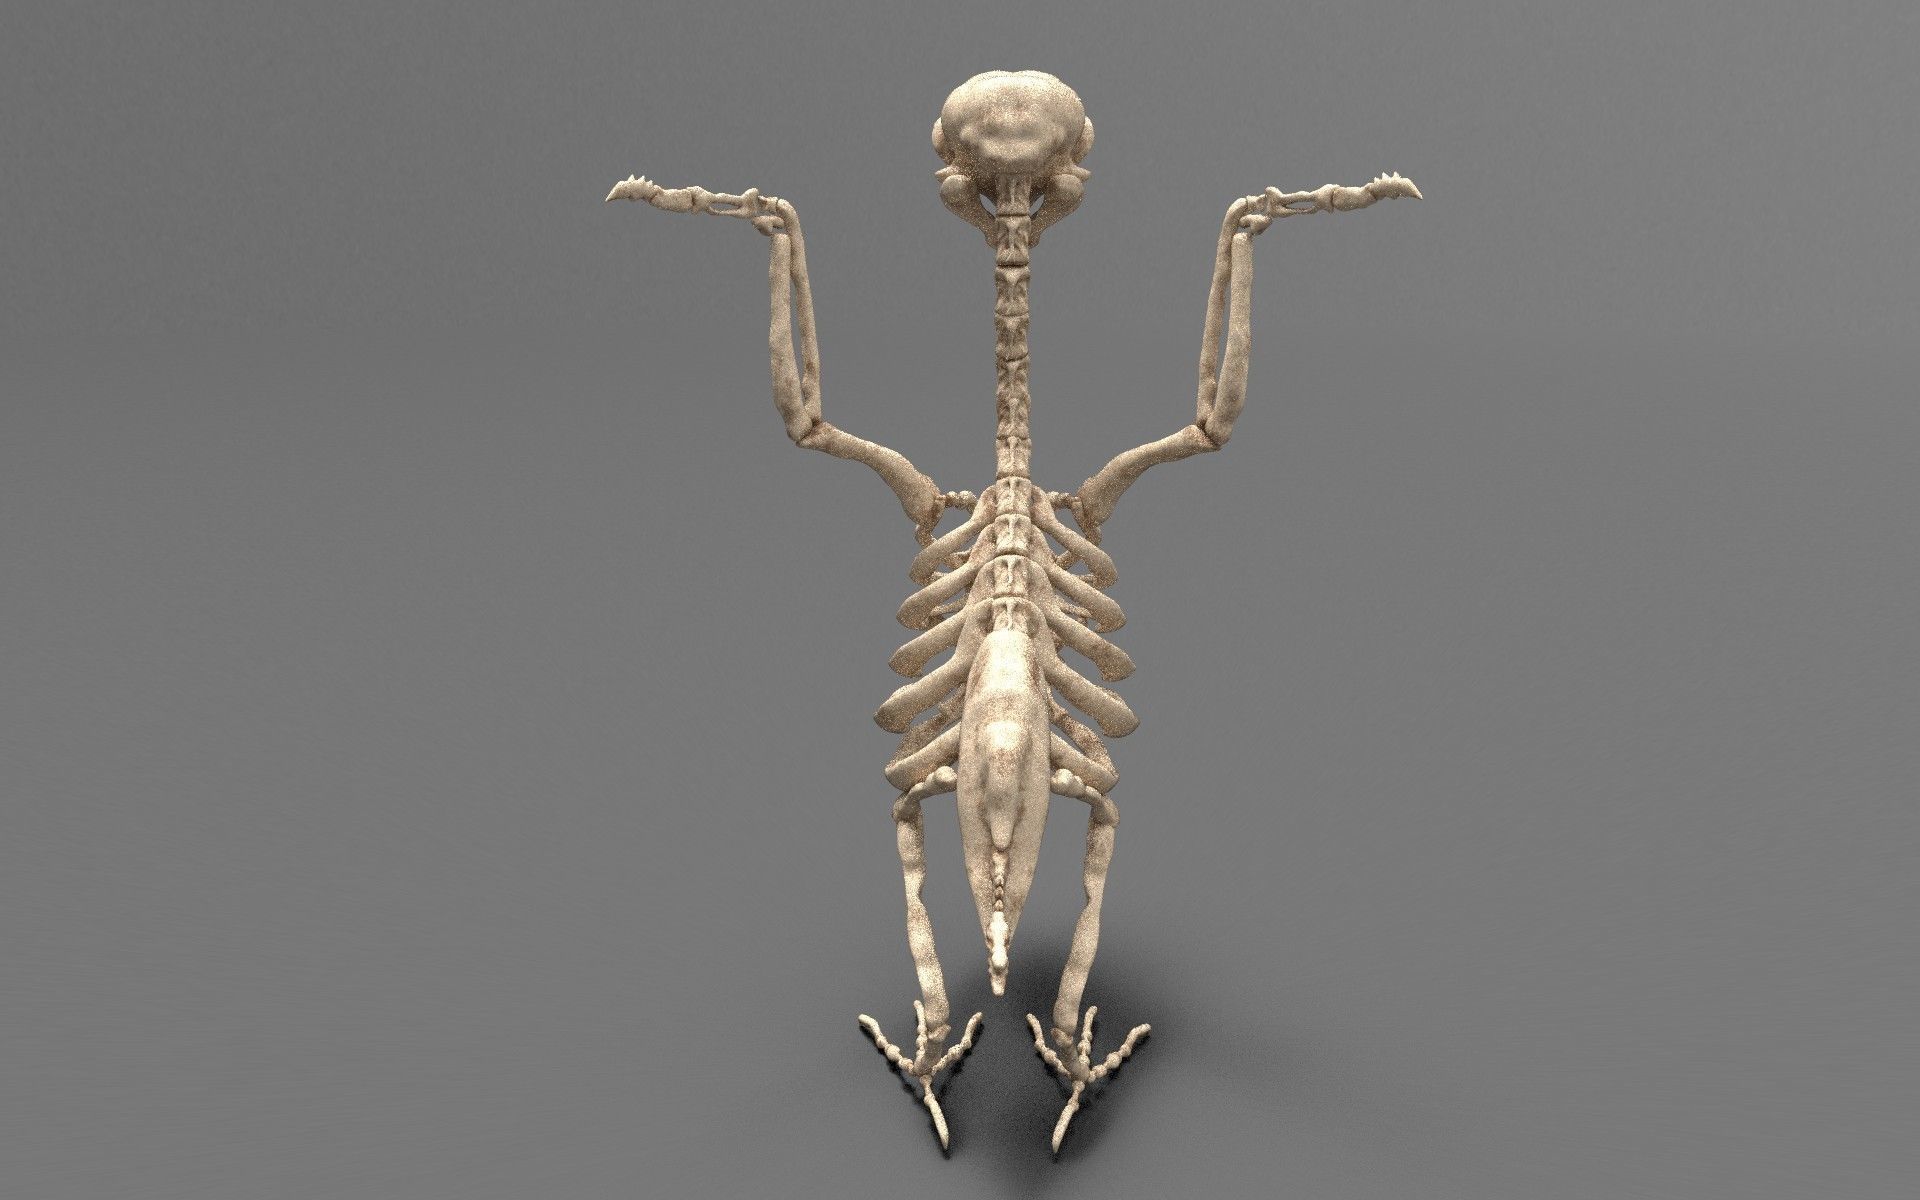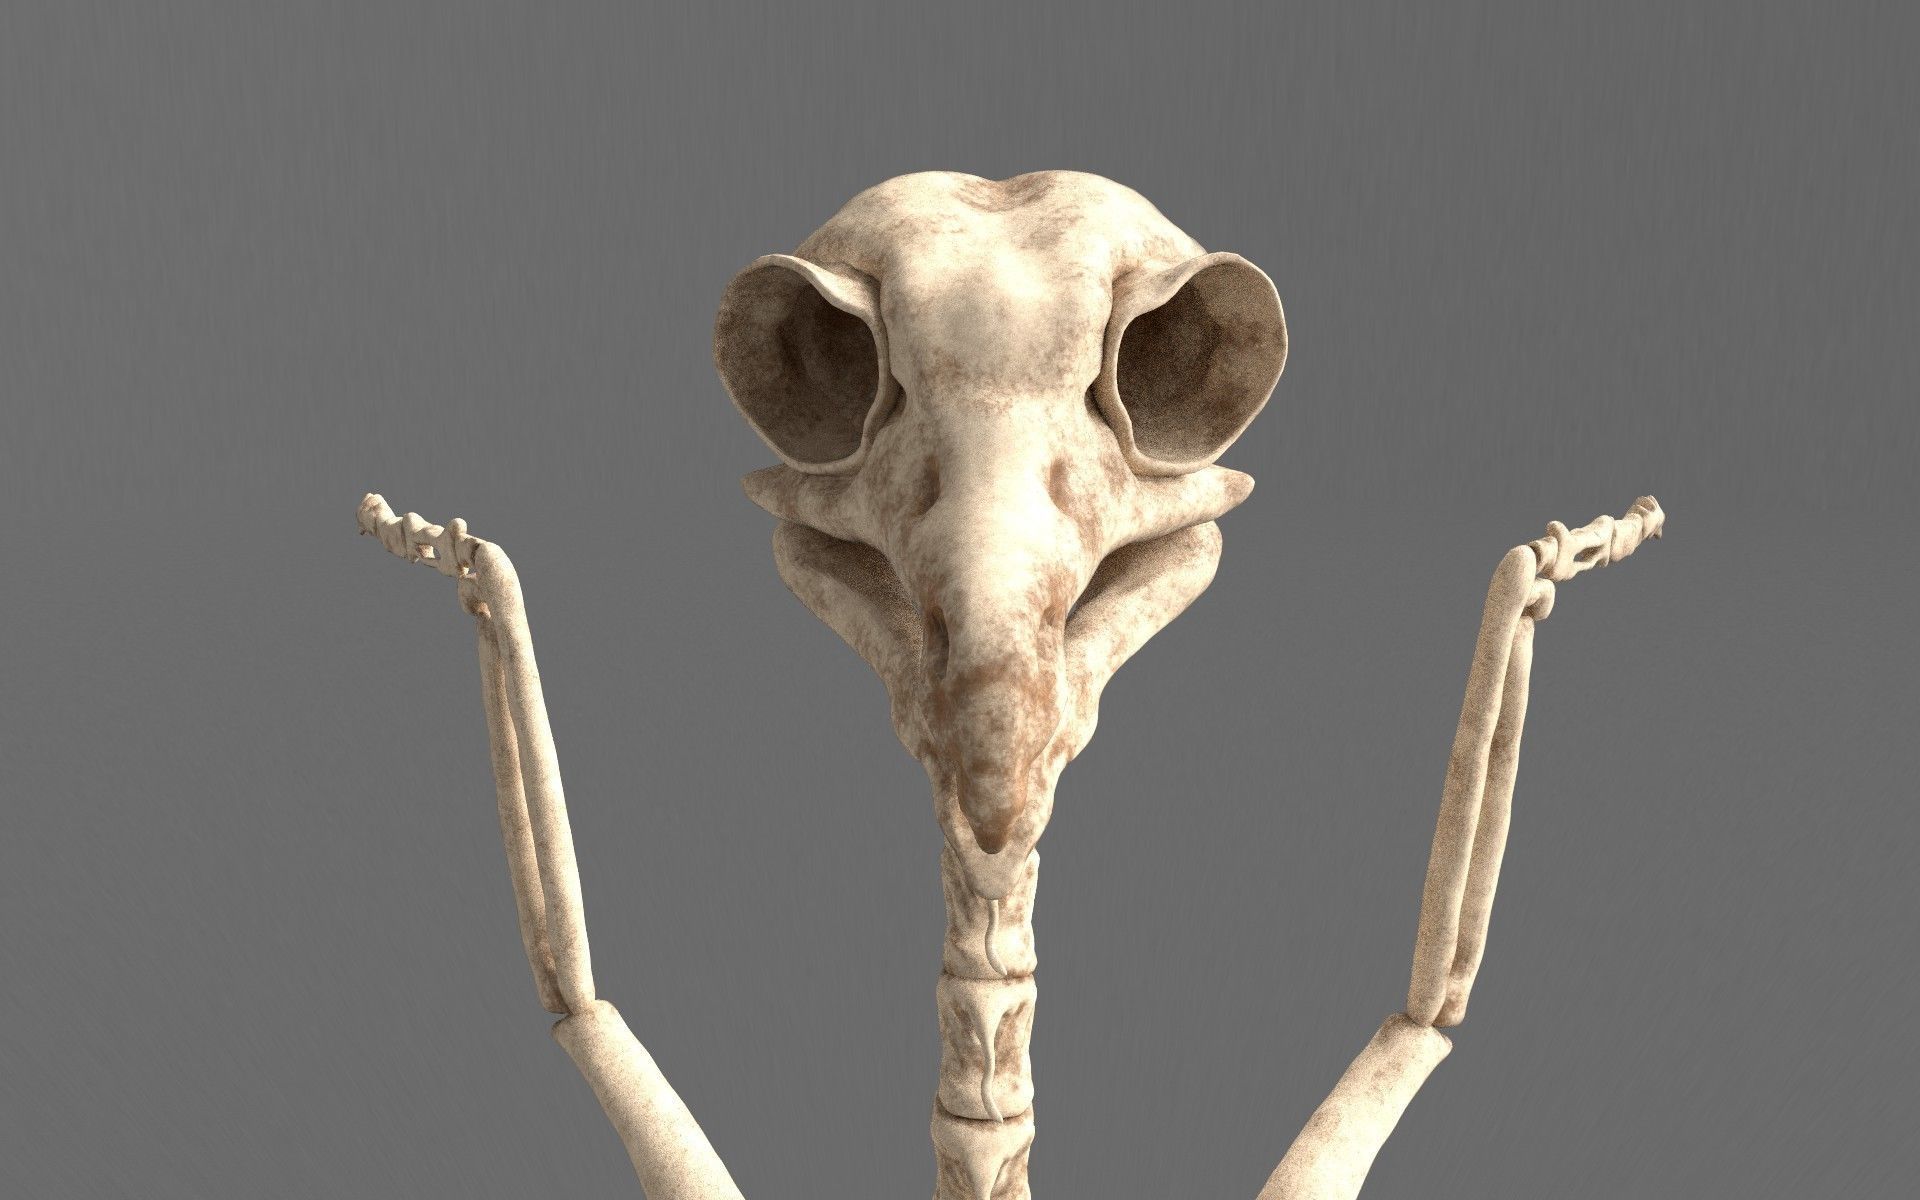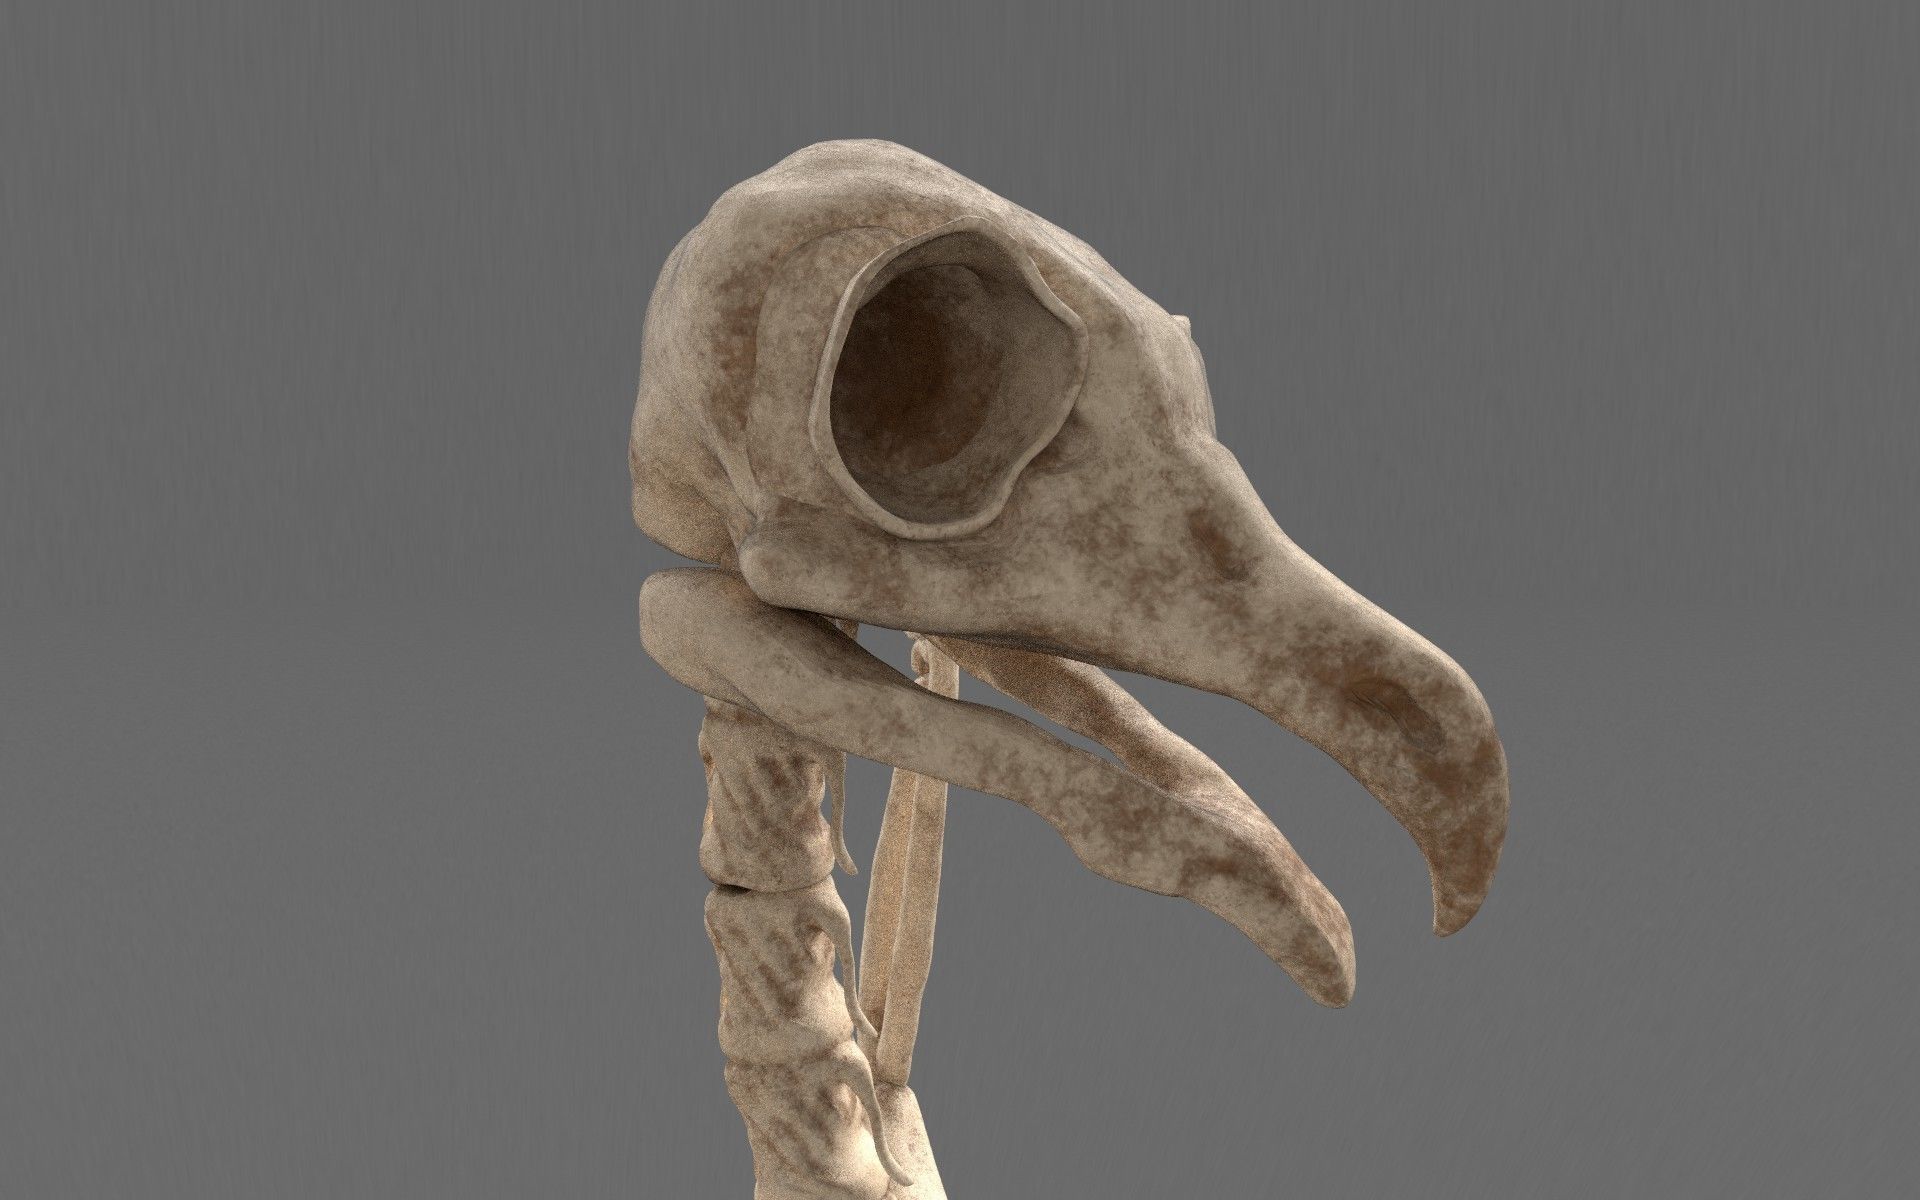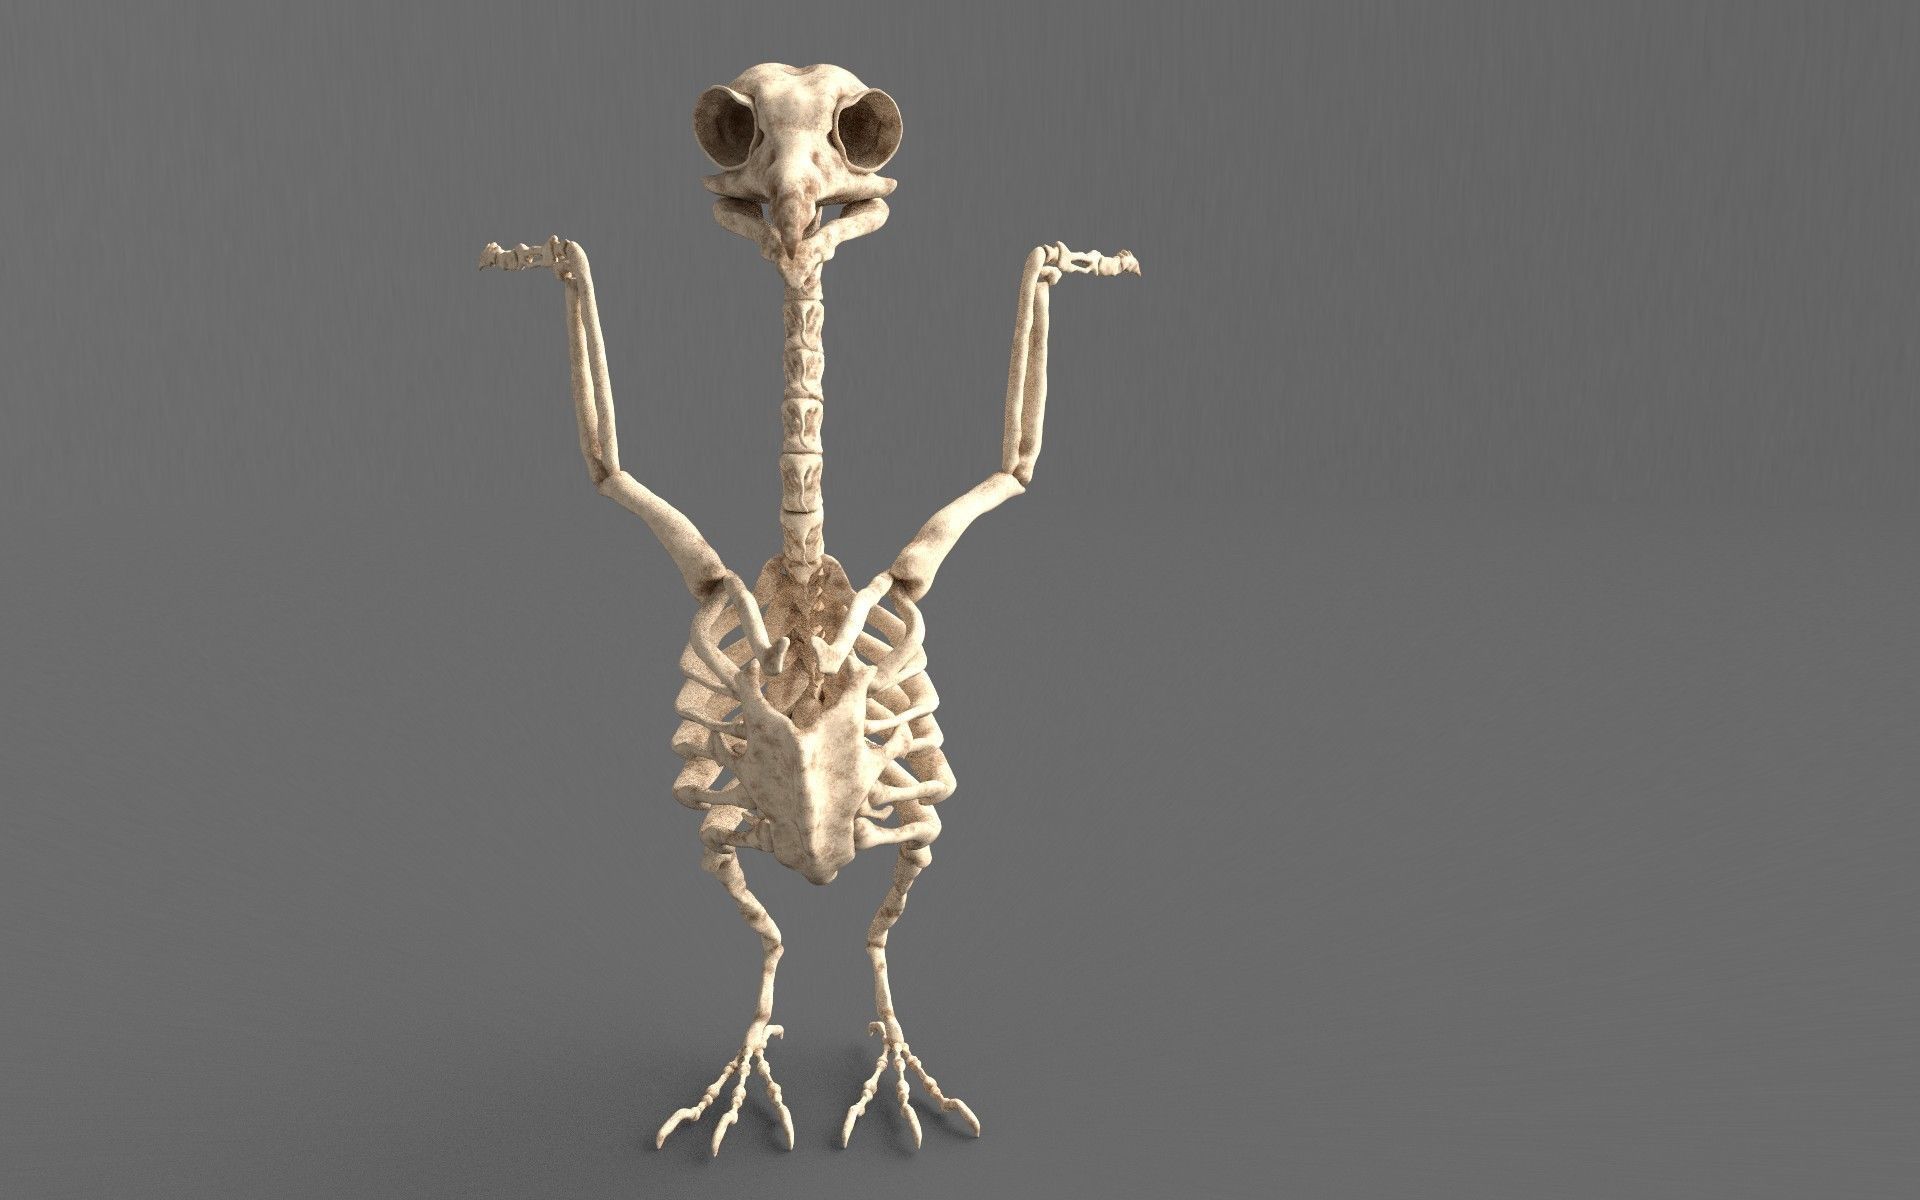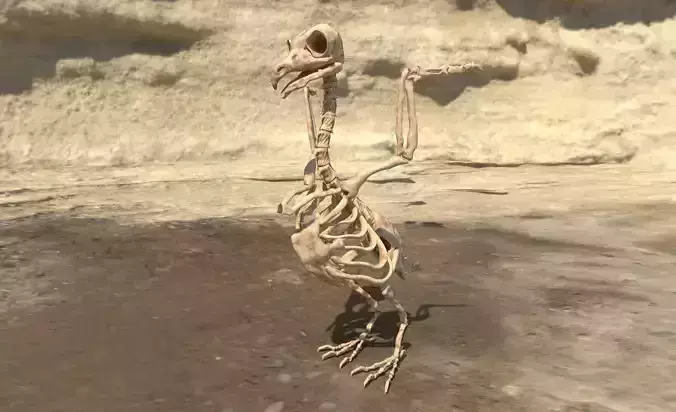
Birds - Skeletal Low-poly 3D model
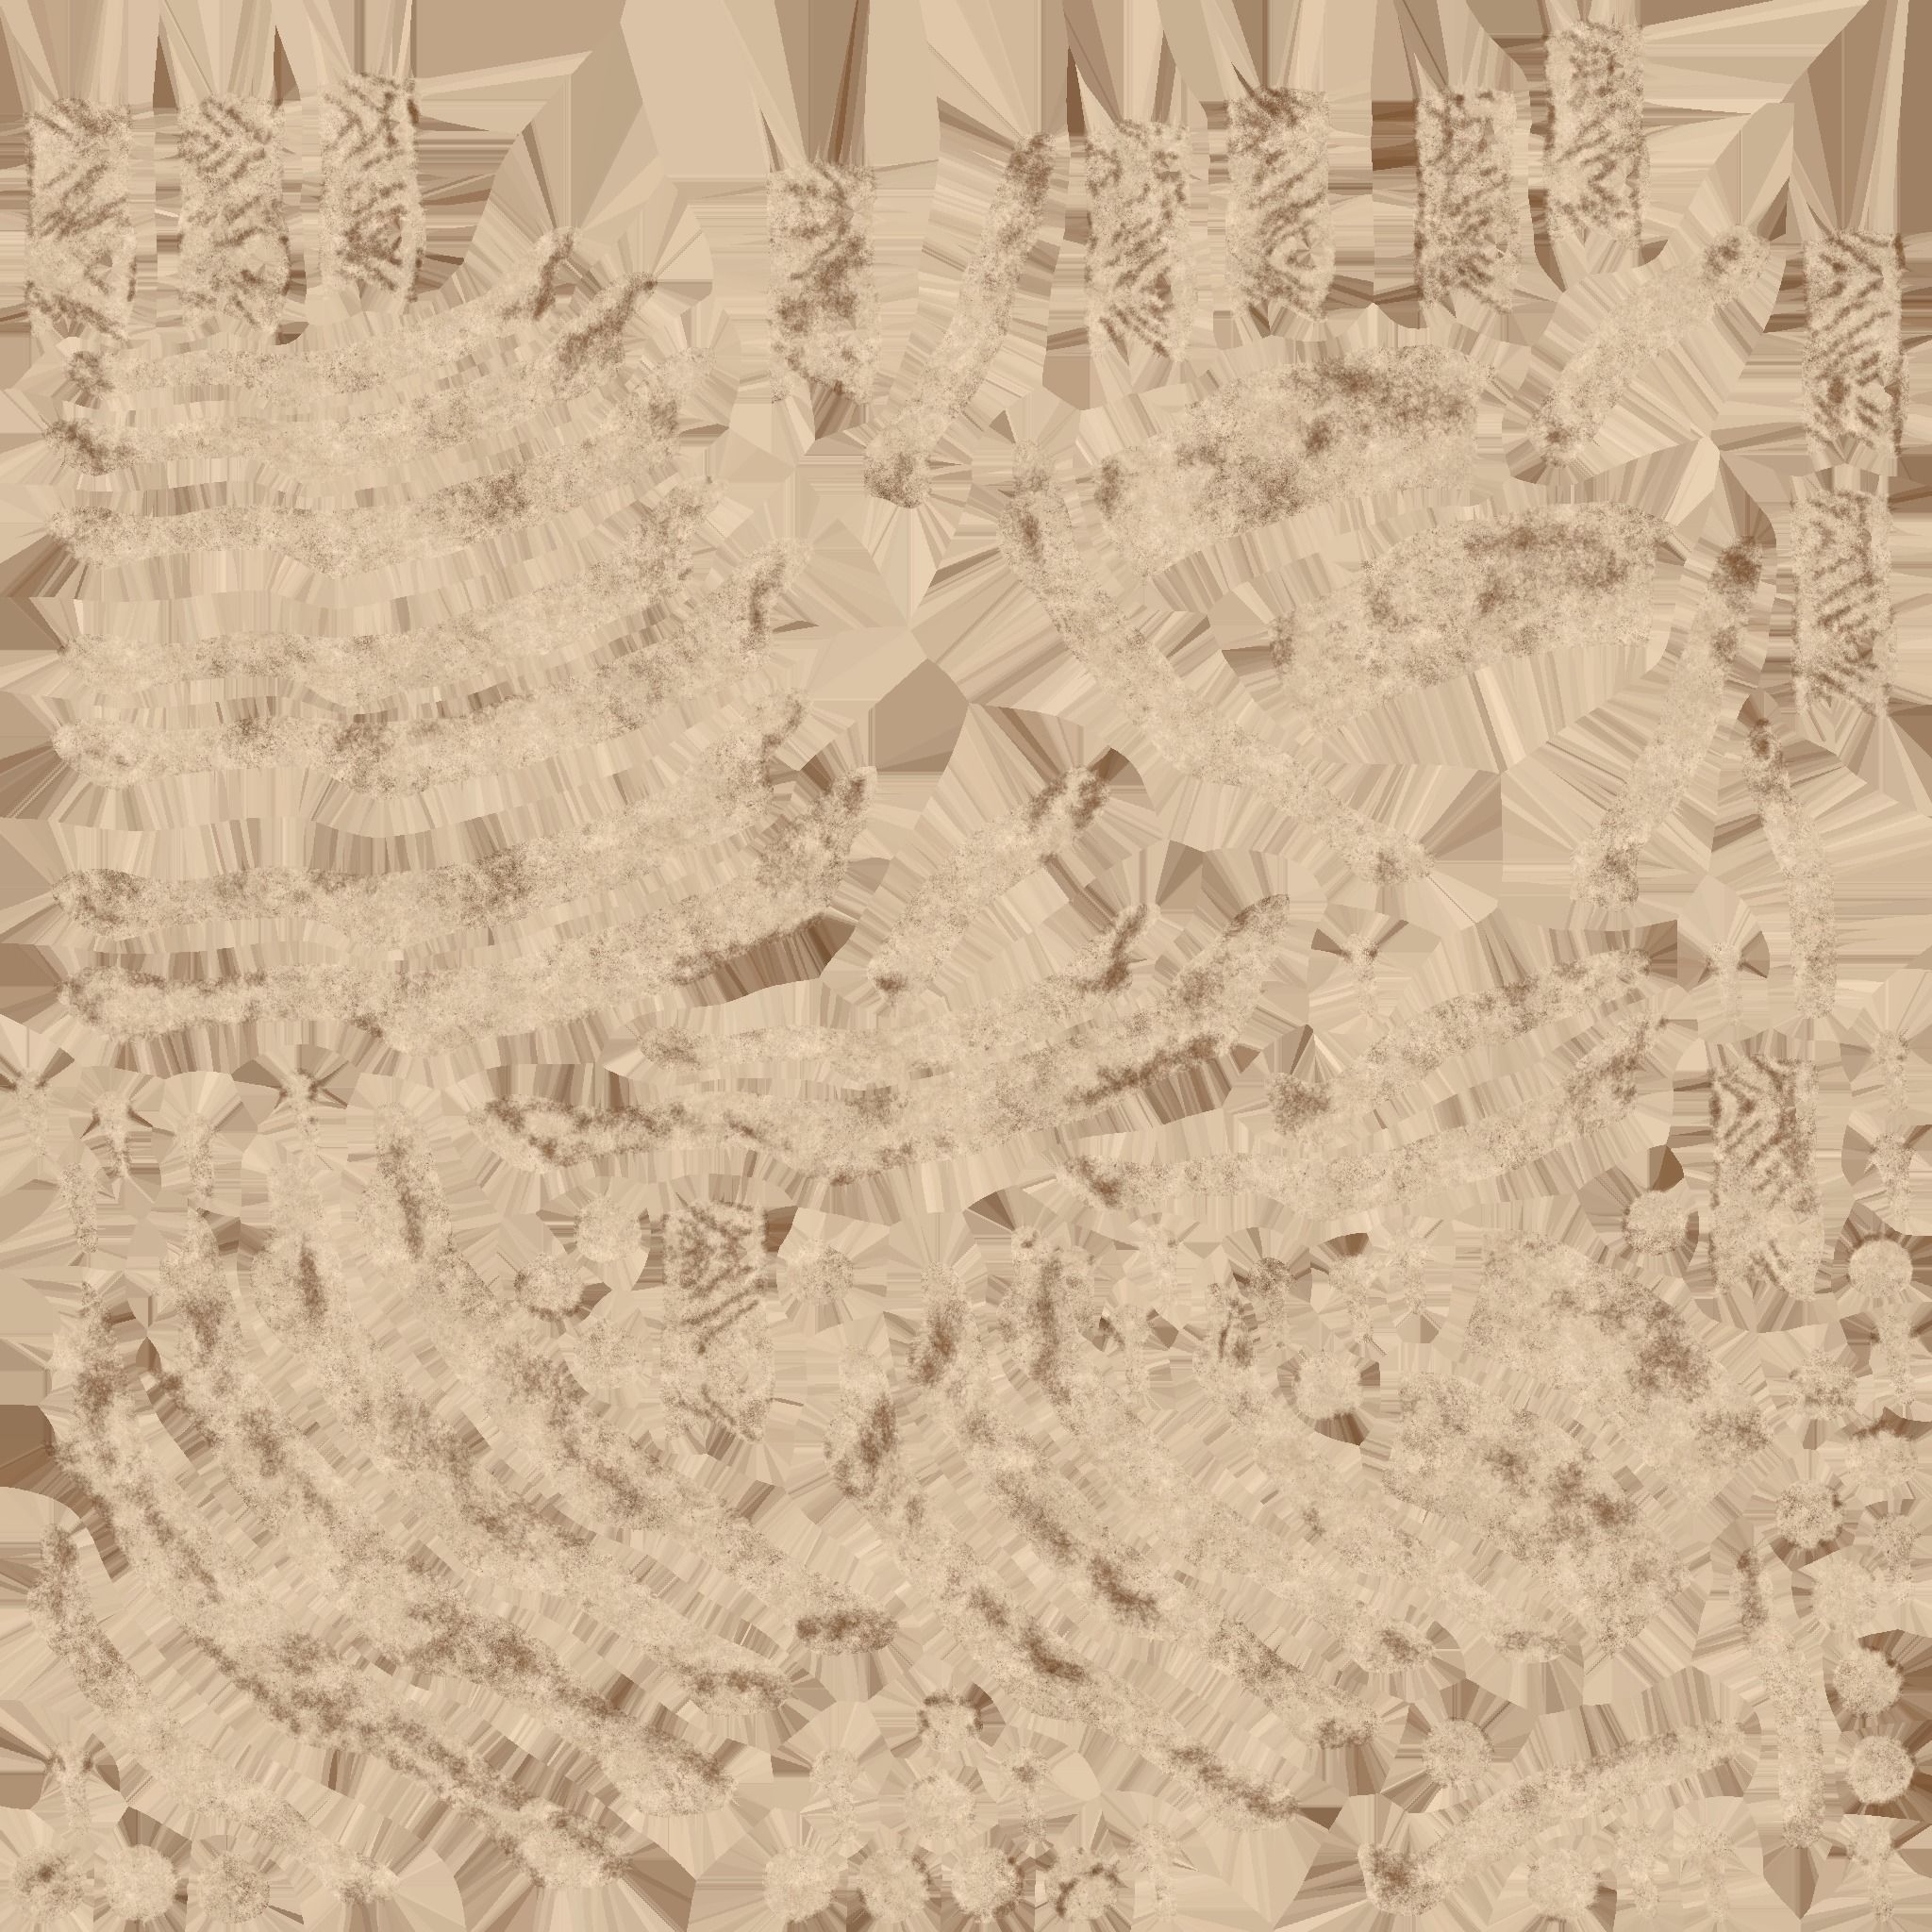
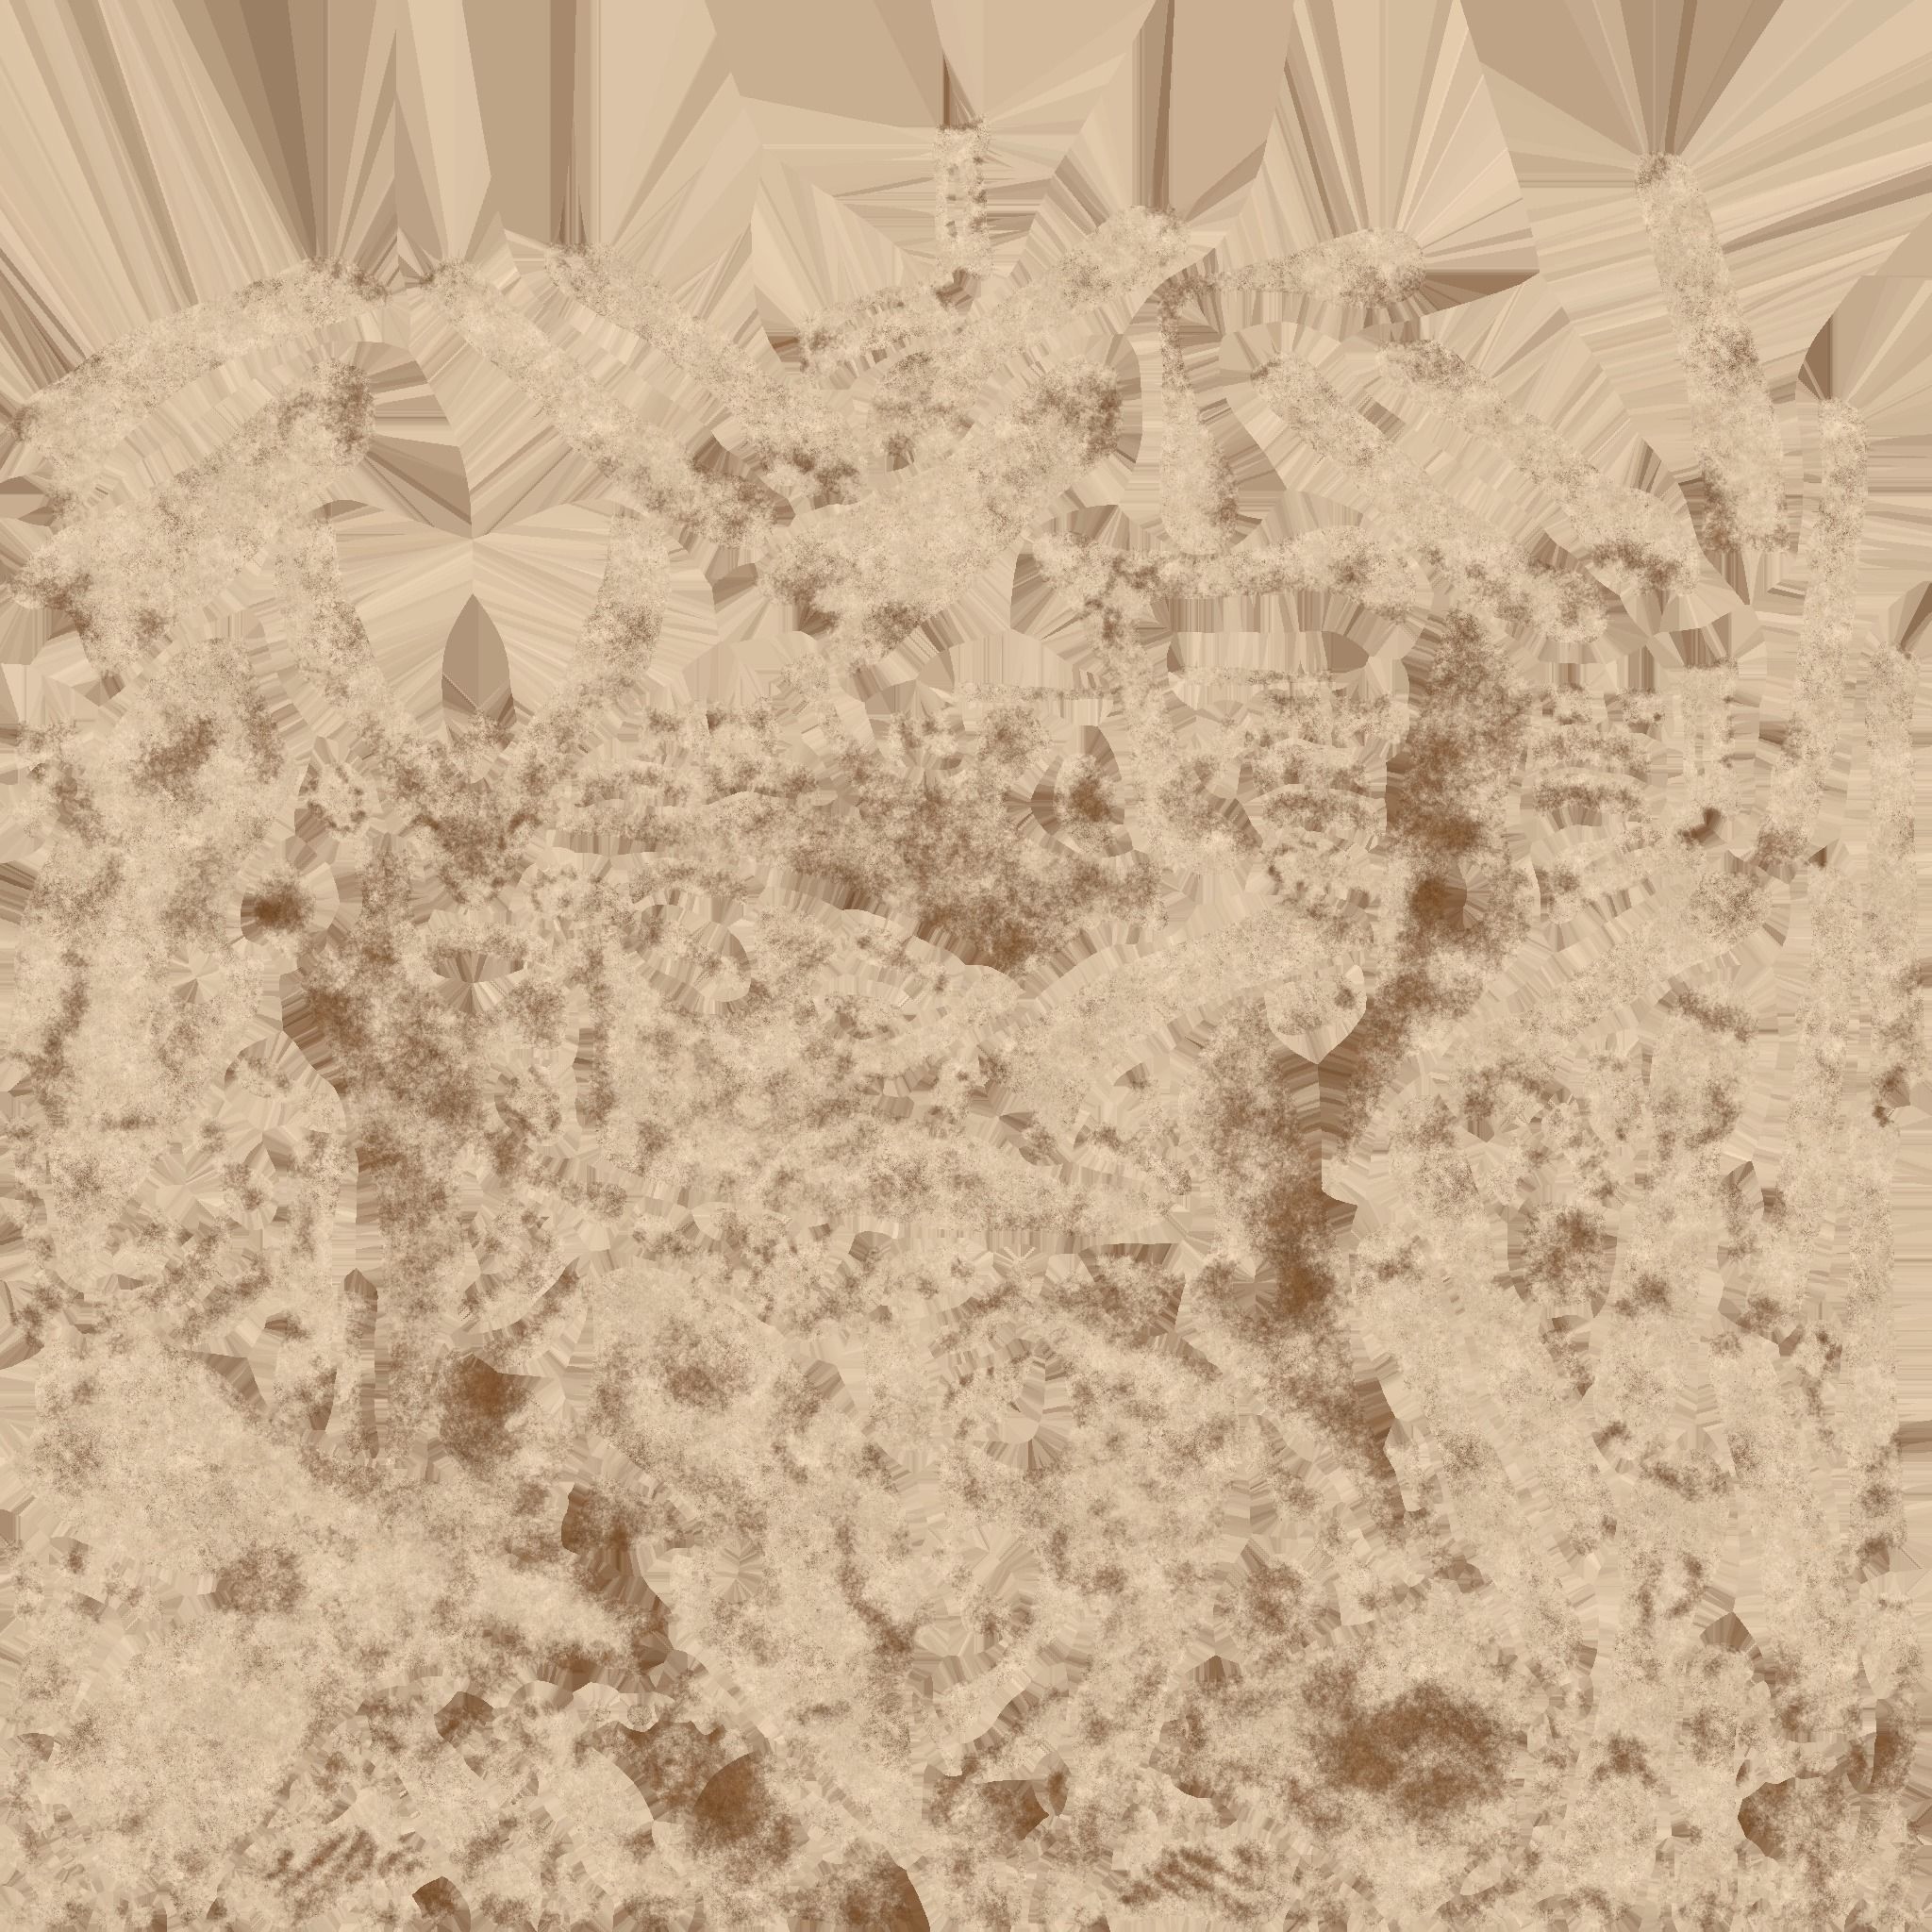
Sculpting in ZBrushReference Collection: Gather high-quality anatomical references of bird skeletons to understand the structure and proportions.Base Mesh: Start with simple base shapes for each bone using ZBrush primitives (e.g., spheres, cylinders) or the ZSphere tool.Refinement: Sculpt details for individual bones such as the skull, vertebrae, ribs, and limbs using tools like Clay Buildup, Dam Standard, and Move.Symmetry: Use symmetry for mirrored parts (e.g., wings, legs) to save time, but break symmetry slightly for a natural look.Fine Details: Add surface details like bone texture, cracks, or wear with alphas and custom brushes.Pose Adjustment: Use the Transpose Master to pose the skeleton if needed, ensuring anatomical correctness.Subdivision Levels: Work in multiple subdivision levels, starting with low-poly for basic forms and gradually moving to high-poly for details.Texturing in Substance PainterUV Mapping: Ensure your model has clean, non-overlapping UVs. Use ZBrush's UV Master or a dedicated UV tool.Export to Substance: Export the high-poly mesh for baking details and the low-poly for texturing.Baking Maps: In Substance Painter, bake maps like Normal, AO, Curvature, and Thickness for realistic texturing.Base Color: Start with a base color resembling bone (off-white or beige).Details: Add subtle variations, stains, and discolorations using brushes or procedural generators.Wear and Tear: Use smart masks to add realistic weathering, dirt, or cracks.Polishing: Adjust roughness for a slight sheen to mimic the smoothness of bones.Final TipsScale Accuracy: Ensure the bones are scaled and positioned proportionally.Realism: Focus on realistic textures but don’t overdo it; subtle details are key.Lighting: Use Substance Painter’s lighting environment to check how textures respond to light.Render: For presentation, render the final textured model with proper lighting and a neutral or complementary background.
